
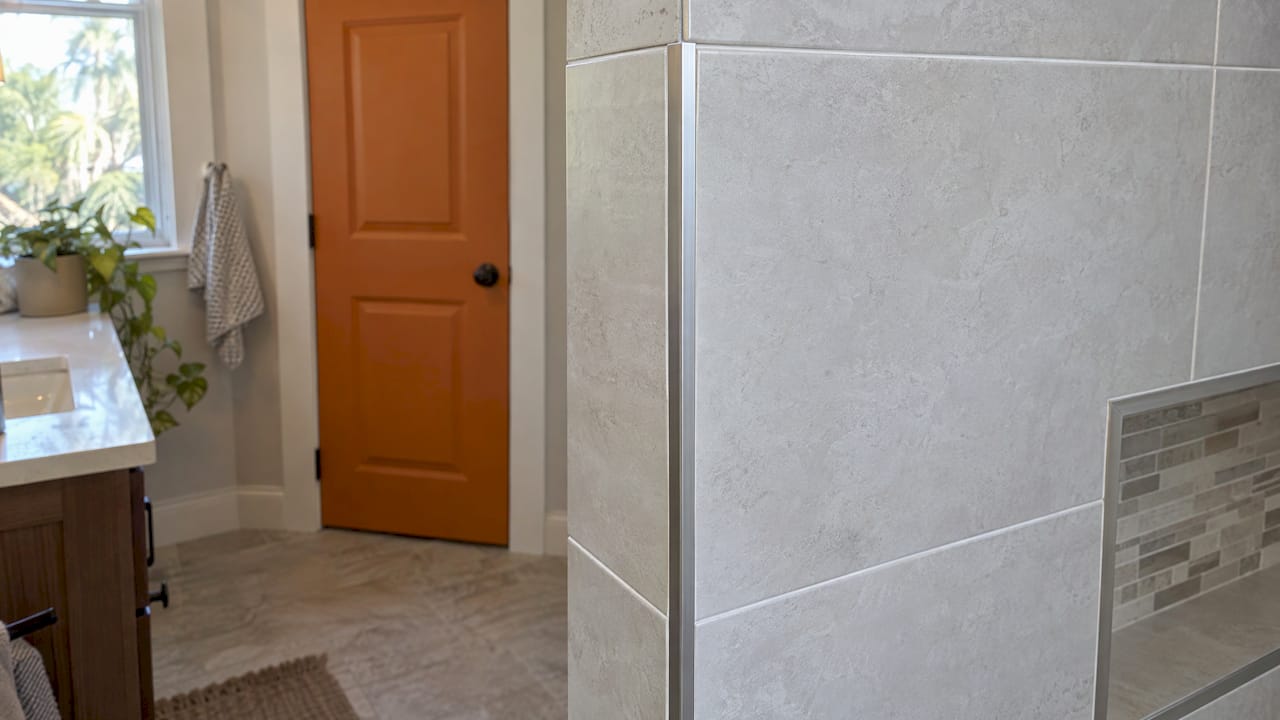
The main tile trim options are metal edge profiles (aluminum, stainless steel or brass), PVC profiles, and matching ceramic or porcelain trim pieces such as bullnose and cove base. Metal profiles give a clean, modern line and work with almost any tile. Bullnose gives a softer, traditional look when a matching piece exists. You pick by tile thickness, location and the look you want, and you pick before the tile goes up, because trim is set into the wall as the tile is laid. In a remodel, that decision belongs in the design phase, not on tile day.
TL;DR
- Trim finishes and protects exposed tile edges, and it makes clean transitions where tile meets another surface.
- Metal profiles (aluminum, stainless steel, brass) suit most modern tile. Bullnose and cove base are matching tile pieces for a traditional look.
- Trim height must match your tile thickness plus the thinset bed. A mismatch is the most common trim mistake.
- Choose trim at the design stage, since it is installed before the last row of tile.
- In wet areas, trim and grout must be detailed so water cannot get behind the edge.
Table of Contents
- What tile trim does and why every exposed edge needs a plan
- The main tile trim options at a glance
- Metal edge profiles: the most flexible option
- Bullnose and other tile-based trim
- Bullnose vs. metal trim: how to decide
- Match the trim to your tile thickness
- Where each trim goes: a room-by-room view
- Choosing the material: aluminum, stainless steel, brass, PVC or ceramic
- How trim is installed, and what to expect
- Planning trim into a remodel
- Where we come in
- Our view on tile trim
- FAQ
- Sources
What tile trim does and why every exposed edge needs a plan
Every tile installation ends somewhere: at the outside corner of a wall, at the top of a tub surround, around a shower niche, at a doorway where tile meets wood. Cut tile shows its raw side at each of those points. Trim solves that.
According to Schluter’s guide to tile edge trim, edge trim does three jobs: it protects the edge from chipping and damage, it creates a clean finished border, and it makes smooth transitions between tile and other flooring such as wood, carpet or vinyl.
Trim also does quiet work in wet rooms. A tile manufacturer’s trim guide explains that trim hides the mud set and thinset behind the tile, helps keep water from pooling in corners, and reinforces stress points between wall and floor.
For a homeowner, the practical point is simple: trim is part of the look of the finished room. Two bathrooms with identical tile can feel completely different depending on whether the edges are crisp metal, soft rounded ceramic, or a mitered return.
The main tile trim options at a glance
There are two families. One is a separate profile, usually metal, that is set into the mortar under the tile. The other is trim made of tile itself, shaped to finish the edge.
| Option | What it is | Look | Typical places |
|---|---|---|---|
| Square-edge metal profile | Thin metal strip with a squared face | Flush, contemporary | Outside corners, niches, large-format tile |
| Rounded metal profile | Metal profile with a rounded reveal | Soft, like bullnose without matching tile | Outside corners, countertops, wall caps |
| Bullnose tile | Tile piece with one rounded, glazed edge | Traditional, seamless with the field tile | Wall caps, tub surrounds, windowsills |
| Cove base | Tile piece with a concave curve | Classic, easy to clean | Where shower wall meets floor |
| Pencil liner / quarter round | Narrow molding-style tile | Decorative accent line | Borders, wall caps, chair rails |
| Mitered edge | Tile edges cut at 45 degrees and joined | Clean, trim-free, custom | Niches, curbs, outside corners |
| Transition strip | Profile bridging two floor surfaces | Functional | Doorways, tile to wood or carpet |
| Stair nosing | Profile that caps a stair tread | Safe, durable | Steps and landings |
The next sections take these in the order most homeowners meet them.
Metal edge profiles: the most flexible option
Metal profiles are the go-to when you want a crisp edge. Schluter’s guide names aluminum, stainless steel and PVC as the most common materials. Aluminum comes in an extensive selection of finishes and colors. Stainless steel offers excellent durability and corrosion resistance. PVC suits light-duty or budget-friendly applications.
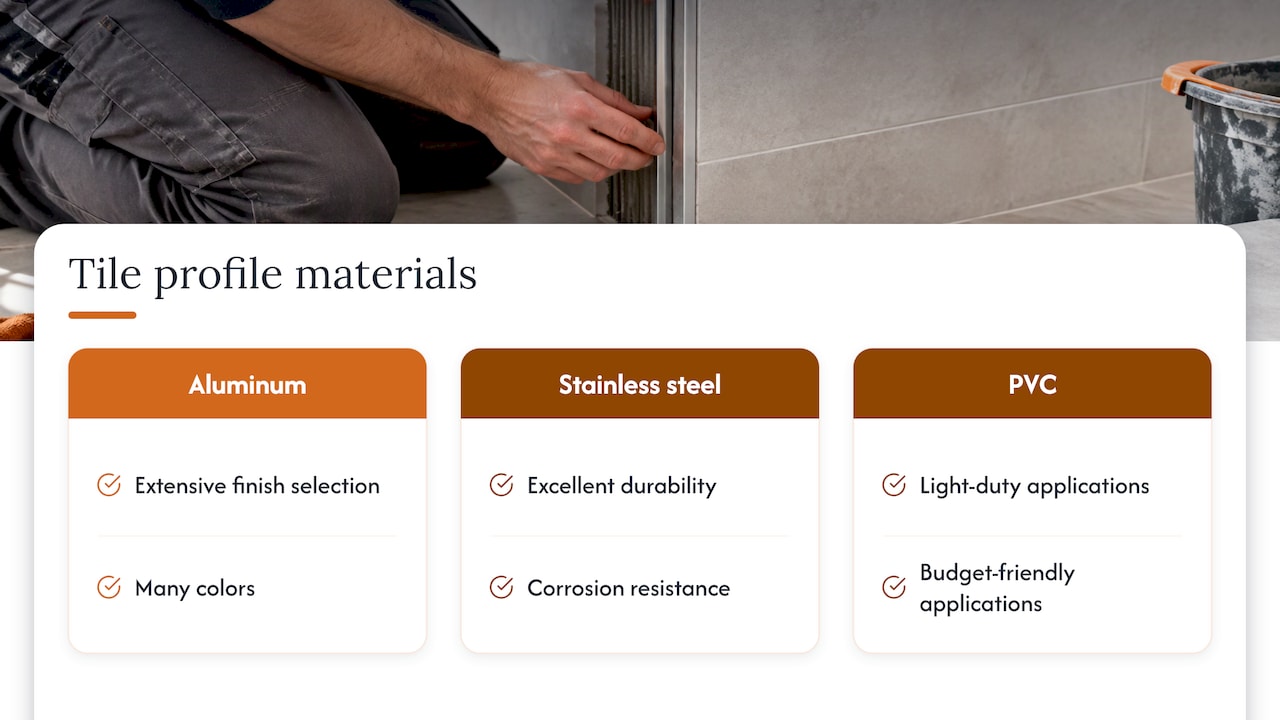
How a profile works matters when you plan. A technical data sheet for two popular profile families describes a perforated anchoring leg that sits in the mortar bond coat beneath the tile, with only the narrow face showing once the job is done. That is why the trim must go in before the final row of tile, not after.
Square versus rounded profiles
The two shapes most people compare are a squared profile and a rounded one.
- Square (the JOLLY-type profile): the data sheet describes a sloped vertical wall section that gives a decorative finish and protects adjacent tiles. The result is a flush, contemporary line that pairs well with large-format and rectified tile (tile cut with precise, sharp edges).
- Rounded (the RONDEC-type profile): the same data sheet describes a symmetrically rounded outer corner with a 1/4 inch (6 mm) radius. It gives you the softer look of bullnose without needing a matching tile piece. It is offered in stainless steel, solid brass, chrome-plated brass, anodized and color-coated aluminum, and PVC.
If you searched “Schluter trim vs bullnose”, this is the heart of the answer: a rounded metal profile and bullnose look similar in shape, but one is a metal strip in a finish you choose, and the other is a ceramic piece that has to exist in your tile line.
Metal finishes
Finish drives the style more than shape does. Brushed stainless reads as modern and works with gray and white palettes. Matte black is common in contemporary bathrooms. Brushed brass or chrome-look finishes echo the faucets and shower trim. A good rule from design practice: match the trim finish to the fixtures in the room, or choose a neutral that disappears into the grout color.
If you are still choosing fixtures, it helps to settle those first. Our guide to material selection for a bathroom remodel walks through the order in which those decisions are easiest to make.
Bullnose and other tile-based trim
Tile-based trim is made from the same material as the field tile, so it blends in. The Fireclay guide describes several pieces worth knowing.
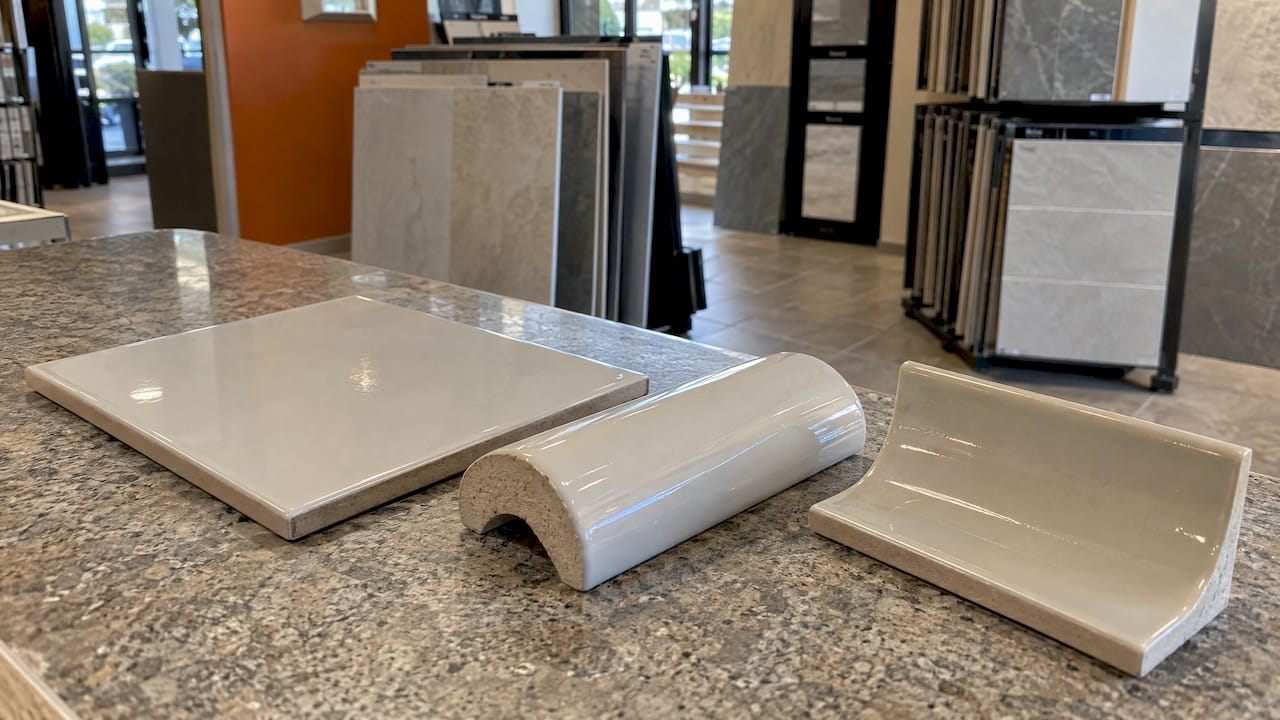
Surface bullnose. A tile piece with a rounded, glazed edge that can be placed horizontally or vertically. The guide says it caps off installations that do not reach the ceiling or that end flush with a cabinet wall, and it is available for field sizes larger than 2×2 inches.
Cove base. The guide says it is often used to join wall tile to floor tile, especially in wet spaces like a bathroom or shower, and that the concave edge keeps water from collecting in the grout.
Pencil liners and quarter rounds. Narrow molding-style pieces used as borders or caps. They add a decorative line and are usually chosen when the design calls for a layered, classic look.
One practical note on ceramic trim: curved pieces are glazed and fired separately, so color can vary a little from flat tile. The same guide says glazes run when fired, so color on curved edges such as bullnoses and cove bases may differ slightly from flat pieces. Ask to see trim and field tile side by side in natural light before you commit. This is easy to do in a showroom, which is one reason we keep a local showroom for material selection.
Bullnose vs. metal trim: how to decide
There is no single winner. The right call depends on your tile and your style.
Choose metal when:
- Your tile is porcelain or a newer format and a matching bullnose is not available or does not look right.
- You want a modern, minimal edge with a slim visible line.
- The edge takes knocks, such as a countertop edge, a shower curb or a high-traffic corner.
- You like the idea of a finish that coordinates with fixtures.
Choose bullnose when:
- You are working with a ceramic or glazed line that includes a bullnose piece.
- You want the edge to look like part of the tile, with no metal visible.
- The style is traditional, farmhouse or classic.
Choose a mitered or trim-free edge when:
- You want a seamless, custom look and the installer is skilled at cutting and polishing the edges. This is a labor-heavy detail, so it is a design decision worth pricing early.
If you are comparing “tile edging options” for a whole-room design, think of trim as a design element like grout color. It should be chosen on purpose, with the tile, not grabbed to fill a gap.
Match the trim to your tile thickness
This is the step where homeowners and first-time remodelers most often go wrong, and it is worth slowing down.
Schluter’s selection guide says tile thickness directly affects the profile you pick. The profile has to accommodate the tile depth so the surface is not uneven and does not create trip hazards, and thin tiles may need extra support to avoid breakage.
In practice, profiles are sold by the height of the vertical face. That height needs to equal the tile plus the thinset (the mortar layer under it). Measure the tile you actually bought, not the number on a sample card, and talk through the thinset allowance with your installer.
A useful habit: bring a loose tile to the supplier or your contractor and test-fit it against the profile before ordering all the trim.
Where each trim goes: a room-by-room view
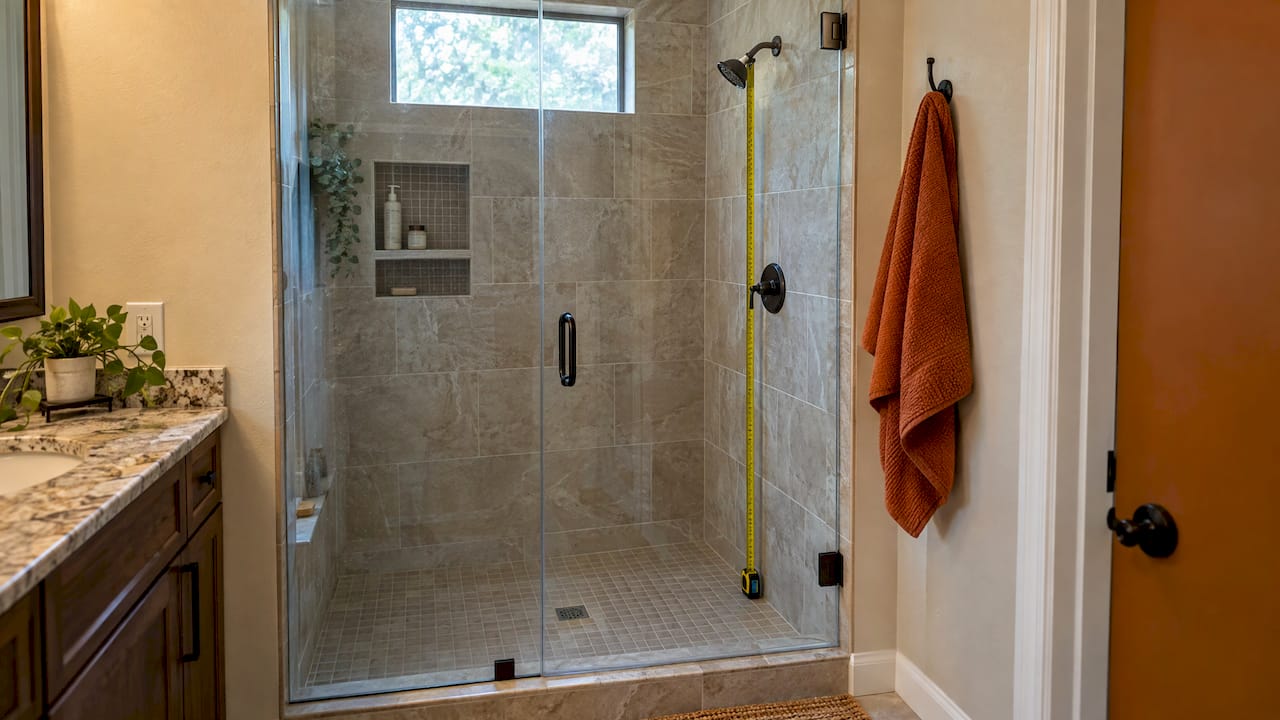
Showers and tub surrounds
Wet areas ask the most of trim. Cove base at the wall-to-floor joint helps water drain away from the grout. Outside corners, such as where a shower wall turns into the bathroom, are well suited to a metal profile or bullnose. Inside corners are usually handled with flexible caulk in a matching color rather than grout, a standard installation practice. Our post on installing a new tub surround shows how the wall surface, tile and finish edges come together.
Shower niches
Niches have a lot of edges in a small space, so the trim choice is very visible. Fine Homebuilding’s niche guide says that with bullnose or a premade edging profile, you set the wall tiles flush to the inside edges of the niche box. If you miter the joints instead, the wall tiles need to protrude into the niche box by the thickness of tile and thinset, and be mitered before installation. It also notes that wall tile protruding slightly too far is better than too little, since you can add thinset to move niche tiles inward. For design ideas, see our shower niche ideas.
Kitchen backsplashes
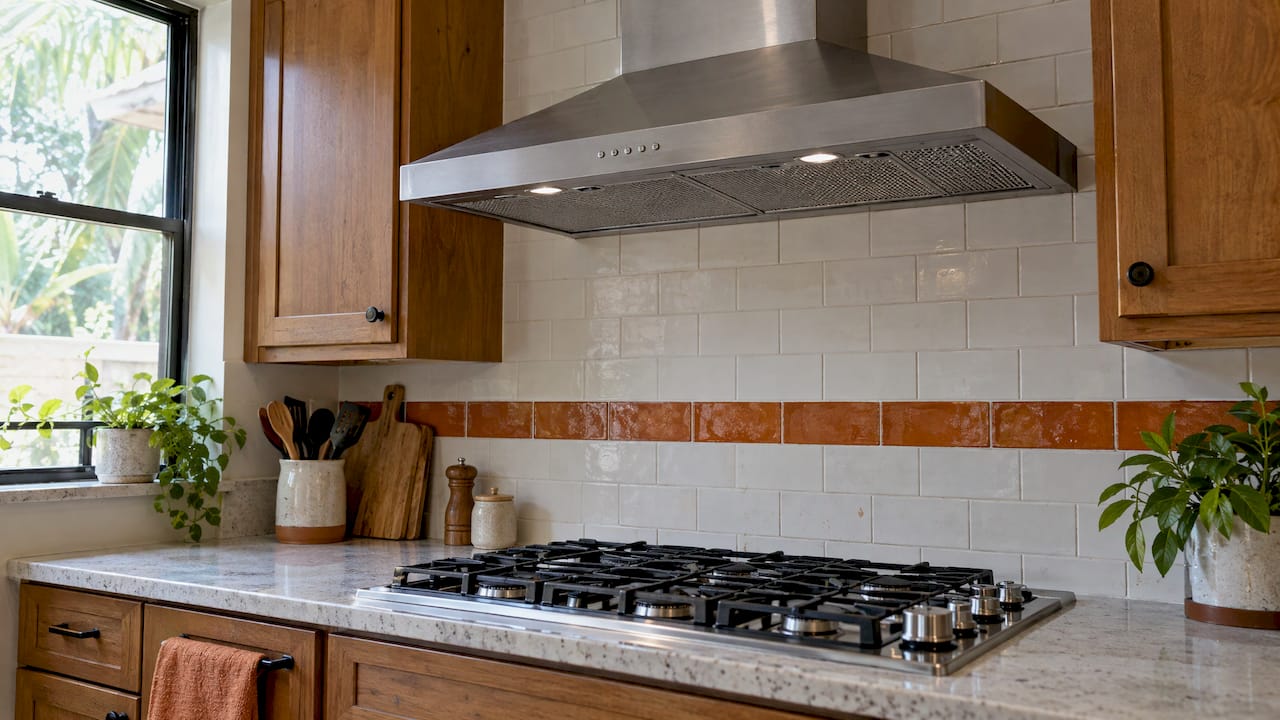
Backsplashes usually end at a cabinet, a window or open wall. A metal profile or a bullnose gives the open end a finished look. Choose it with the tile layout so the pattern, trim and outlet placements line up. For layout inspiration, see these kitchen tile ideas.
Floors and doorways
Where tile meets wood, vinyl or carpet, you need a transition profile. Height differences between the two floors decide which profile works. Our guide to floor transitions between rooms covers the types and how to handle differences in height.
Stairs and steps
Stair edges need a nosing, a profile that caps the tread edge. Hard-wearing stainless steel profiles are the sturdier pick where traffic is heavy. According to Schluter’s installation guide, stainless steel profiles handle high mechanical stress and suit heavy-duty floors where plastic profiles would not be wise.
Choosing the material: aluminum, stainless steel, brass, PVC or ceramic
- Anodized or coated aluminum: the broadest range of colors and finishes, a strong fit for most bathrooms and backsplashes.
- Stainless steel: corrosion resistance and strength, a good match for wet zones, floors and high-traffic edges.
- Solid brass: a warm, upscale finish for design-forward rooms.
- PVC: light-duty and budget-friendly, suited to low-impact spots.
- Ceramic or porcelain trim: matches the field tile for a traditional finish.
A simple way to decide: take the environment (wet or dry, light or heavy use), then the style (modern or traditional), then the tile (does a matching trim piece exist?). Those three answers narrow the list to one or two options.
How trim is installed, and what to expect
You do not need to install it yourself, but knowing the sequence helps you read a quote and judge a schedule.
- Select the profile based on tile thickness and format.
- Set the profile’s anchoring leg into thinset mortar and align it carefully, then cover the leg with more mortar.
- Embed the tile flush with the profile or up to about 1/32 inch (1 mm) below it.
- Fill the joints completely with grout or setting material.
That sequence comes from the manufacturer’s technical data sheet, which also says the integrated joint spacer sets a uniform joint of 1/16 to 1/8 inch (1.5 to 3 mm) where present.
Two things follow from it. First, trim is ordered and on site before tile setting starts. Second, a change of mind after tile is up is expensive, because the profile is buried under the tile. Settle the trim at design.
Planning trim into a remodel
The most useful moment to choose trim is when you choose tile. A few questions will keep the decision simple:
- Is the tile thin, standard or heavy, and is it rectified?
- Which edges will be visible: outside corners, niche edges, wall caps, the curb?
- Do you want the edge to disappear, or to be a visible accent?
- Do the trim finish and the fixture finish agree?
- Is there a transition at the doorway, and what is the height difference?
Make a list of every edge before you order, then check it against the layout. Count linear feet, add a margin for cuts, and confirm profile height against the tile in hand. Trim missing on tile day stops a crew, so it is a common source of delays.
Where we come in
Trim is a small line item that decides how a whole bathroom or kitchen looks. It also depends on other decisions: tile, layout, fixtures, waterproofing and schedule. That is why we handle design and construction together at Bath & Kitchen Gallery. The tile, the trim and the person setting them are planned as one job, and you can see and compare materials in our local showroom.
Every project gets a dedicated Lead Carpenter, our up-front pricing comes with detailed item lists, and our Work Clean System is built to minimize dust and disruption while tile work is underway. For a sense of scale, our published bathroom ranges include a Small 3-Fixture Bath with Shower at $22,100–$30,000 and a 4-Fixture Bath with Shower at $35,000–$46,000, with scope and materials setting the final cost. You can see the full ranges on our bathroom remodel cost page, and for kitchens on our kitchen remodel costs page.

If you are planning a bathroom or kitchen in the Tampa area and want the tile and trim decided properly from the start, start with our bathroom remodeling team.
Our view on tile trim
We think trim is where a remodel shows its care. Anyone can pick a pretty tile. The finished edge, the clean corner and the niche that lines up are what you see every morning.
Our approach is to treat the trim as part of the design, not a last-minute add-on. Because design and construction are in-house, the person choosing the profile and the person setting it are on the same team. We put the trim on the plan and the item list up front, so the price you see already reflects it.
Our Lead Carpenter owns the details on site: confirming the profile height against the real tile, checking that everything is on hand before tile day, and keeping the work area clean with our Work Clean System. That is how we aim for fewer delays and clear communication, which is what most homeowners tell us they want from a remodel.
Our advice: choose the tile and the trim together, look at them side by side in a showroom, and decide on the finish while the design is still on paper.
MediaBeast
FAQ
What is the difference between tile trim and bullnose?
Bullnose is one kind of trim: a ceramic or porcelain piece with a rounded, glazed edge that matches the field tile. “Trim” also covers metal and PVC profiles, cove base, pencil liners and transition strips. If your tile line has no matching bullnose, a rounded metal profile gives a similar soft edge.
What is the best tile edge trim for a shower?
For outside corners and niches, a metal profile in stainless steel or aluminum is a common choice, and bullnose works well with traditional ceramic. At the wall-to-floor joint, a cove base helps water drain away from the grout. The best choice depends on your tile and fixture finish, which is easy to settle during design.
Do I need tile trim on every edge?
Not always. Edges that are covered by another surface, such as a cabinet or a baseboard, do not need trim. Exposed outside corners, wall caps, niche edges and transitions to other flooring do. A mitered edge is a trim-free alternative where the design calls for it.
How do I know what trim size to buy?
Match the height of the profile’s vertical face to your tile thickness plus the thinset layer. Measure the actual tile you purchased, and fit a loose tile against the profile before you order the full run. Your contractor can confirm the size on your plan.
Can trim be added after the tile is installed?
Metal profiles sit under the tile and are installed before the last row is set, so they are not an after-the-fact add-on. Decide on trim during design and have it on site before tile setting begins.
Sources
- Tile Edge Trim: Why It Matters and How to Choose the Right One (Schluter)
- Choosing the Right Tile Edge Trim (Schluter)
- Installation with Trim Profiles (Schluter)
- Countertop Profiles technical data sheet
- Trim Guide for Original Ceramic (Fireclay Tile)
- How to Build a Better Shower Niche (Fine Homebuilding)