
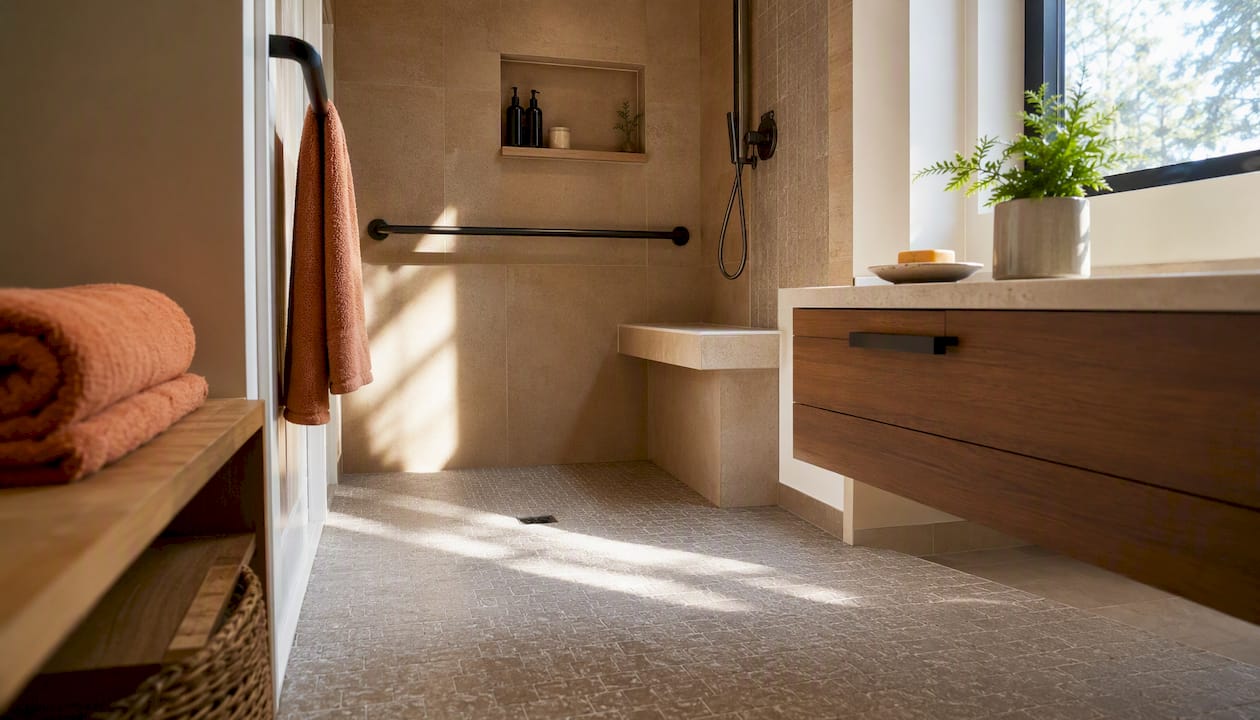
Five upgrades do most of the work in an aging in place bathroom: a curbless or low-threshold shower, properly anchored grab bars with in-shower seating, non-slip flooring, anti-scald water controls set to 120°F, and better lighting with wider clearances for walkers or wheelchairs. Each one targets a specific way people get hurt in bathrooms: slipping on wet tile, losing balance stepping over a tub wall, scalding from a sudden temperature spike, or misjudging a step in dim light. You don’t need to do all five at once.
- Right now: check your water heater setting and add a bath mat with real grip.
- This year: install grab bars and a handheld showerhead.
- When you remodel: convert to a curbless shower and widen the doorway.
Pro Tip: Test your water temperature at the tap with a kitchen thermometer tonight. If it reads above 120°F, that’s a same-day fix that costs nothing but a wrench turn at the water heater.
Key Takeaways
An aging-in-place bathroom works best when curbless showers, anchored grab bars, non-slip flooring, anti-scald controls, and layered lighting are addressed together rather than piecemeal.
| Point | Details |
|---|---|
| Start with water temperature | Set the water heater to 120°F and add a thermostatic mixing valve to prevent scald spikes. |
| Anchor grab bars into studs | Never rely on drywall anchors alone; professional installation is worth the cost here. |
| Target DCOF 0.42 for flooring | Choose slip-resistant tile or stone that meets this benchmark without looking like a commercial ramp. |
| Phase your budget | Handle quick fixes now, mid-range flooring and shower seating this year, full remodels when funds allow. |
| Work with a single-vendor team | Tampakitchenandbath pairs design and construction with up-front pricing and a dedicated lead carpenter for aging-in-place remodels. |
Table of Contents
- What Upgrades Should You Prioritize First?
- Can a Senior-Friendly Bathroom Still Look Modern?
- What Clearances and Heights Should You Plan For?
- How Do You Protect Against Scalding and Slips?
- What Will This Actually Cost You?
- Who Should You Call Before You Remodel?
- How Does a Professional Remodel Actually Run?
- Ready to Start Your Aging-in-Place Bathroom Project?
- Frequently Asked Questions
- Sources
What Upgrades Should You Prioritize First?
Not every fix requires a contractor, and not every fix should wait for one. Sorting upgrades by cost and complexity helps you build a realistic plan instead of an overwhelming list.
Under $200, do this weekend:
- Add slip-resistant strips or a suction-grip mat rated for wet floors.
- Swap a fixed showerhead for a handheld model on a slide bar.
- Replace round faucet knobs with lever handles, easier to operate with limited grip strength.
- Add a battery-powered nightlight near the toilet and shower entry.
Mid-range projects ($500 to $3,000):
- Install grab bars near the toilet and inside the shower, always anchored into wall studs or blocking, never just into drywall anchors.
- Add a fold-down or built-in shower seat.
- Raise the toilet height with a comfort-height model or an add-on raised seat.
- Improve reachable storage so soap, shampoo, and towels sit within arm’s reach of the shower entry, not on a high shelf.
Full remodel territory ($5,000 and up):
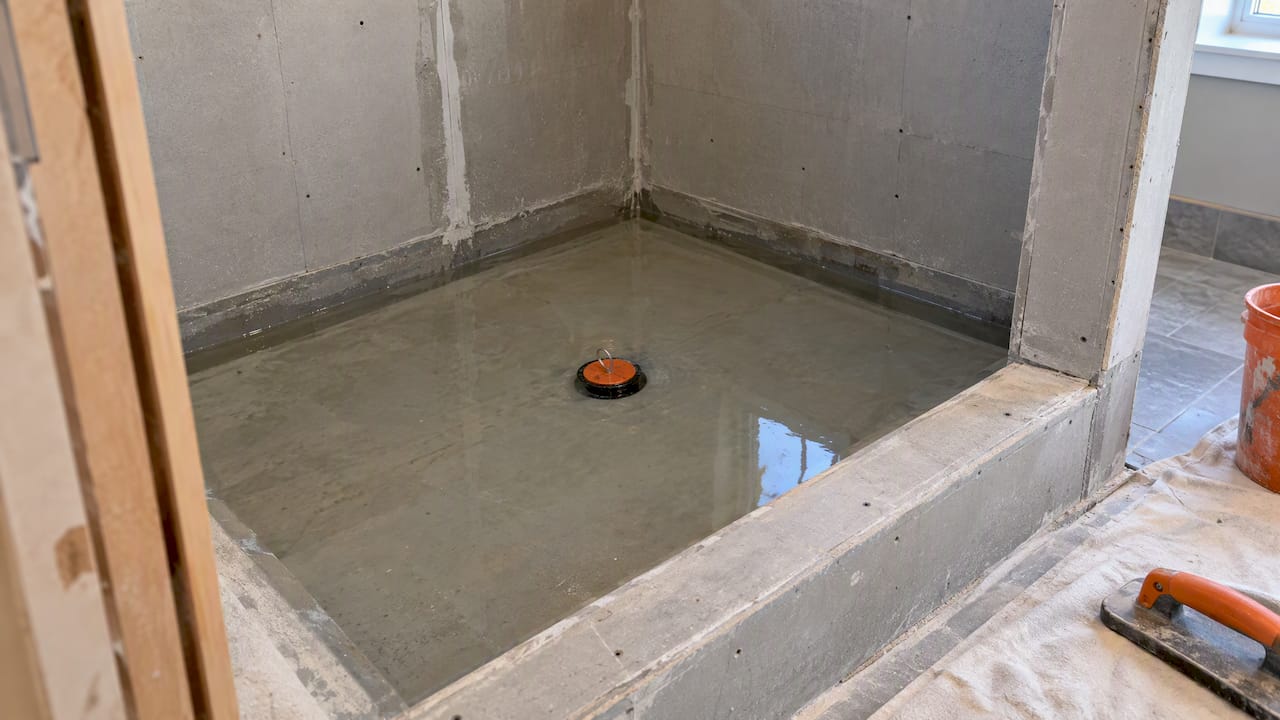
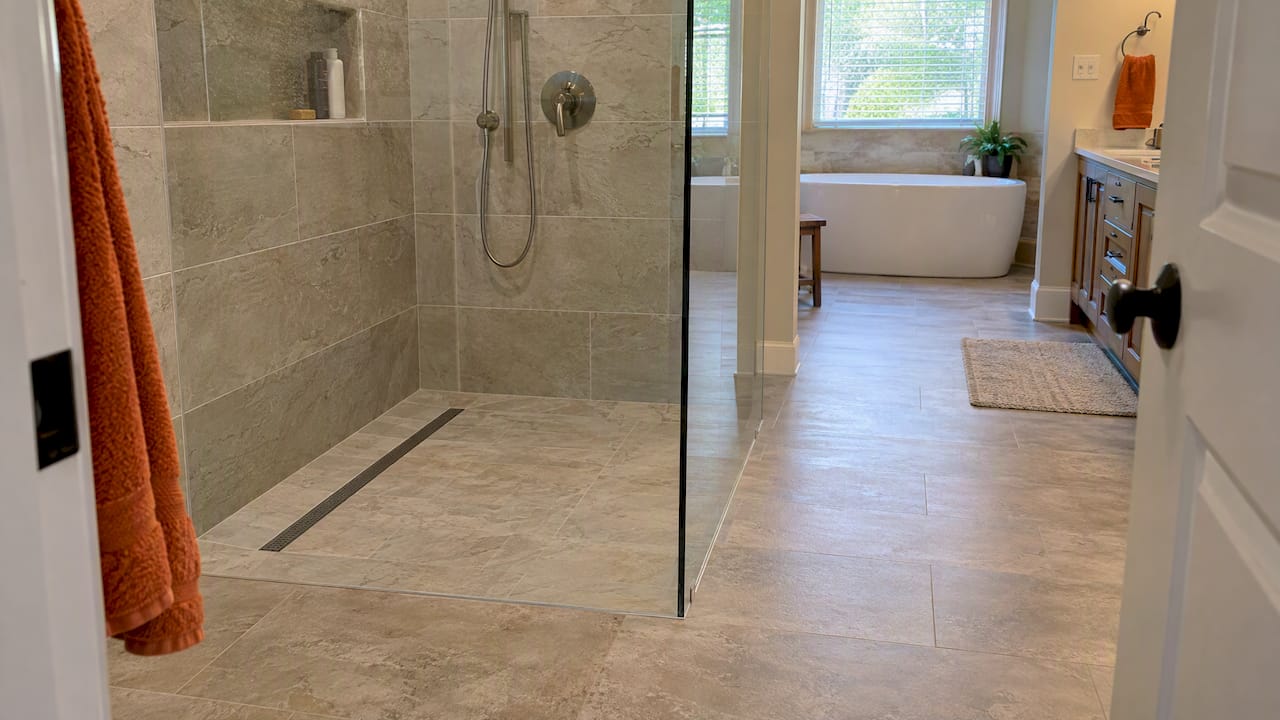
- Convert a tub/shower combo to a curbless, walk-in shower with a slip-resistant pan.
- Widen the doorway and reroute plumbing if the layout demands it.
- Install a thermostatic mixing valve at the water heater or shower valve.
Grab bars, curbless shower pans, and thermostatic valves fall into a category worth flagging clearly: Access Board guidance for bathing rooms exists because placement and structural backing genuinely matter, and a licensed plumber or a contractor experienced with curbless showers should handle all three.
Pro Tip: A grab bar screwed into drywall alone can pull loose under a person’s full body weight during a fall, the exact moment it’s supposed to work. Always confirm stud-mounted installation in writing.
Can a Senior-Friendly Bathroom Still Look Modern?
Safety features used to mean beige plastic bars and a hospital vibe. That’s changed. Matte black, brushed nickel, and brushed gold grab bars now double as towel rails or shelf supports, so the safety hardware reads as intentional design rather than a medical retrofit.
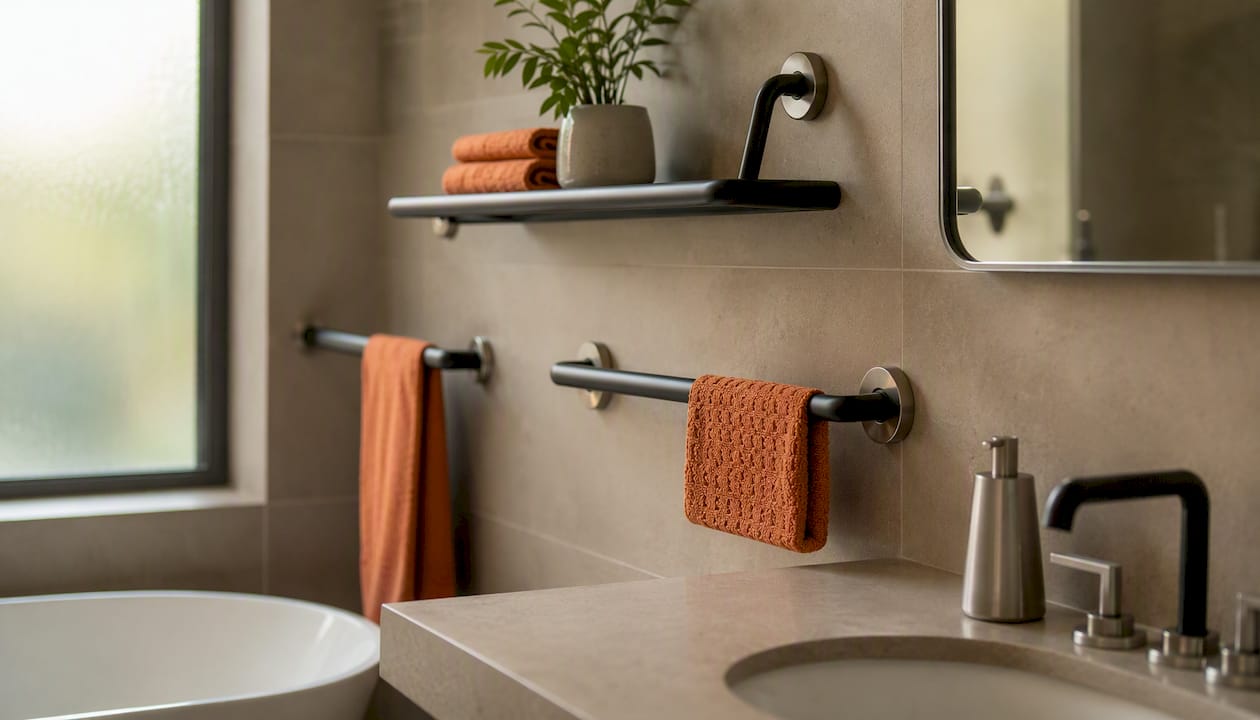
Large-format porcelain tile creates fewer grout lines, which means fewer places for grime and mildew to collect, and it reads as clean, contemporary, and spa-like. Integrated wall panels replace tiled shower surrounds in some remodels, cutting down grout maintenance almost entirely, a genuine advantage for anyone who can no longer scrub a shower stall themselves. Modern walk-in shower designs now build seating and recessed storage directly into the wall, so nothing looks bolted on as an afterthought.
Color contrast matters more than most homeowners realize: a dark-toned bench against a lighter floor, or a contrasting grab bar against the wall tile, helps someone with declining vision judge distance and depth. Choose finishes that wipe clean without harsh chemicals; matte surfaces hide water spots better than high-gloss tile.
Pro Tip: Ask your designer for a “coordinated hardware” plan, where the grab bars, towel bars, and faucet finish all match. It’s the single easiest way to make safety gear disappear into the room’s style.
What Clearances and Heights Should You Plan For?
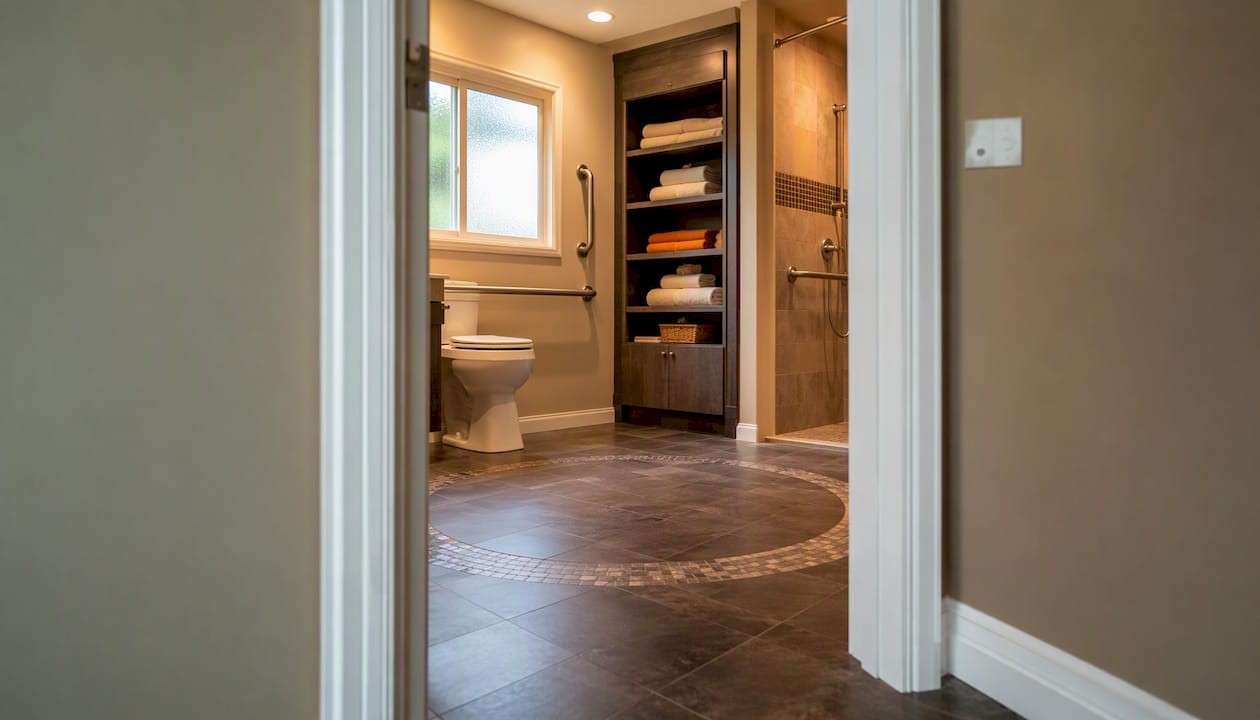
Getting these numbers right before demolition starts saves you from a redo later. Doorways need at least 32 inches of clear width, though 36 inches is a safer target if a walker or wheelchair is a realistic possibility down the road; for more on choosing the best doorways, see The Best Interior Doors for Your Bathroom. Where a full wheelchair turn is needed, plan for a 60-inch turning circle.
| Feature | Recommended Spec |
|---|---|
| Doorway clear width | 32 to 36 inches |
| Wheelchair turning space | 60-inch diameter, where needed |
| Grab bar mounting height | 32 to 36 inches from the floor |
| Comfort-height toilet | about 19 inches, seat to floor |
| Reachable storage zone | 15 to 48 inches from the floor |
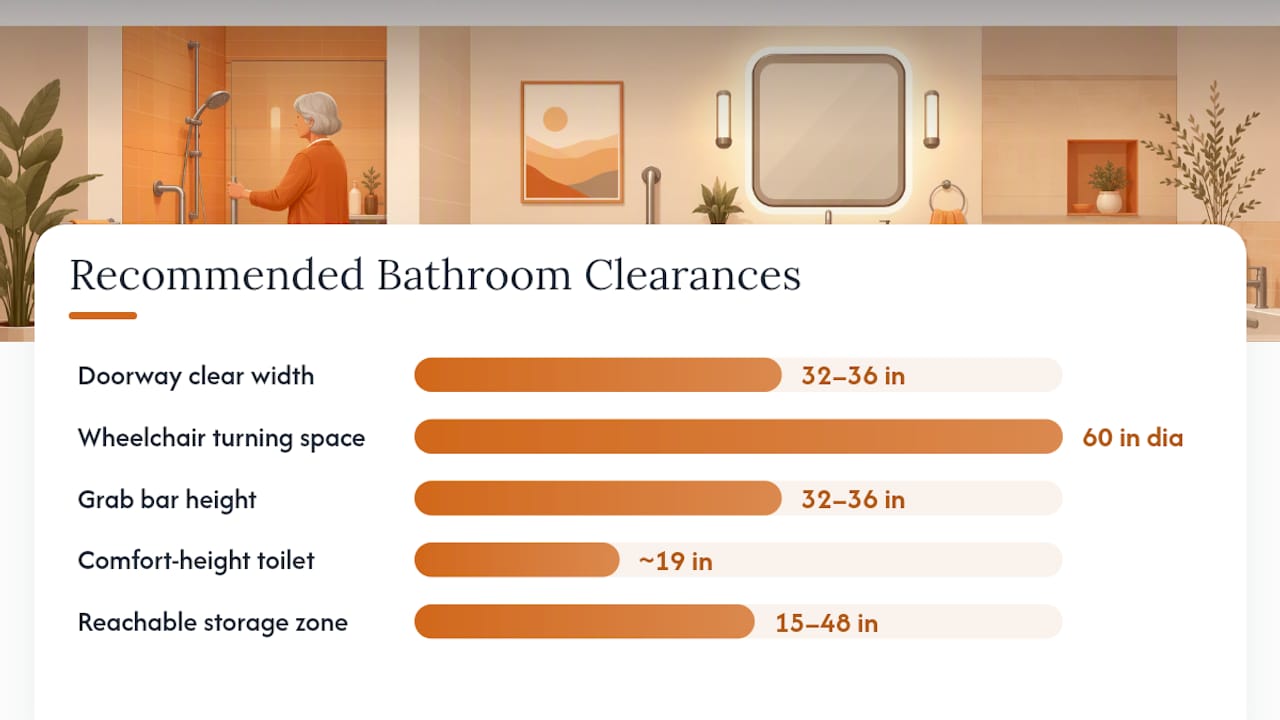
Grab bar height and toilet-side placement follow guidance in the Access Board’s toilet room specifications, built for public and commercial spaces under the ADA design standards. Residential remodels don’t need to hit every commercial threshold exactly, but the numbers make a solid planning baseline, especially for grab bar height and turning radius.
Pro Tip: Measure your own doorway before you meet with a contractor. Homeowners are often surprised to learn their “standard” door is only 28 inches wide, too narrow for most walkers.
How Do You Protect Against Scalding and Slips?
Water temperature control is the upgrade people skip because it’s invisible, and it’s one of the most preventable injury sources in the home. Medical guidance recommends setting your water heater to about 120°F (49°C), paired with a thermostatic mixing valve or anti-scald device at the shower valve itself, since even a properly set water heater can deliver a temperature spike if someone flushes a toilet or runs another tap mid-shower.
Lighting needs layers, not just one overhead fixture: task lighting at the mirror, a night-light path from bed to bathroom, and glare-free fixtures over the shower. Floor material matters just as much. AARP’s guidance points toward a DCOF (dynamic coefficient of friction) target of about 0.42 for shower and bathroom floors, enough grip for wet feet without the look of a commercial ramp.
The stakes are real: roughly 80% of falls after age 65 happen in the bathroom, and the CDC’s national falls data confirms falls remain one of the leading injury risks for older adults overall.
- Add a slip-resistant mat rated for wet surfaces if your existing floor tests too smooth.
- Install a thermostatic valve at the shower, not just the water heater.
- Layer at least three light sources: task, ambient, and night.
What Will This Actually Cost You?
Budgets vary by scope, but three tiers cover most projects. Quick fixes, grab bars, a handheld showerhead, lever faucets, non-slip mats, typically run $150 to $600 and take a single afternoon. Mid-range work, a curbless shower conversion or slip-resistant flooring replacement, generally lands between $3,000 and $10,000 and takes one to three weeks depending on tile lead times. A full remodel that repositions plumbing, widens a doorway, and reconfigures the layout often runs $10,000 to $25,000 or more, with a four to eight week timeline once permits and custom materials are factored in.
Permits, custom tile orders, and plumbing relocations are the usual schedule-stretchers. One elder-care safety resource notes that targeted home safety modifications can cut fall risk by as much as 40%, a strong argument for phasing a project by risk level rather than budget alone: fix the water temperature and flooring first, then plan the curbless shower conversion once funds allow. Full cost breakdowns for Tampa-area remodels can help you set a realistic number before you call anyone.
- Phase 1 (this month): water heater setpoint, grab bars, handheld showerhead.
- Phase 2 (this year): non-slip flooring, raised toilet.
- Phase 3 (next remodel cycle): curbless shower, widened doorway.
Who Should You Call Before You Remodel?
An occupational or physical therapist can assess transfer safety, gait, and reach zones in ways a contractor alone can’t, and that assessment often shapes exactly where grab bars and seating should go. Bring one in if a family member has had a recent fall, uses a cane or walker, or is recovering from surgery.
When you talk to a remodeler, ask direct questions:
- Have you completed aging-in-place projects before, and can I see examples?
- Will one dedicated lead carpenter oversee my project start to finish?
- What’s your dust-control process during construction?
- Can you provide pricing up front, before work begins?
- Do you carry proof of insurance you can send me directly?
- Red flag: a contractor who won’t commit to stud-mounted grab bars in writing.
- Red flag: vague scope language with no fixed pricing.
- Red flag: no answer when you ask about dust containment.
How Does a Professional Remodel Actually Run?
A well-run aging-in-place project follows a predictable sequence, and knowing the steps helps you spot a contractor who’s cutting corners.
- Consultation and assessment. A designer walks the space, discusses mobility needs, and incorporates OT or PT recommendations if one has been done.
- Design with style options. Finishes, grab bar placement, and layout get mapped before demolition, not during it.
- Up-front pricing. You see a firm number before signing, not a moving target.
- Dedicated lead carpenter. One person owns your project daily, so you’re not explaining your bathroom’s history to a rotating crew.
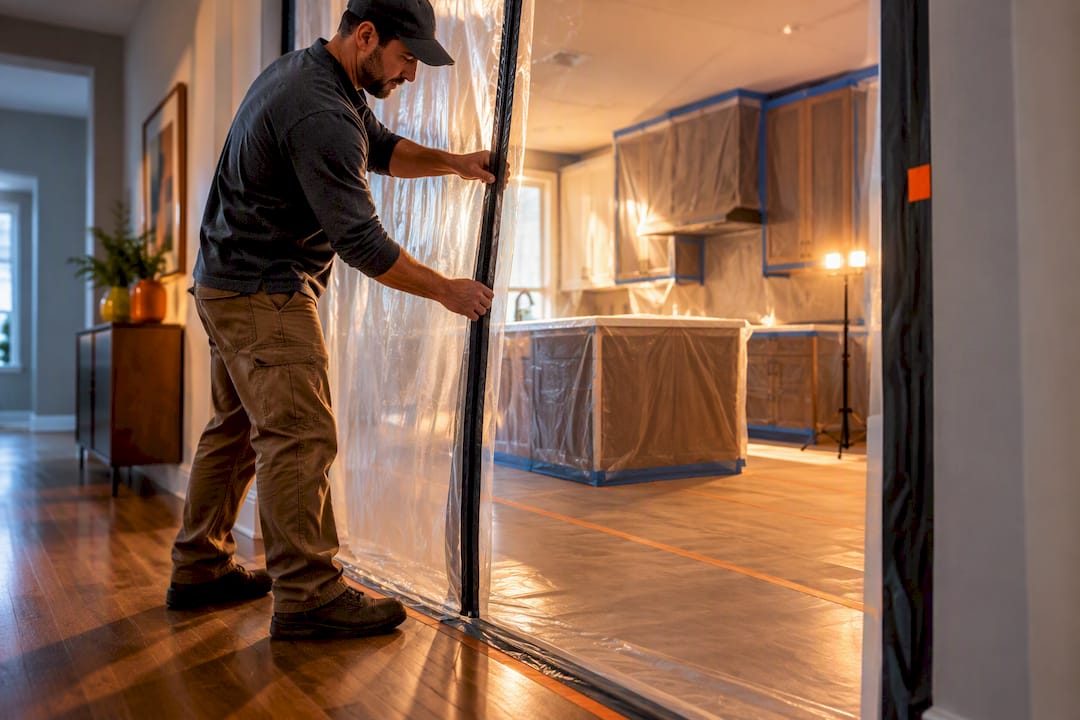
- Dust-control scheduling. A structured containment system, like Tampakitchenandbath’s Work Clean System, keeps demolition dust from spreading through the rest of the house.
- Final safety verification. Grab bars get load-tested, water temperature gets checked at the tap, and clearances get measured against the original plan.
Pro Tip: Ask whether your remodeler plans for future mobility changes, blocking behind shower walls for a second grab bar later, for instance, even if you don’t need it yet.
Designing for Later Without Making It Look Like Later
I’ve seen the instinct to wait until a fall happens before making changes, and it’s the wrong instinct. The best aging-in-place bathrooms I’ve studied don’t look like medical equipment showrooms. They look like a nice bathroom that happens to work for every body, at every stage, without announcing it.
Ready to Start Your Aging-in-Place Bathroom Project?
If you’re weighing whether to tackle a full remodel or just handle the quick fixes yourself, the honest answer depends on your bathroom’s layout and how much plumbing or structural work the safety upgrades require. Tampakitchenandbath handles both the design and construction side of these projects under one roof, so you’re not coordinating between a designer and a separate contractor while trying to get grab bar placement and shower slope right. Every project gets up-front pricing before work starts and a dedicated lead carpenter who owns your job from first demo day to final walkthrough, backed by the Work Clean System that keeps dust contained while you’re still living in the house.
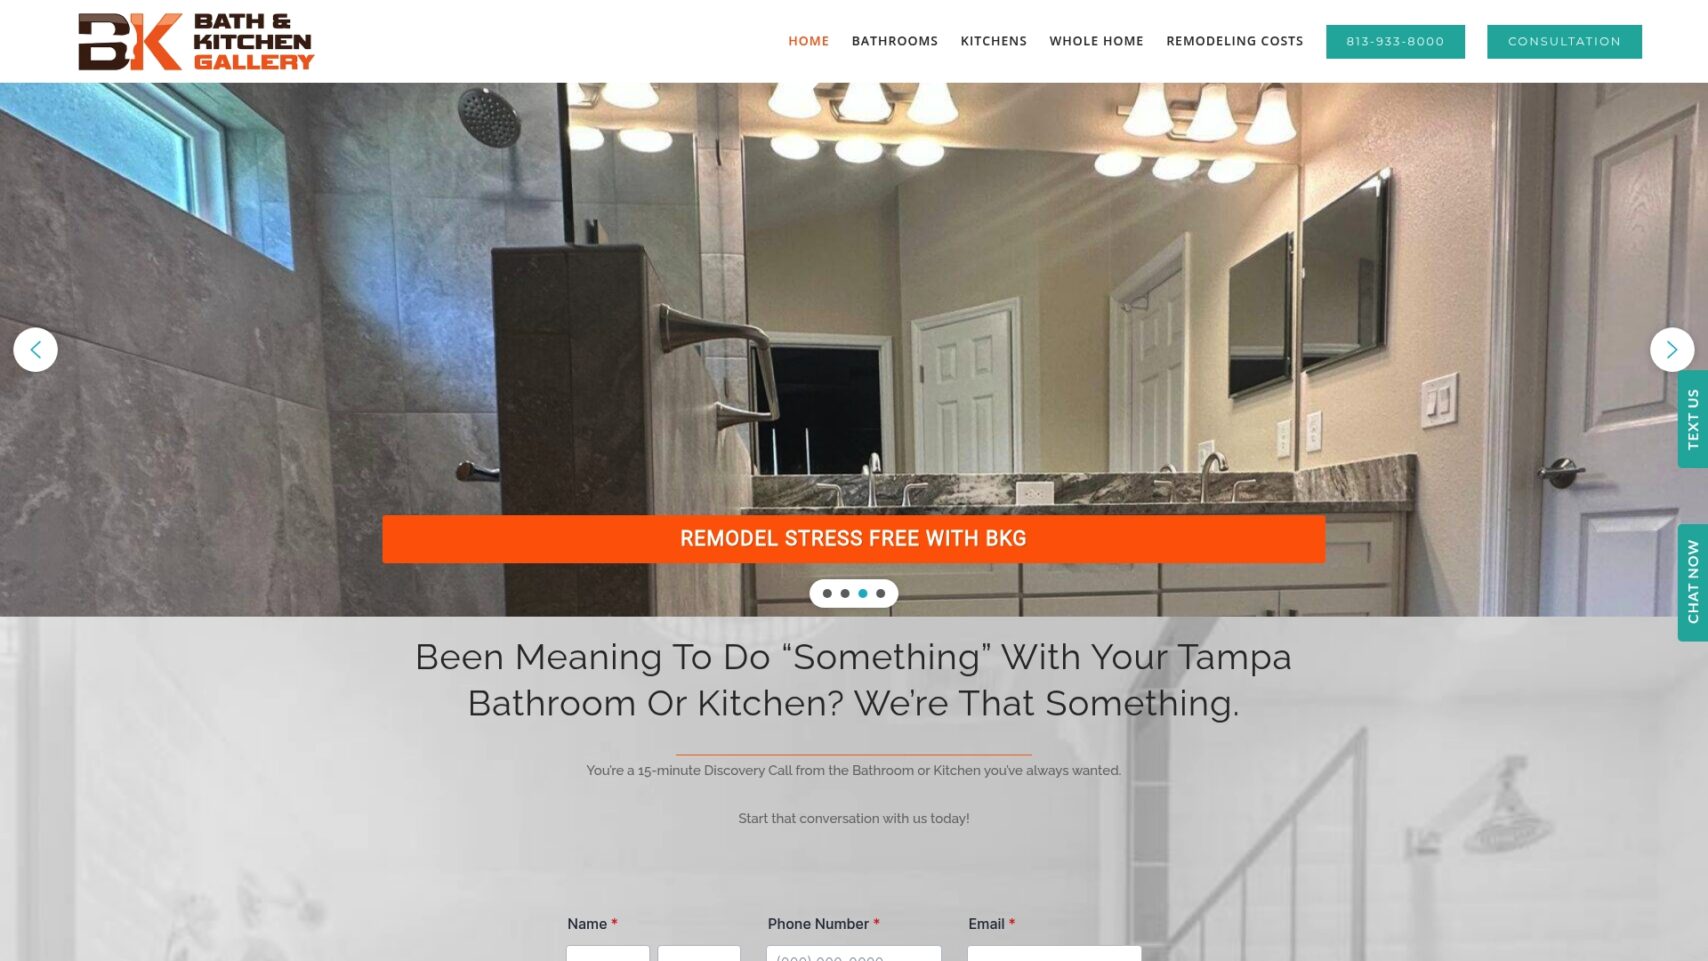
You can browse finished examples in the Tampa bathroom remodeling gallery to see how curbless showers and integrated grab bars look once they’re actually installed, or visit the local showroom to see finishes and hardware in person before committing to a design. Schedule a consultation to get a firm quote on your specific layout.
Frequently Asked Questions
What is the single most important aging-in-place bathroom upgrade?
Water temperature control usually wins, since scalding risk is invisible until it happens, and a thermostatic valve or a 120°F setpoint costs far less than a curbless shower conversion.
Do grab bars need to be professionally installed?
Yes, whenever they’re mounted into studs or blocking, which they should always be. A bar that pulls out of drywall during a fall is worse than no bar at all.
How wide does a bathroom doorway need to be for a walker or wheelchair?
Plan for at least 32 inches of clear width, with 36 inches preferred if a wheelchair is a realistic future need, following clearance guidance from the Access Board.
Can an aging-in-place bathroom still look stylish?
Yes. Matte-finish hardware, large-format tile, and integrated wall panels let grab bars and curbless showers blend into a modern design instead of reading as medical equipment.
How much does a full aging-in-place bathroom remodel cost?
Full remodels that reposition plumbing and widen doorways typically run $10,000 to $25,000 or more, while quick safety fixes like grab bars and lever faucets often cost under $600.
This article is general information, not a substitute for advice from a qualified doctor. Consult a qualified healthcare professional about your own circumstances before acting on anything here.
Sources
Every safety figure and clearance recommendation in this guide comes from a named, checkable source: the CDC’s falls data, Access Board bathing room guidance, ADA design standards, MedlinePlus water-temperature guidance, and AARP’s bathroom upgrade recommendations. None of these replace a personal assessment. For recommendations specific to your mobility, vision, or home layout, talk to an occupational therapist or a contractor who has handled aging-in-place projects before.