
For most kitchens, linear LED bars or continuous LED tape beat every other option for task lighting because they throw a uniform wash across the counter instead of scattered pools of light. Puck lights work fine for accent lighting on open shelving or glass cabinets, but they cast a scalloped pattern that makes chopping vegetables or reading a recipe harder than it should be.
Here’s how to decide fast:
- Battery or plug-in bars/tape: DIY-friendly, no electrician needed, good for renters or a weekend upgrade.
- Rechargeable stick-on kits: Also DIY, but expect to recharge them every few weeks depending on use.
- Hardwired systems: Require a licensed electrician for code-correct wiring, hidden drivers, and a permanent built-in look.
If you’re planning a full kitchen remodel or want multiple circuits controlled from one switch, a remodeling contractor with electrical coordination is the right call, not a weekend project.
Key Takeaways
Linear LED bars and continuous LED tape deliver the most uniform task lighting for kitchen counters, while hardwired installation delivers the cleanest, most permanent result but requires a licensed electrician.
| Point | Details |
|---|---|
| Pick bars or tape for task light | Linear fixtures avoid the scalloping puck lights create, giving even counter coverage. |
| Match lumens to purpose | Aim for lumens to match your lighting needs, with higher output for main light sources than task lighting. |
| Choose CCT by cabinet finish | Use 2700K to 3500K for warm wood tones, 3500K to 5000K for modern, cooler finishes. |
| Know when to call an electrician | Hardwired, multi-zone, or smart-integrated systems need professional wiring, not a DIY plug-in kit. |
| Consider a remodeling contractor | Tampakitchenandbath coordinates hardwired lighting, hidden drivers, and matched CCT during full kitchen remodels. |
Table of Contents
- Types of Under Cabinet Lighting: Bars, Strips, Pucks, and Pads
- Which Power Source and Controls Work Best?
- How Do You Choose the Right Under Cabinet Lighting?
- What Does Installation Actually Involve?
- How Bright and What Color Temperature Should You Choose?
- Keeping Under Cabinet Lighting Working Long Term
- What Most Homeowners Actually End Up Choosing
- Why Professional Installation Makes Sense for Permanent Lighting
- Sources
Types of Under Cabinet Lighting: Bars, Strips, Pucks, and Pads
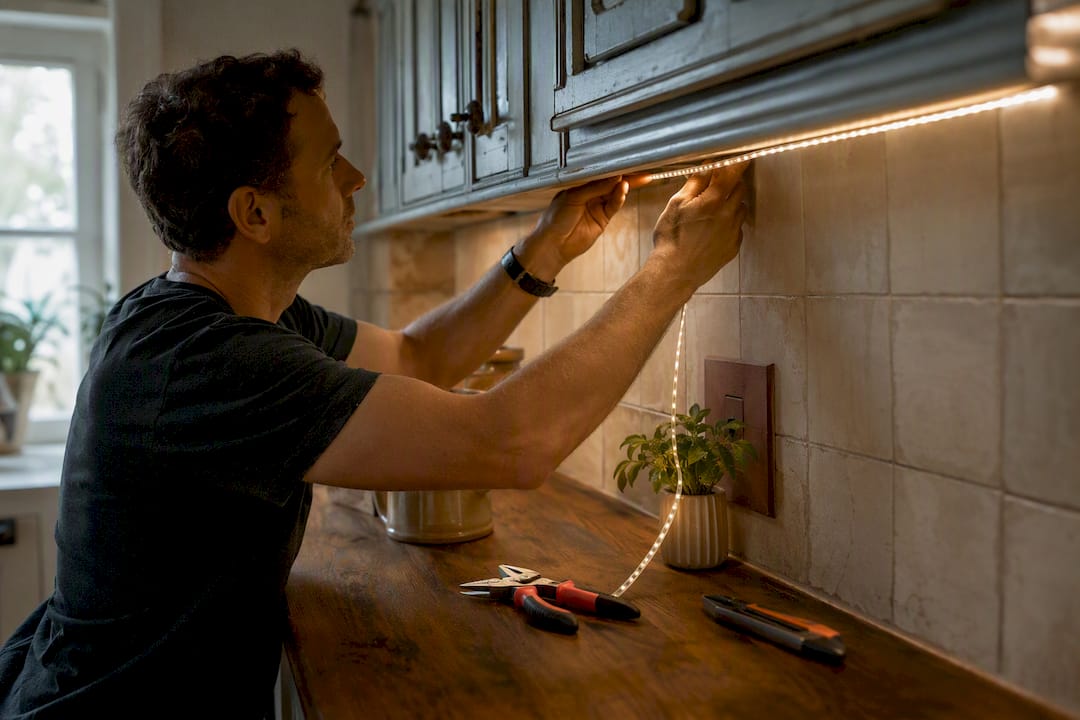
Linear LED bars are rigid fixtures, typically 12 to 48 inches long, that mount flush under the cabinet and deliver even, directional light across a fixed length. LED strips or tape are flexible, cuttable, and can run continuously along cabinets of any length, which makes them the better pick for L-shaped counters or runs that don’t match standard bar sizes. Puck lights are small, round fixtures spaced a few inches apart. They’re popular for accenting glass-front cabinets or highlighting a backsplash, but puck lights create circular pools of light known as scalloping, while linear bars and tightly spaced tape produce a more uniform, shadow-free glow. Light pads are flat, low-profile panels good for small or shallow cabinets where a bar’s depth won’t fit.
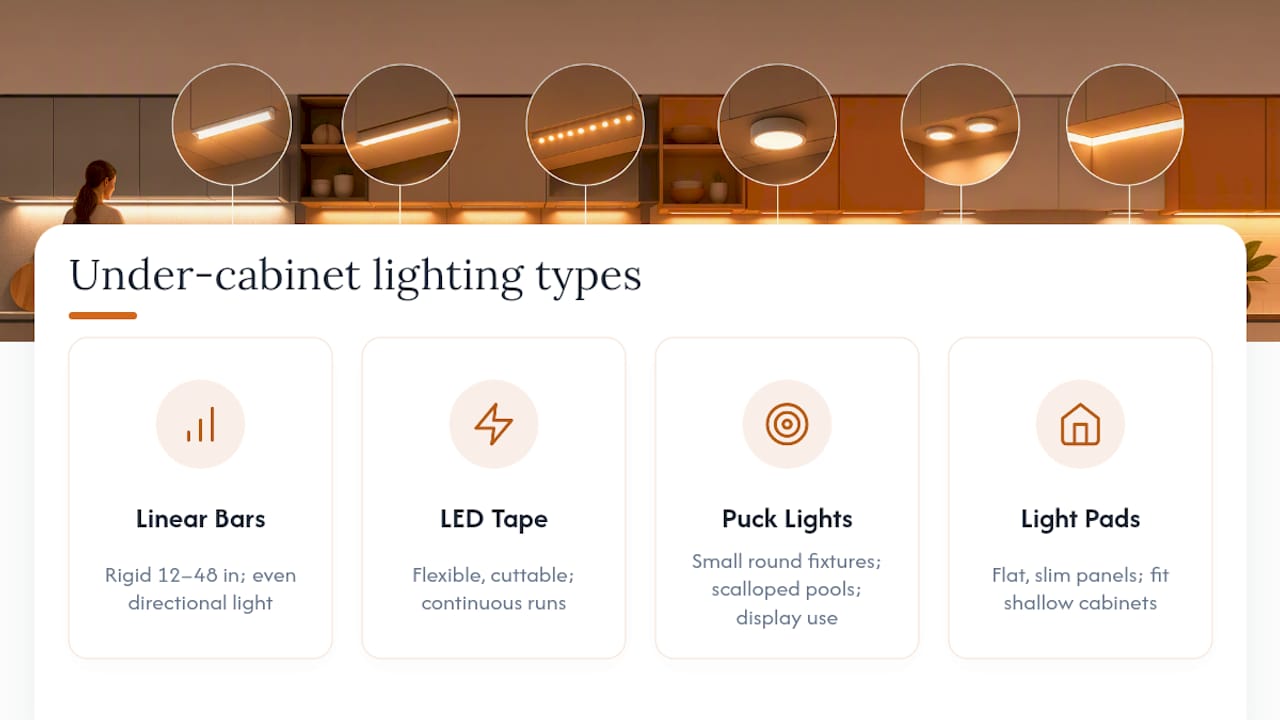
Cabinet depth matters more than people expect. A cabinet with less than a 1-inch reveal (the lip that hides the fixture from view) will show off a bulky bar, so tape or a slim pad is the smarter fit there. If your cabinets have a deeper reveal, our guide on custom kitchen cabinet profiles explains how reveal depth interacts with fixture concealment.
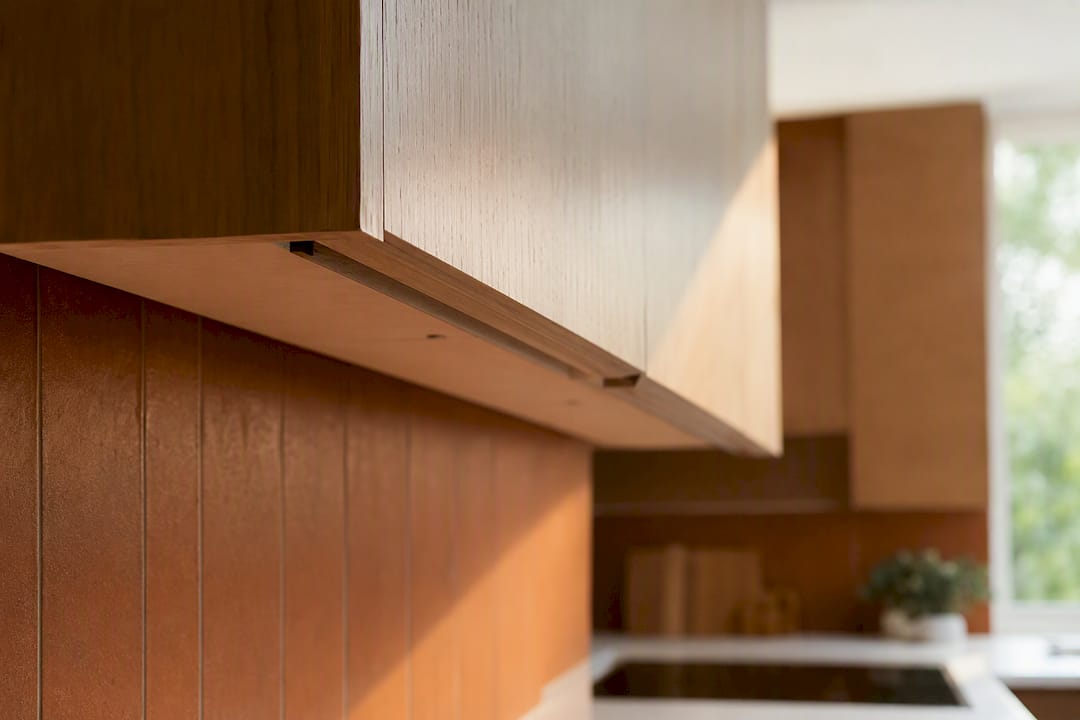
Pro Tip: If you’re lighting a long, unbroken counter run for meal prep, skip pucks entirely. Reserve them for display shelving or glass cabinets where a scalloped look reads as intentional, not distracting.
Which Power Source and Controls Work Best?
Battery packs are the simplest option, no wiring, no outlet needed, but batteries need swapping every few months. Rechargeable kits solve the swap problem but still need periodic charging. Plug-in fixtures run off a nearby outlet and stay powered as long as it’s live. Hardwired fixtures tie into your home’s electrical system and, according to Lowe’s buying guide, usually require an electrician for a clean, code-correct result.
Controls range from a basic toggle switch to a dimmer, remote, motion sensor, or full smart app control. Motion sensors sound convenient, but designers note they can shut off mid-task if you’re standing still chopping or plating food. That’s why many contractors default to manual, hardwired switches for kitchens.
- Battery and plug-in: true DIY, no permits.
- Hardwired with dimmer or smart control: pro installation recommended.
Pro Tip: If you want app control down the road, ask whether the fixture supports Wi-Fi or Zigbee before buying. Retrofitting smart control into an already-hardwired system costs more than choosing it up front.
How Do You Choose the Right Under Cabinet Lighting?
Start with intent. Are you lighting the counter for chopping and prep, or just adding a soft glow for ambiance? That single question drives everything else on your checklist:
- Task versus ambient purpose.
- Cabinet depth and reveal.
- Desired profile (hidden versus visible).
- Lumen target for the use case.
- Color temperature and CRI.
- Dimming or smart control needs.
- Power method and whether you’re comfortable running wire.
Ask any seller or contractor two direct questions: “Do you hardwire into an existing circuit or add a new one?” and “What driver or transformer does this fixture use?” Vague answers on either point are a red flag.
Costs and timelines vary by installation type:
- Battery or plug-in bars: low cost, same-day install, no tools beyond a screwdriver.
- Single hardwired run: moderate cost, typically a few hours of electrician time.
- Multi-run systems with hidden drivers: higher cost, often spread across one to three days depending on cabinet access.
Watch for warning signs before you buy: visible scalloping in a task area, a fixture whose color temperature clashes badly with your overhead lighting, unclear driver specs, or no UL listing at all. According to the Illuminating Engineering Society’s guidance, kitchen counters and critical task areas should see roughly 500 lux of light. If a product’s lumen output can’t get you there, keep shopping.
What Does Installation Actually Involve?
Surface-mount and stick-on kits are the easiest entry point. Clean the cabinet underside, peel the adhesive backing or snap the bar into its mounting clips, plug it in or drop in batteries, and you’re done in under an hour with nothing more than a tape measure and a screwdriver.
Recessed and hardwired installs are a different animal. These involve running low-voltage wire from a driver or transformer, routing cable through cabinet walls, and tying into a junction box, which is why electricians typically handle this work.
- Plan fixture placement and driver location.
- Route wiring through cabinet backs or walls.
- Mount fixtures and connect to the driver.
- Wire into the switch or circuit and test.
Low-voltage LED drivers differ from line-voltage fixtures in how they’re wired and protected, and mixing them up creates real safety issues. Call a professional for any multi-zone setup, concealed wiring, changes to your home’s electrical circuits, or a retrofit that goes behind tile or a backsplash.
Pro Tip: If your remodel includes a new backsplash, install the lighting wiring before the tile goes up. Retrofitting wire behind finished tile means tearing it out.
How Bright and What Color Temperature Should You Choose?
Lumen output should match the job. Lowe’s recommends a range of lumens to fit different lighting needs from main light source to task or accent lighting, without specifying exact numbers.
Color temperature changes the mood as much as the brightness. For warm-toned cabinetry like wood or copper accents, 2700K to 3500K reads warm and inviting. For cooler, modern finishes like glass or metal, 3500K to 5000K looks crisper and more clinical. CRI (color rendering index) measures how accurately a light source shows true colors. A higher CRI, 90 or above, matters most where you’re judging whether produce is ripe or a sauce is browning correctly.
Pro Tip: Match your under-cabinet CCT to your overhead fixtures. Mixing 3000K under the cabinet with 5000K overhead creates a visible, distracting color clash.
Keeping Under Cabinet Lighting Working Long Term
LEDs are built to last, often 10 years or more with far less heat output than old incandescent under-cabinet lights. Still, things go wrong. Flickering usually points to a loose connection at the driver or a failing dimmer that isn’t rated for LED loads, not a dying fixture. Dead sections in a run of LED tape almost always trace back to a bad solder joint or connector where the tape was cut and rejoined.
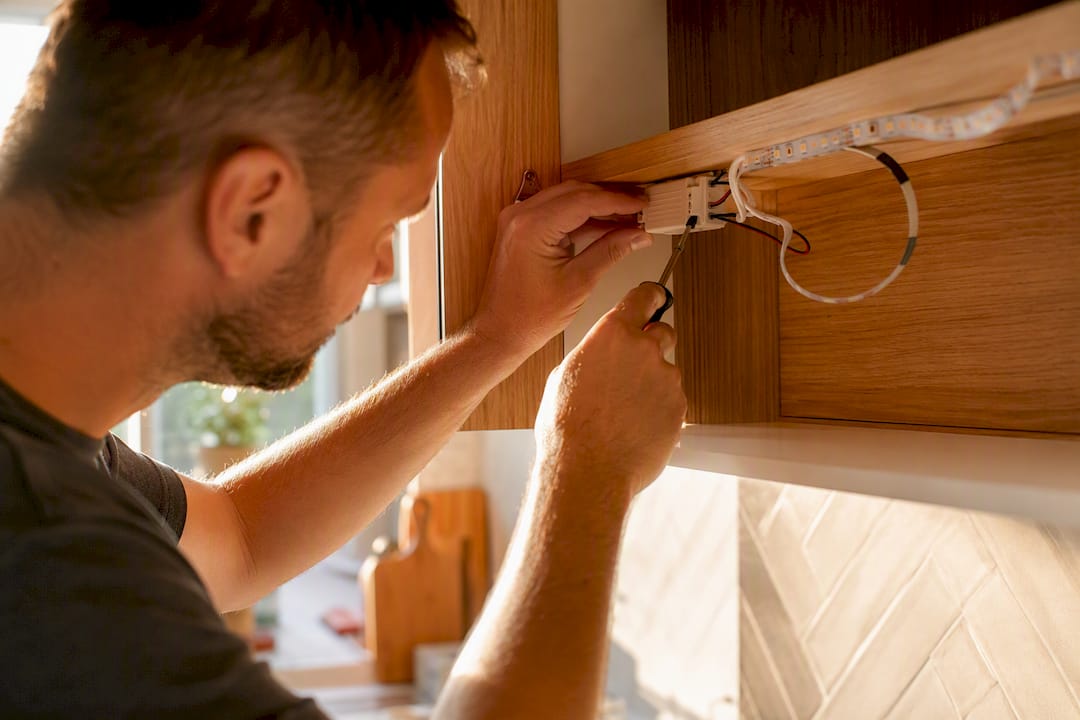
If a plug-in or battery fixture dims noticeably before it dies outright, that’s a power supply issue, not the LEDs themselves aging out. Rechargeable units losing charge faster than they used to are a sign the battery has degraded, which is a normal wear item you replace rather than a fixture flaw.
For hardwired systems, an electrician should check the driver first when something acts up. Drivers fail more often than the LED strip itself, and a mismatched or underpowered driver shortens the life of everything downstream.
A few habits keep any system running cleanly:
- Wipe fixtures with a dry or barely damp cloth. Grease buildup near a stovetop run can dull light output over time.
- Check connectors annually on tape runs, especially at cut points.
- Avoid painting or caulking directly over surface-mount fixtures during other kitchen work.
Most warranty claims on under-cabinet LEDs trace back to driver failure rather than the light strip or bar itself, so keep the driver accessible rather than sealing it behind permanent trim.
What Most Homeowners Actually End Up Choosing
Most homeowners we talk to during kitchen projects land in one of two camps. Renters and quick upgraders reach for plug-in bars or rechargeable tape because it’s fast and reversible. Homeowners doing a full remodel almost always go hardwired, because they want the clean, switch-controlled look with no visible cords.
Pro Tip: Homeowners rarely regret going hardwired during a remodel, but they often regret skipping a dimmer to save a few dollars.
Pro Tip: Clients who choose motion sensors for convenience frequently disable them within a year once they realize the light cuts out mid-task.
Why Professional Installation Makes Sense for Permanent Lighting
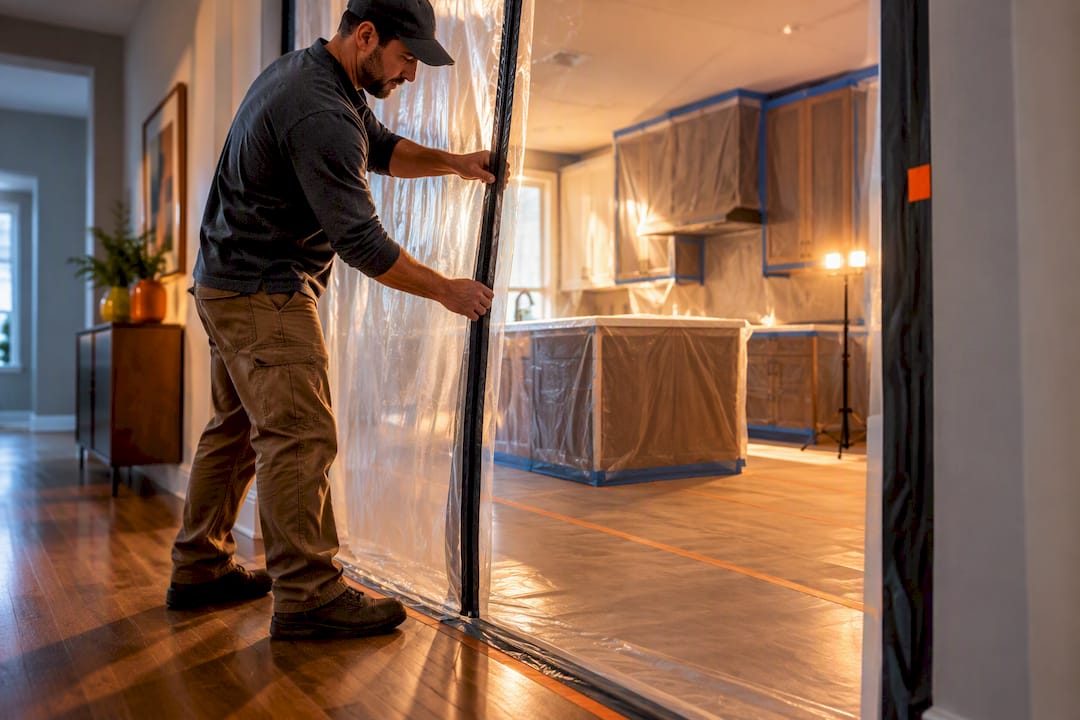
If you’re past the plug-in stage and want under-cabinet lighting built into your kitchen the right way, that’s exactly where a remodeling contractor earns their keep. Tampakitchenandbath coordinates lighting design with cabinetry, hides drivers behind finished panels, matches CCT across every fixture in the room, and runs hardwiring to code, all without leaving your kitchen buried in dust thanks to our Work Clean System.
Hiring a pro makes the most sense when you’re running multiple hardwired zones, adding smart controls tied into your home system, doing new backsplash or countertop work at the same time, or you simply want a finished look with zero visible cords or fixtures. We back every project with up-front pricing and a dedicated Lead Carpenter who oversees your job from first cut to final walkthrough, so there’s no guessing who’s accountable if something needs adjusting mid-project.
See how thoughtful lighting changes a finished kitchen in our lighting and remodeling guide, or go straight to our kitchen remodeling services in Tampa to schedule a consultation and get a project quote.