
Most bathroom remodels take a variable amount of time depending on scope, ranging from a few weeks to several months. A minor refresh (new fixtures, paint, updated vanity) wraps in 2 to 3 weeks. A mid-range remodel with new tile and a tub-to-shower conversion runs 4 to 6 weeks. A full gut renovation typically needs 6 to 12 weeks, and a luxury remodel with custom millwork or a layout change can stretch past three months.
Three variables move that estimate more than anything else. First, permits and inspections, which depend entirely on your local building department’s workload and can add days or weeks you can’t control. Second, plumbing and electrical scope, since relocating a toilet, tub, or vanity requires more inspection steps than a like-for-like swap. Third, material lead times, because a custom vanity or made-to-order tile can sit on backorder for weeks while your crew waits.
Before you commit to a start date, do three things:
- Confirm your exact scope with your contractor, including whether any plumbing or electrical lines will move.
- Ask when permits get pulled and how long your jurisdiction typically takes to schedule inspections.
- Order any custom or specialty materials during the design phase, not after demolition starts.
Key Takeaways
A realistic bathroom remodel timeline runs 2 to 3 weeks for a minor refresh up to 3 to 6 months for a luxury remodel, driven mainly by permitting, plumbing scope, and material lead times.
| Point | Details |
|---|---|
| Overall range varies by scope | Minor refresh takes 2 to 3 weeks; full gut runs 6 to 12 weeks; luxury remodels can take 3 to 6 months. |
| Order materials early | Custom vanities, tile, and shower doors can take 4 to 8 weeks to arrive, so order during design, not after demo. |
| Curing time adds non-working days | Tile, grout, and countertop adhesives can add 3 to 5 days where no visible work happens but the clock keeps running. |
| Permits are the least predictable factor | Local inspection scheduling can add days or weeks depending on your jurisdiction’s workload. |
| A managed process reduces surprises | Tampakitchenandbath pairs up-front pricing with a dedicated lead carpenter to keep schedules and communication on track. |
Table of Contents
- How Long Does a Bathroom Remodel Take to Plan?
- What Happens During Each Week of Construction?
- Why Do Tile and Grout Add Days to the Schedule?
- What Does a Sample Timeline Look Like by Project Scope?
- What Causes the Most Bathroom Remodel Delays?
- How Does a Professional Process Keep the Schedule on Track?
- What Happens During the Final Walkthrough?
- Where Do You Shower During a Bathroom Remodel?
- How Many Labor Hours Does Each Phase Actually Take?
- How Do You Keep Contractors and Subcontractors on Schedule?
- What If You Find Water Damage or Mold Once Demo Starts?
- When Do You Pay During a Bathroom Remodel?
- Get a Bathroom Remodel Timeline You Can Actually Plan Around
- Sources
How Long Does a Bathroom Remodel Take to Plan?
The pre-construction phase is where most of your schedule risk gets decided, long before a single tile is removed. Sweeten’s data on renovation timing shows that the construction period itself often averages 20 to 30 working days, but the planning window around it can double the total project length if decisions drag.
Design typically takes a few weeks if you already have a clear vision, longer if you’re still choosing between layouts or finishes. Interviewing contractors and comparing bids adds another 1 to 2 weeks, and signing a contract can happen the same day you settle on a bid or take another week if you’re negotiating scope. Angi’s breakdown of the remodeling process frames this pre-construction stage as its own distinct phase, separate from construction and closeout, and recommends treating it with the same seriousness as the build itself.
Permits are the wild card. Simple cosmetic work (new fixtures, same footprint) may not need one at all. Move a drain line, add a window, or reconfigure plumbing, and you’re looking at a permit application plus a local review period that building code databases like UpCodes show varies significantly by jurisdiction. Some municipalities turn permits around in a few days; others take three to four weeks during busy seasons.
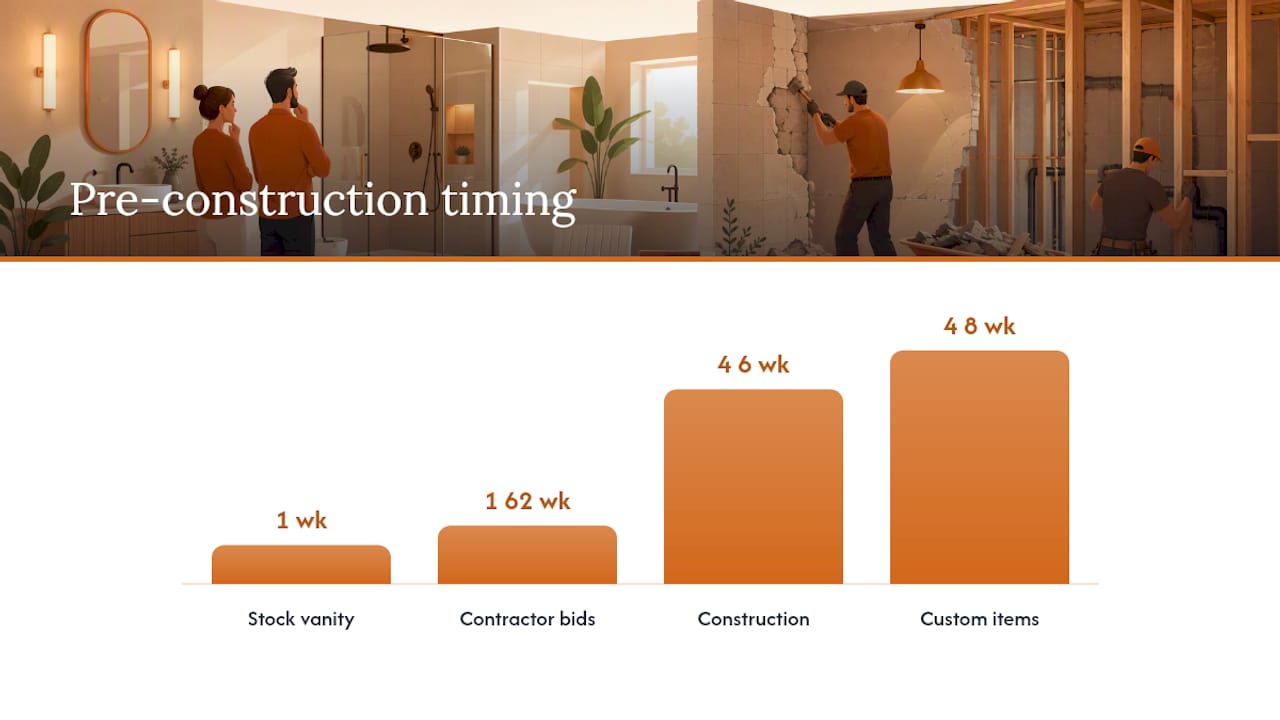
This is also when you need to order anything custom. A stock vanity might ship in a week. A custom vanity, specialty tile pattern, or frameless glass shower door can take 4 to 8 weeks to arrive, according to material sourcing insights from Houzz Pro. If your contractor doesn’t ask you to lock in these selections early, ask them yourself.
Your job during this phase:
- Document every design decision in writing, including finish colors and hardware.
- Approve tile, vanity, and fixture samples before ordering, not after.
- Confirm delivery windows for anything custom and build in a buffer.
- Set aside a contingency budget for surprises once demo begins.
Pro Tip: Order your vanity, tile, and shower door the same week you sign your contract. These are the items most likely to sit on backorder, and a two-week delay here can push your entire construction start date. Reading through what to expect during a bathroom renovation before you finalize your contract helps you spot these decision points early.
What Happens During Each Week of Construction?
Once the crew shows up, the schedule moves in a fairly predictable sequence, though the exact pace depends on how much of the room is being rebuilt. Here’s a realistic week-by-week breakdown for a mid-range to full gut remodel.
- Week 1: Demolition and rough-in prep. The demo crew strips the room to studs and subfloor, typically in 1 to 3 days depending on tile removal and disposal. Plumbers and electricians often start rough-in work the same week.
- Week 2: Plumbing and electrical rough-in. Pipes get relocated or replaced, new electrical circuits get run, and any structural framing changes happen here if the layout is shifting.
- Week 3: Rough-in inspection. Before walls close up, your local inspector needs to sign off on plumbing and electrical work. This is the first point where the schedule can stall if inspection slots are booked out.
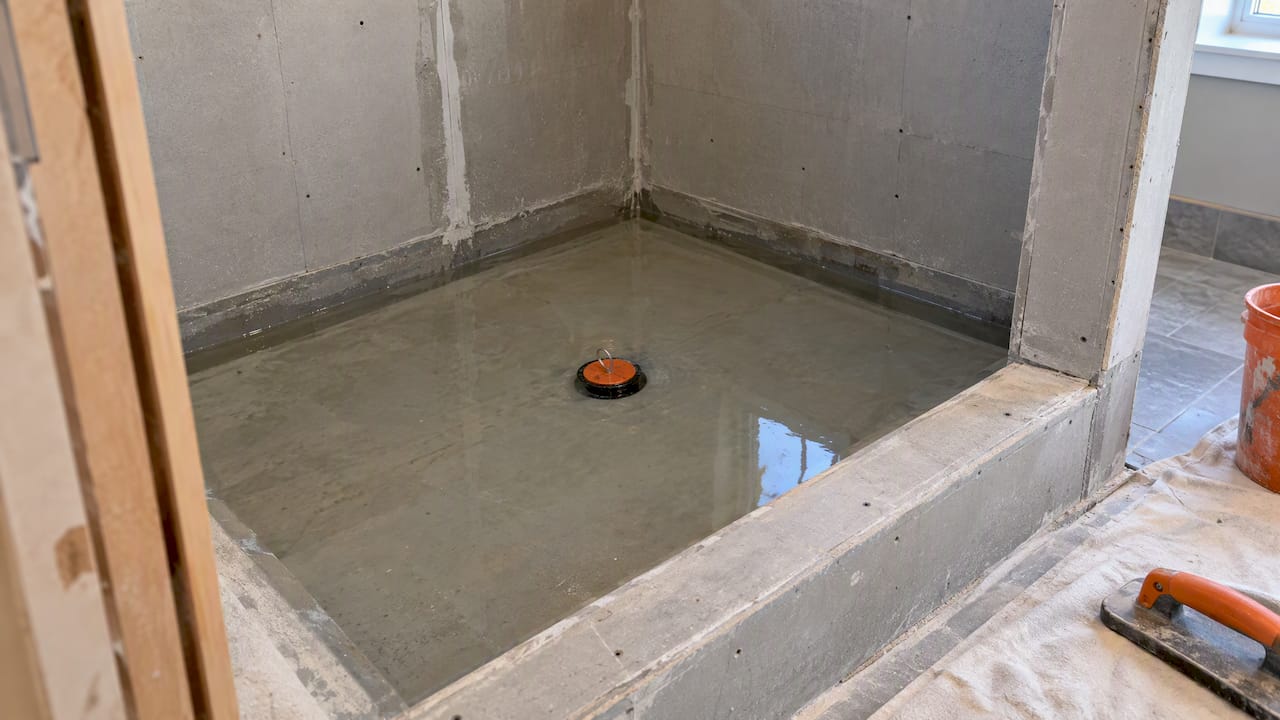
- Week 4: Insulation, drywall, and waterproofing. Once the inspection clears, crews install insulation where needed, hang drywall or cement board, and apply waterproofing membrane in the shower or tub surround.
- Week 5: Tile installation. Setters lay floor and wall tile, which needs time to cure before grouting, covered in more detail below.
- Week 6: Grout, fixtures, and painting. Grout goes in after the thinset cures, painters finish walls and trim, and plumbers return to install the toilet, sink, and shower fixtures.
- Week 7 (if needed): Final inspection and punch list. A closing inspection confirms the work meets code, followed by a walkthrough to catch anything that needs touching up.
That sequence assumes no surprises. In practice, Sweeten’s research notes permits and approvals are the most frequent cause of schedule slippage, sometimes adding a week or more if an inspector can’t get out to the site quickly.
Trade overlap matters here too. Demolition and rough-in plumbing often happen in the same window because the plumber needs open access to walls and floors the demo crew just exposed. Electricians usually work alongside plumbers rather than after them, since both need access to the same wall cavities. Tile setters can’t start until drywall or cement board is inspected and waterproofing has cured, which is why tile almost always lands in week five, not week three.
On a typical mid-range bathroom remodel, expect roughly 60 to 80 total labor hours spread across demolition, plumbing, electrical, tile setting, and finish carpentry, according to patterns reflected in Sweeten’s construction-period averages of 20 to 30 working days. That’s not 60 hours of visible activity every day. Some days involve just a few hours of work while materials cure or crews wait on inspection.
Here’s what typically triggers an inspection pause:
- Rough-in plumbing and electrical, before walls close.
- Any structural framing changes to the floor or wall assembly.
- Final inspection after fixtures and finishes are complete.
Most contractors schedule these inspections themselves, but ask your lead carpenter or project manager who is responsible so nothing falls through the cracks.
Why Do Tile and Grout Add Days to the Schedule?
The parts of your remodel that take the longest aren’t always the ones with visible activity. Curing and drying times are dead time on the calendar, and they catch a lot of homeowners off guard.
Thinset mortar under tile typically needs about one to two days to cure before grouting can start. Grout itself requires additional curing time before the area can get wet, which matters if that’s your only working shower. Waterproofing membranes behind tile generally require a full day to cure before tile installation can even begin. Paint needs a day between coats in most cases, and countertop adhesives can require a day or two before the sink or faucet is installed.
Cure and dry time alone can add several non-working days to a standard bathroom remodel, time when no visible progress happens but the schedule is still ticking.
Staging drives a lot of this. Tile has to go in before the vanity gets set, and countertops need to cure before plumbers hook up the sink. Skip a step or rush a cure time, and you risk cracked grout or a leaking seal down the line.
You do have some control over this. Epoxy grout resists water sooner than traditional cement grout, which can shave a day or two off your timeline, though it costs more and is harder to work with. Fast-setting mortars exist for contractors under schedule pressure, but they trade off some flexibility during installation.

Pro Tip: Ask your contractor to schedule fixture and countertop deliveries to land right when curing finishes, not before. A vanity sitting in your garage for a week because the countertop wasn’t ready yet is a common and avoidable source of clutter and confusion.
What Does a Sample Timeline Look Like by Project Scope?
Numbers mean more when you can see them mapped to an actual project. Here’s how the four common scopes break down.
- Minor refresh (new fixtures, paint, updated vanity, same layout): 2 to 3 weeks. No plumbing moves, minimal or no permit required, fast turnaround once materials arrive.
- Mid-range update (new tile, tub-to-shower conversion, new vanity and fixtures): 4 to 6 weeks. Some plumbing rework, likely a permit, moderate material lead time.
- Full gut renovation (down to studs, possible layout change, all new finishes): 6 to 12 weeks. Structural or plumbing relocation, definite permits and multiple inspections, longer material lead times for custom pieces.
- Luxury remodel (custom millwork, heated floors, freestanding tub, layout redesign): 3 to 6 months. Extensive custom fabrication, multiple subcontractors, and design revisions that add weeks before construction even starts.
The jump between scopes almost always comes down to whether plumbing moves and whether anything is custom-made. Moving a toilet drain a few feet can turn a two-week refresh into a five-week project once you add permitting and inspection. If you’re weighing a bigger scope, planning a luxury remodel timeline is worth a look before you commit to a budget or a move-out date.
What Causes the Most Bathroom Remodel Delays?
Permits and inspections cause the most unpredictable delays, sometimes adding just a few days, sometimes a few weeks, depending entirely on your local building department’s schedule. Backordered materials come in second: a custom vanity or specialty tile that arrives late can stall a crew for a full week or more. Hidden water damage or mold behind old tile is the wildcard nobody plans for. EPA guidance on mold cleanup outlines remediation steps that become their own scoped task once discovered, often adding several days to a week depending on severity.
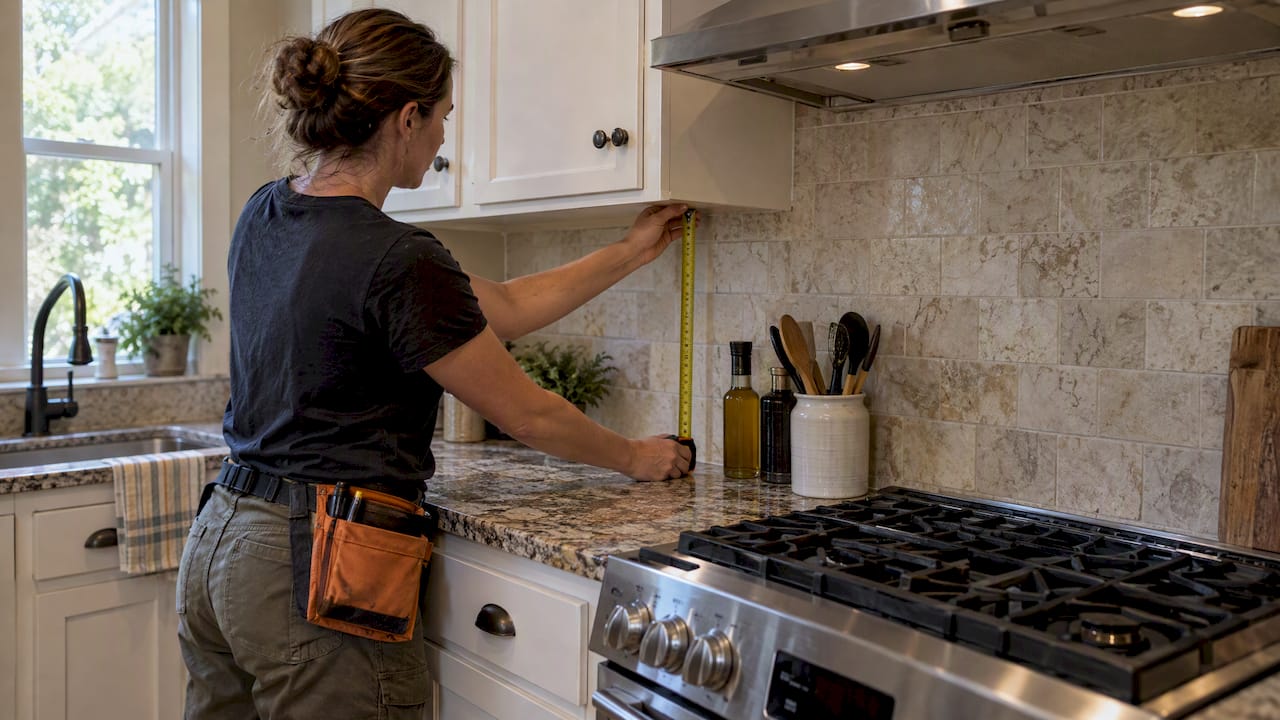
Before construction day, confirm final measurements, lock in every selection (no “we’ll decide later” items), and set aside a contingency fund for surprises behind the walls. Reviewing common mistakes first-time homeowners make before you start can help you avoid the most frequent scheduling traps.
Pro Tip: Ask for one point of contact for schedule updates, ideally your lead carpenter or project manager, and request a quick check-in at least once a week. Change orders should always be documented in writing before work proceeds, not agreed to verbally on-site.
How Does a Professional Process Keep the Schedule on Track?
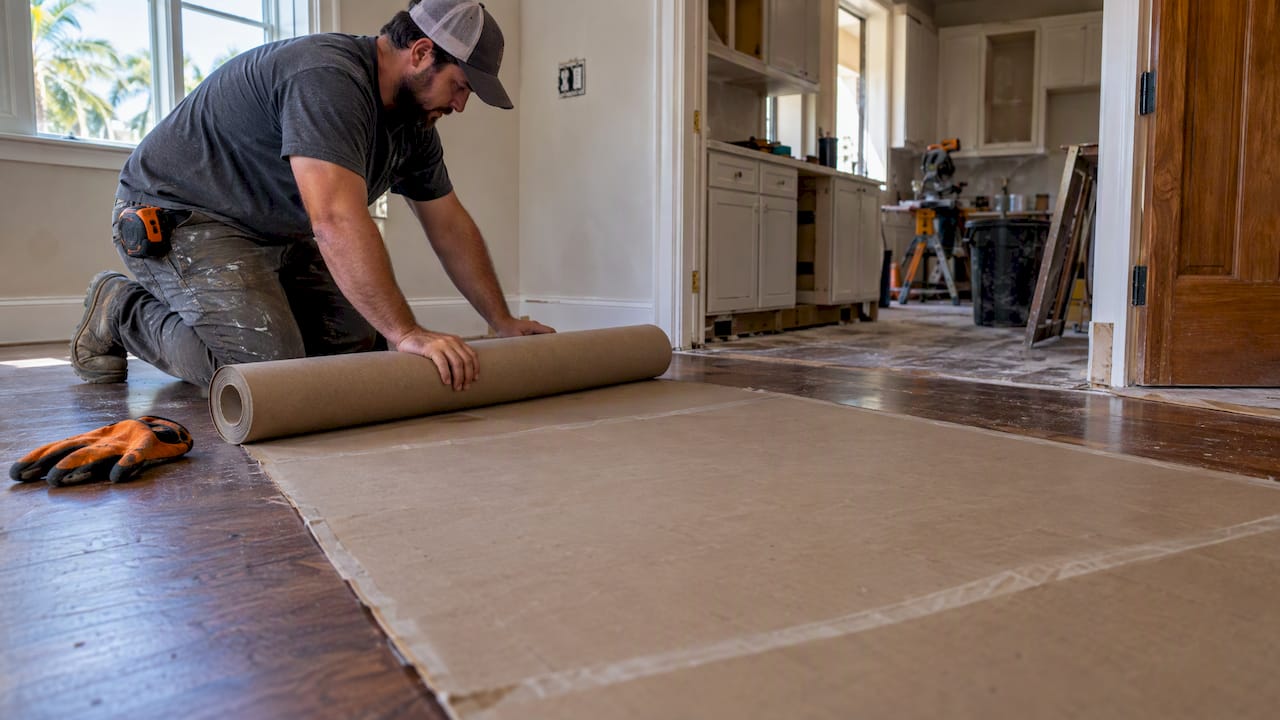
A well-run contractor process removes a lot of the guesswork that causes delays elsewhere. Up-front pricing means fewer surprise change orders mid-project, since scope and cost are locked in before demolition starts. A dedicated lead carpenter overseeing the job site prevents the miscommunication that happens when three subcontractors show up without a coordinated plan. Systematic dust control keeps the rest of your home livable, which matters more than most homeowners expect once demo begins.
Pro Tip: Ask any contractor how they schedule and sequence subcontractors. A vague answer is a red flag; a specific answer (who’s on-site which week, who schedules inspections) signals real scheduling discipline.
What Happens During the Final Walkthrough?
The final walkthrough is where you and your contractor go through the finished bathroom together, checking every detail against the original scope. This typically happens once the final inspection has passed, and it’s your chance to flag anything that needs correction before the project is officially closed out.
A punch list gets created during this walkthrough, a written record of small fixes: a caulk line that needs cleaning up, a cabinet door that doesn’t close flush, a light fixture that’s slightly off-center. Most punch list items get resolved within 3 to 7 days, since they’re typically minor touch-ups rather than major rework. Larger issues, like a tile that needs replacing or a fixture that doesn’t match the approved sample, take longer and should be addressed before final payment.
Closeout also includes handing over any warranty documentation, product manuals for new fixtures, and care instructions for surfaces like natural stone or specialty tile. Ask your contractor for this paperwork explicitly if it isn’t offered, since it matters later if something needs servicing.
Don’t rush this step. A five-minute walkthrough where you sign off without really looking is how small issues turn into bigger frustrations a few months down the road. Walk through slowly, run the water, open every cabinet, and test the exhaust fan before you consider the project done.
Where Do You Shower During a Bathroom Remodel?
If this is your only full bathroom, you’ll need a plan before demolition starts, not after. Homeowners with a second bathroom generally have the easiest path: shift daily routines there and treat the remodel as a background project. For a single-bathroom household, options include a temporary shower setup (some contractors can rig a basic interim solution), a gym membership for showers, or staying with family or in short-term lodging during the most disruptive weeks.
The disruptive stretch is usually shorter than people expect. Once plumbing rough-in is complete and fixtures go back in near the final week, water service to the space is often back online even if finish work continues. Ask your contractor exactly which days the water will be shut off entirely versus just the specific fixture being worked on, since it’s rarely the whole week.
Kitchen access, laundry, and general foot traffic through the house also matter if the crew is hauling materials in and out daily. A dust-minimizing renovation process keeps the rest of your home livable during construction, which makes a bigger difference to daily quality of life than most homeowners anticipate going in. Plan your temporary arrangements around the demolition and tile weeks specifically, since those tend to be the loudest and messiest stretches of the whole project.
How Many Labor Hours Does Each Phase Actually Take?
Seeing labor hours broken out by phase helps you understand why some days feel busy and others feel quiet. Demolition typically runs 8 to 16 hours total, often compressed into one or two days with a full crew. Plumbing rough-in takes 10 to 20 hours, spread across two to three days depending on how much repiping is involved. Electrical rough-in runs 6 to 12 hours, often happening alongside plumbing rather than after it.
Drywall and waterproofing add 8 to 14 hours, and tile installation is one of the more time-intensive phases at 16 to 30 hours, depending on pattern complexity and square footage. Grouting and caulking take another 4 to 8 hours once tile has cured. Fixture installation, the toilet, sink, faucet, and shower hardware, typically runs 6 to 10 hours. Painting and trim work adds 4 to 8 hours.
Add it up and a mid-range remodel lands in that 60 to 80 total labor hour range mentioned earlier, but spread across several weeks rather than concentrated days. That gap between total labor hours and total calendar time is exactly where curing time, inspection waits, and material delivery windows live. A full gut job with structural changes can push total labor past 100 hours once framing, additional electrical circuits, and custom millwork installation get factored in.
How Do You Keep Contractors and Subcontractors on Schedule?
The biggest schedule risk in any remodel isn’t usually the work itself, it’s the handoff between trades. A demolition crew that finishes early but leaves the plumber waiting three days for their turn wastes time nobody planned for. This is why a single point of contact, usually a lead carpenter or project manager, matters more than any individual trade’s skill level.
Ask your contractor how subcontractors get scheduled: is it a fixed calendar set at the start of the project, or does it get arranged week to week based on who’s available? A fixed schedule set in advance, with buffer days built in around inspections, tends to hold up better than a loose arrangement where each trade gets called in reactively. Choosing the right contractor for your project means asking this question directly during your interview, not assuming it’ll work itself out.
Weekly check-ins, even brief ones, catch small scheduling conflicts before they become week-long delays. If your tile setter is scheduled for Tuesday but the waterproofing membrane needs another day to cure, a quick update lets you adjust rather than showing up to find nobody on-site. Keep decisions and approvals moving quickly on your end too. A contractor waiting three days for you to approve a tile sample is a self-inflicted delay that’s entirely avoidable.
What If You Find Water Damage or Mold Once Demo Starts?
Opening up walls sometimes reveals problems nobody could see beforehand. Water-damaged subfloor, rotted framing behind an old tub surround, or mold growth behind tile are the three most common surprises, and each one pauses the visible progress of your remodel while it gets addressed.
Mold remediation specifically follows a defined process. EPA guidance on mold cleanup recommends identifying and fixing the moisture source first, then removing affected materials before any new construction resumes, a sequence that can add several days to a week depending on how widespread the growth is. Small, isolated mold on the back of a single tile section resolves faster than mold that’s spread through subfloor or wall framing.
This is exactly why a contingency budget matters as much as a contingency timeline. Set aside a real buffer, both in days and dollars, before demolition starts, and treat it as expected rather than a sign something went wrong. Older homes and bathrooms with a history of slow leaks are the most likely candidates for this kind of surprise, so if your home fits that profile, have the conversation with your contractor upfront about how they handle it if it happens.
When Do You Pay During a Bathroom Remodel?
Payment schedules typically track major milestones rather than a flat weekly invoice, which helps you plan cash flow around the calendar you’ve already mapped out. A deposit at contract signing, often covering design and material ordering, is standard across most contractors. A second payment frequently lands at the start of construction, once demolition and rough-in begin.
A milestone payment around the rough-in inspection is common too, marking the point where plumbing and electrical work has passed its first code check. Tile and finish work sometimes triggers another partial payment once materials are on-site and installation is underway. The final payment is held until after the walkthrough and punch list are complete, giving you leverage to make sure every last detail gets addressed before the project closes out.
Ask for this payment structure in writing before you sign anything, tied explicitly to the same milestones in your construction schedule. If your contractor’s payment schedule doesn’t line up with actual progress points like inspections or material delivery, that’s worth clarifying before work begins. Reviewing bathroom remodel cost and timeline details side by side helps you see how budget and schedule are meant to move together rather than as two separate conversations.
A contractor’s honest read on homeowner expectations
Nearly every project loses a few days somewhere, an inspector’s slow week, a tile that arrives chipped, a decision that takes longer than planned. That’s normal, not a red flag. What actually protects your timeline is making decisions early and ordering materials before you think you need to.
Get a Bathroom Remodel Timeline You Can Actually Plan Around
A vague estimate from a contractor isn’t a schedule, it’s a guess. Tampakitchenandbath builds every project around up-front pricing and a dedicated lead carpenter who owns your schedule from demolition through final walkthrough, so you’re not left wondering which trade is showing up next or why a milestone slipped.

That process includes design support to help you finalize selections early, scheduling that accounts for permit and inspection timing in your area, coordination with material vendors so custom pieces don’t stall your crew, full installation, and a final walkthrough where every punch list item gets resolved before you sign off. The Work Clean System also keeps dust and debris contained, so the rest of your home stays livable while the work happens.
If you’re ready to see what this looks like for your own space, browse the Tampa bathroom remodeling gallery for real completed projects, or check ballpark bathroom remodel costs to start mapping your budget against a realistic schedule. Either page is a good starting point for scheduling a consultation.
Sources
- How long does a bathroom renovation take? | Sweeten
- How Long Does a Bathroom Remodel Take? | Angi
- Mold cleanup in your home | US EPA
- UpCodes
- Builders Surplus | Houzz Pro