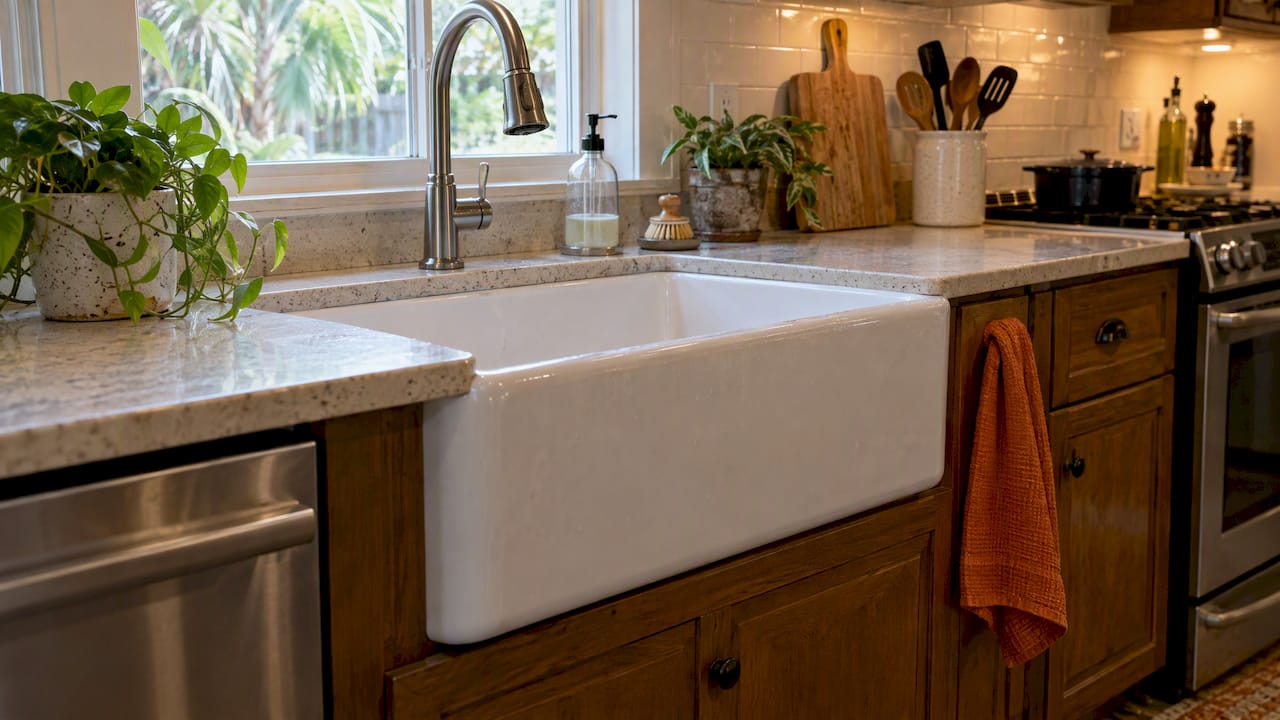

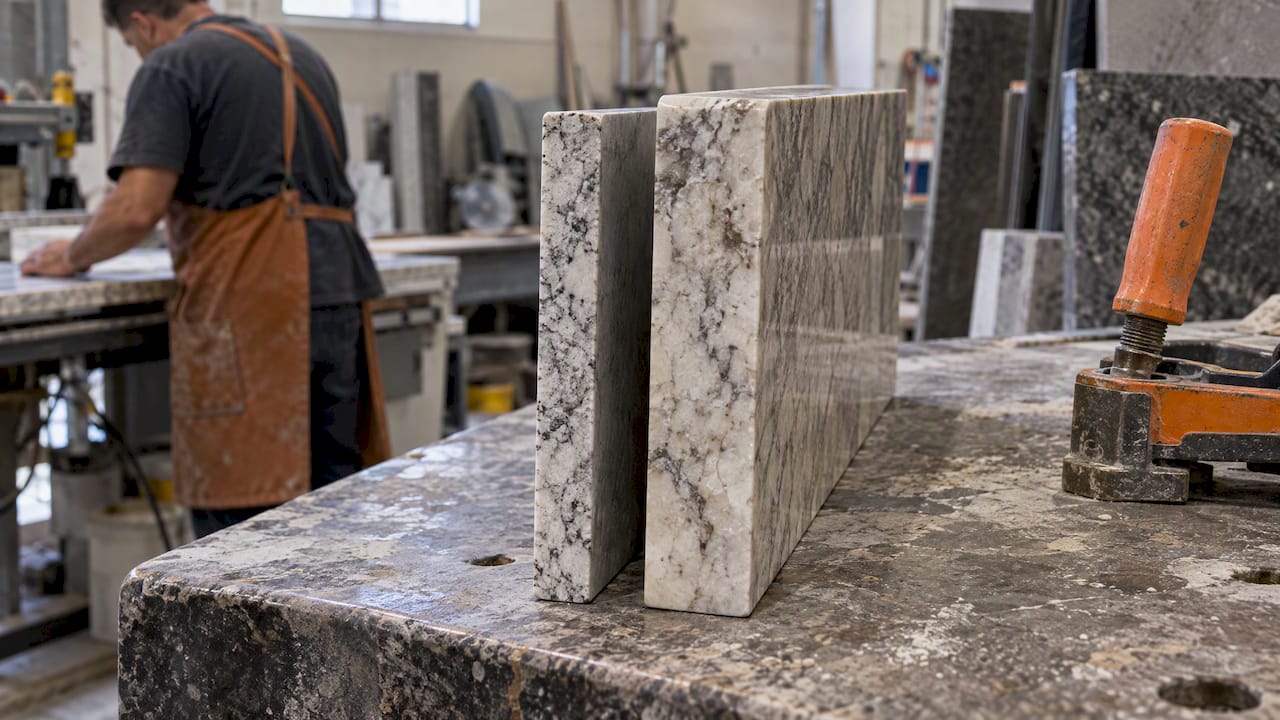
For most kitchen counters and islands, 3cm is the right call; 2cm works well for vanities, backsplashes, or weight-limited installs where the slab gets full support underneath. The real decision hinges on two things: how much unsupported span and overhang your layout needs, and what the installed cost actually looks like once a plywood subtop or laminated edge gets added. Groups like the Natural Stone Institute and trade bodies like ANSI/AWI set the structural guardrails we work within on every project.
TL;DR:
- Natural Stone Institute guidance caps overhangs at 6 inches for 2cm and 10 inches for 3cm; either limit is also one third of counter width.
- Raw 3cm slabs cost 20% to 30% more, but subtop and edge work can narrow the installed gap to $3 to $8 per square foot.
- A 2cm slab spanning cabinet gaps generally needs a continuous 3/4 inch plywood deck, with added bracing or epoxy around undermount sink cutouts.
- Deep profiles and waterfall edges often require 3cm stone; 2cm needs a laminated strip to create depth, which may leave a visible seam.
- Replacing laminate with 3cm stone can affect dishwasher panel or slide in range clearance, so compare finished counter height with appliance specifications first.
Table of Contents
- 2cm vs 3cm countertops at a glance
- Support, overhangs, and sink cutouts explained
- What installed cost really looks like
- Edge profiles and fabrication options by thickness
- Matching thickness to the room and project
- How we evaluate thickness on real remodeling jobs
- How thickness changes the finished look
- Durability and upkeep: does thickness change the math?
- Appliances, sinks, and how thickness affects the fit
- A note from our design team
- Get your countertops designed and installed the stress-free way
- FAQ
- Sources
2cm vs 3cm countertops at a glance
The numbers tell most of the story before you even get to style preferences. A 2cm slab measures about 0.79 inches thick, while 3cm comes in around 1.18 inches, which is why fabricators often refer to it as “1-1/4 inch” on the shop floor, according to SlabWise’s thickness guide. That extra material adds weight, stiffness, and installed cost, but it also buys you design flexibility.
- Weight: 2cm granite or quartz runs roughly 9 to 13 pounds per square foot, while 3cm runs roughly 14 to 19 pounds per square foot, depending on the material.
- Unsupported overhang: Natural Stone Institute guidance caps 2cm stone at 6 inches unsupported and 3cm at 10 inches, with a ceiling of one-third of the counter’s total width either way, per the Natural Stone Institute.
- Edge profiles: 2cm handles simple eased or pencil-round edges well; 3cm opens up full bullnose, ogee, and deep decorative profiles without extra buildup.
- Cost direction: raw 3cm slabs cost more per square foot, but 2cm often needs added labor that narrows the gap once it’s installed.
If you want a deeper walkthrough of how these factors play into material choice, our guide on choosing the right kitchen countertops covers the decision from the ground up.
Support, overhangs, and sink cutouts explained
Thickness changes how a slab resists bending, and the difference is bigger than it looks on paper. Going from 2cm to 3cm roughly triples the stiffness of the stone, which is why a 3cm island counter can span farther without sagging or cracking under weight.
- Overhang limits: NSI guidance allows up to 10 inches unsupported for 3cm and 6 inches for 2cm, though some manufacturers, including Cambria, publish their own allowances that can differ from the generic rule.
- Subtop requirements: a 2cm slab spanning open cabinet gaps typically needs a continuous 3/4-inch plywood deck glued and screwed underneath to prevent stress cracks, especially near cutouts.
- Sink attachment: undermount sinks on 2cm counters usually need extra bracing or epoxy reinforcement at the cutout, while 3cm stone often holds the sink’s weight with standard clips.
- Handling: thinner 2cm slabs are more prone to cracking during transport and flipping, so fabricators handle them with extra care at the shop and on site.
One structural fact worth remembering: the Natural Stone Institute’s 6-inch and 10-inch overhang figures assume properly supported, adhered stone, not a floating edge, so always confirm the final number against the specific product’s technical sheet. For more on how this plays out at the cabinet line, see our page on countertop overhang sizing.
What installed cost really looks like
Raw 3cm slabs typically cost 20 to 30% more per square foot than 2cm, according to SlabWise’s cost guide, but that gap shrinks once you price the whole job. A 2cm installation commonly needs a plywood subtop and sometimes a laminated edge to look and perform like a standard counter, and those extras eat into the savings fast.
- Plywood subtop for 2cm: roughly $3 to $8 per square foot.
- Laminated edge build-up: roughly $10 to $30 per linear foot.
- Net installed difference between 2cm and 3cm often lands around $3 to $8 per square foot, or about $120 to $320 on a typical mid-size kitchen.
The installed price gap is often smaller than homeowners expect: once subtop and lamination costs are added, the real-world difference between 2cm and 3cm frequently comes down to a few dollars per square foot rather than the raw material spread, per SlabWise. Before committing, ask for an itemized quote, confirm whether your manufacturer’s warranty depends on a specific installation method, and settle on color and edge style first since those choices often move the price more than thickness does.
Edge profiles and fabrication options by thickness
The edge is where thickness shows up most visibly, and it limits what a fabricator can shape. A 2cm slab works cleanly with simple eased, pencil-round, or small bevel edges, but anything deeper usually needs a laminated strip underneath to build up enough material.
- 2cm-friendly profiles: eased, pencil round, small bevel, simple bullnose with lamination.
- 3cm-friendly profiles: full bullnose, ogee, Dupont, and deep mitered edges without any buildup.
- Laminated edge: a second strip of stone glued under the front edge to simulate thickness; a visible glue line is the giveaway.
- Mitered edge: two pieces joined at an angle to hide the seam, producing a cleaner look at a higher cost.
Waterfall edges, where the countertop wraps down the side of an island, almost always call for 3cm stone because the mitered joint needs enough material to stay strong under its own weight.
Pro Tip: Run your fingers along a sample edge before you commit. A laminated seam often has a faint ridge you can feel even when the glue line is hard to see.
For a closer look at how different profiles affect both looks and budget, check our breakdown of countertop edge profiles.
Matching thickness to the room and project
Function should drive this decision more than preference. Primary kitchen counters, islands with seating, and heavy-use cooktop zones hold up best in 3cm, especially with an undermount sink, unless the manufacturer specifically clears 2cm without a subtop.
- Choose 3cm for kitchen islands, main counters, and any undermount sink installation.
- Choose 2cm for bathroom vanities, backsplashes, wall panels, and tight-weight installs like upper floors or narrow stairwells, where our vanity countertop ideas page offers some useful starting points.
- Avoid mixing thicknesses across one visible run. When a project calls for both, fabricators shim the thinner side or build up the substrate so the finished heights align.
How we evaluate thickness on real remodeling jobs
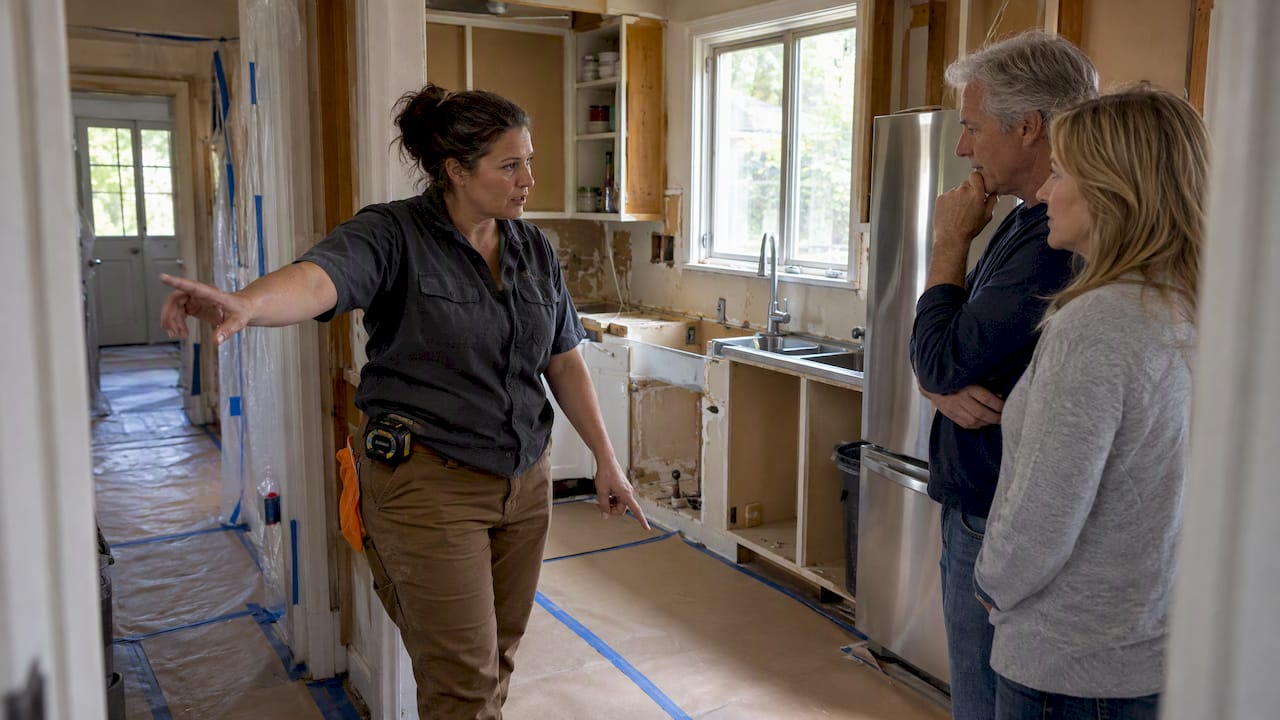
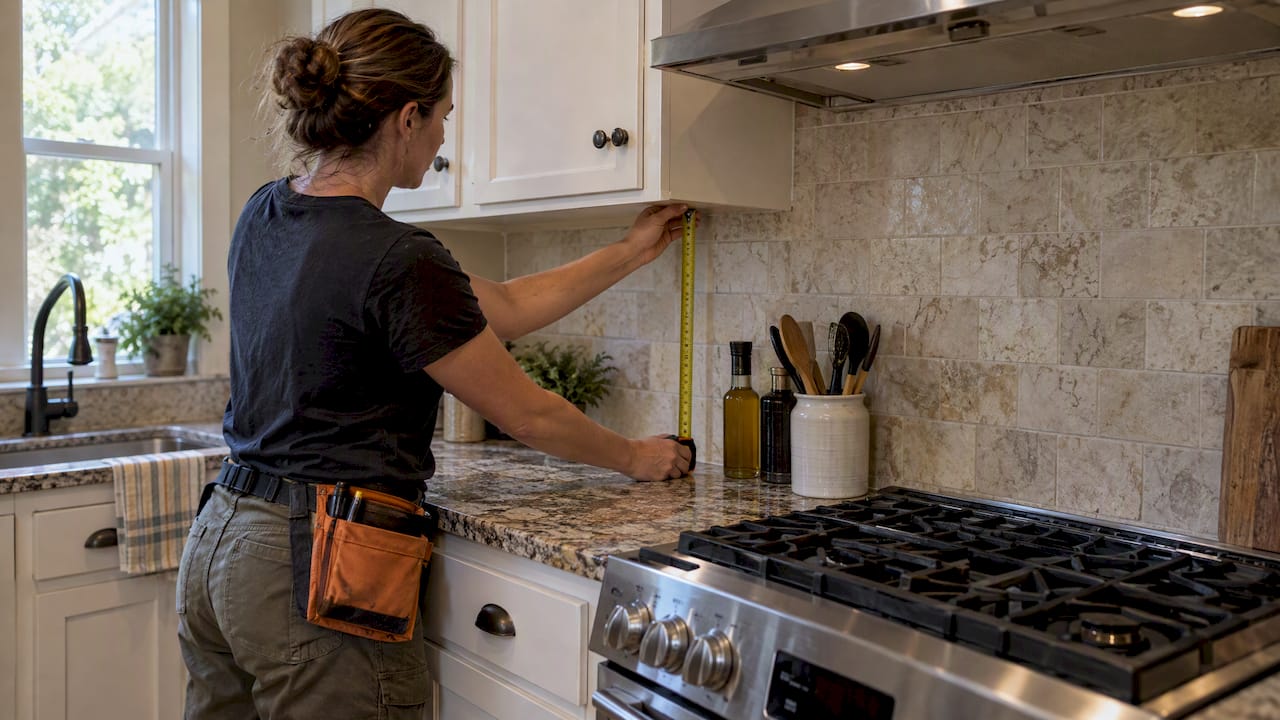
Before any slab gets ordered, our team walks the site to check cabinet straightness, box condition, appliance openings, and the overhang or edge profile you want. That inspection shapes the quote and the fabrication plan long before templating begins.
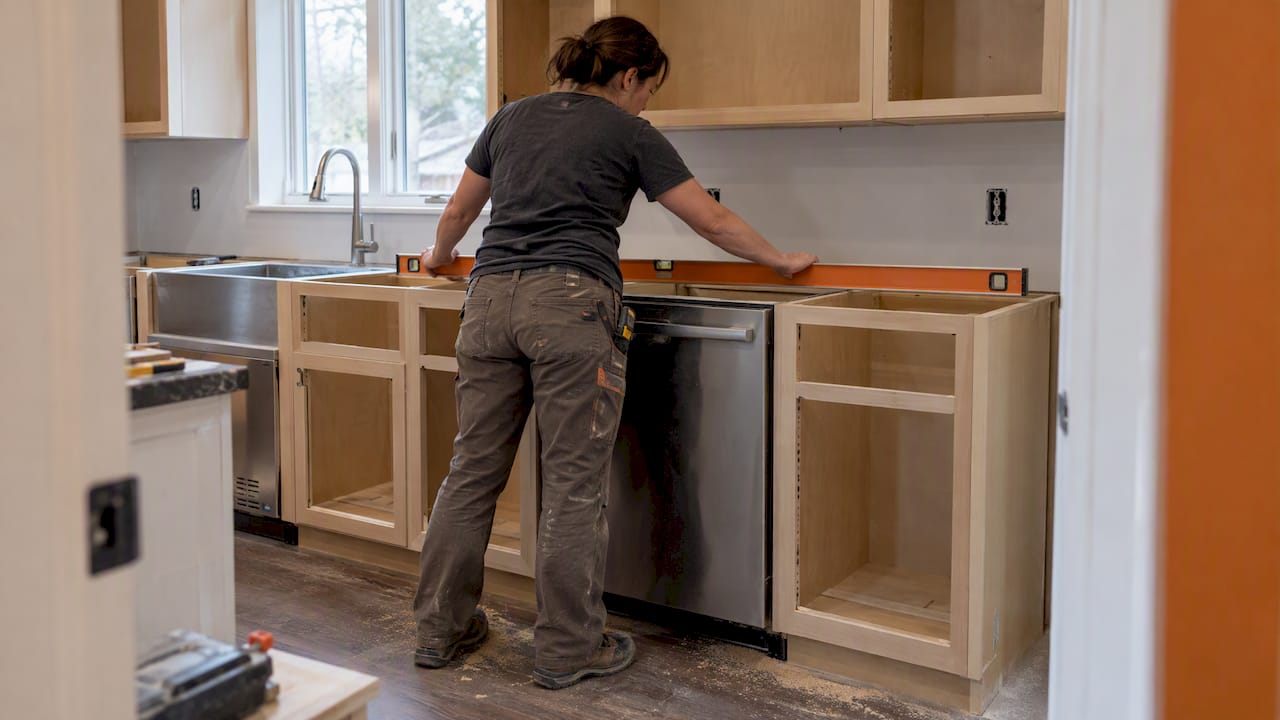
Every project runs on up-front pricing with an itemized breakdown, personalized project oversight, and practices to keep dust and disruption to a minimum. We template after the inspection, not before, so the final measurements match your actual cabinets rather than a generic plan. Well-built cabinetry also matters here, since a solid box gives any slab, 2cm or 3cm, the support it needs to perform as designed, as detailed in the benefits of natural wood kitchen cabinetry.
How thickness changes the finished look
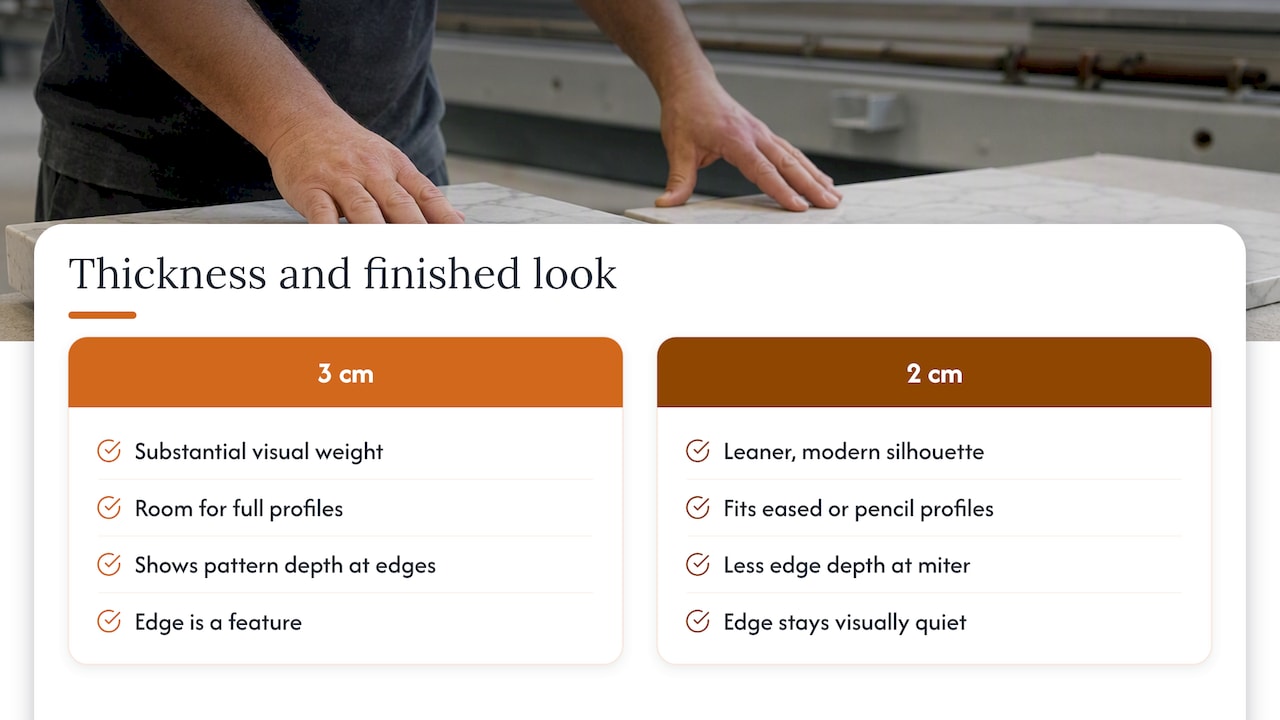
A 3cm countertop reads as substantial the moment you walk into the room. The extra depth at the edge catches light differently and gives profiles like a full bullnose or ogee room to show their curve, which is part of why it’s become the default look in many North American kitchens, according to SlabWise.
A 2cm counter has a leaner, more modern silhouette that some homeowners prefer for a minimalist kitchen or a streamlined bathroom vanity. The thinner edge draws less attention to itself and can make a small space feel less boxed in, especially when paired with a simple eased or pencil-round profile.
Veining and pattern also read differently depending on thickness. Thicker slabs show more of the stone’s depth at a mitered or waterfall edge, which matters if you’re choosing a material for its movement or color variation. Thinner slabs can still carry bold patterns well on a flat surface, but they lose some of that dimensional effect at the edge unless a mitered or laminated detail is added back in.
Neither look is objectively better. The choice comes down to whether you want the edge itself to be a visual feature or whether you’d rather keep attention on the surface pattern and let the edge stay quiet.
Durability and upkeep: does thickness change the math?
Thickness affects structural strength more than it affects day-to-day durability. A 3cm slab resists chipping at the edge a bit better simply because there’s more material to absorb an impact, which matters most in corners and edges, that get bumped by pots, chairs, or stools.
Maintenance is nearly identical between the two once a slab is properly installed and sealed. Sealing frequency, cleaning products, and heat or scratch resistance all come down to the material itself, whether that’s granite, quartz, or marble, not the thickness. A well-supported 2cm counter with a quality seal holds up just as well in daily use as a 3cm counter in the same material.
The one place thickness does matter long-term is at stress points. A properly supported 2cm slab, set on a solid plywood deck, rarely develops cracks around sink cutouts or seams, but any gap in that support increases the risk over years of use. That’s why the subtop isn’t just an installation detail. It’s part of what keeps a thinner counter performing like a thicker one over time.
Appliances, sinks, and how thickness affects the fit
Thickness changes more than the look of your counter. It changes how sinks, cooktops, and appliances actually attach and sit.
Undermount sinks need a clean, strong cutout edge, and that’s easier to achieve with 3cm stone since the extra depth gives clips and epoxy more surface to grip. A 2cm undermount installation usually needs a reinforced edge or added bracing at the cutout to carry the sink’s weight safely, as fabricators commonly note when working with thinner slabs. Drop-in sinks are more forgiving on either thickness since the rim itself carries the load.
Appliance clearance is another detail that catches homeowners off guard during a laminate-to-stone upgrade. Standard laminate counters run about 1.5 inches thick, so swapping in 3cm stone changes the finished height enough to affect dishwasher panels or slide-in range clearances, a detail worth checking against your appliance specs. A 2cm counter sits closer to that original laminate height, which can simplify the swap if you’re keeping existing appliances in place.
Either thickness can work with either sink style when the cabinet and support are built correctly. The deciding factor is usually the sink weight and cutout size, not a hard rule tied to thickness alone, which is why a pre-install check of your appliance and sink specs saves headaches later.
A note from our design team
In most kitchens, we steer clients toward 3cm for the durability and edge options it opens up, and 2cm where a lighter, simpler profile fits the space better. Bring your layout and material ideas into a showroom and receive templating and pricing guidance before anything gets ordered.
— MediaBeast
Get your countertops designed and installed the stress-free way
Choosing between 2cm and 3cm is only one piece of a countertop project, and we handle the rest under one roof: design, fabrication coordination, and construction, with up-front pricing so you know the full scope before work starts. Every project gets personalized project oversight from start to finish, and measures are taken to keep dust and disruption contained while the work is underway.
- Up-front, itemized pricing before any contract is signed.
- One Lead Carpenter assigned to your project from start to finish.
- Dust-contained installation through our Work Clean System.
If you’re planning a full kitchen update, our countertops for your kitchen remodel page walks through what the process looks like, and you can review current pricing on our kitchen remodel costs page to see where your project might land. Reach out to schedule a templating appointment and get a quote built around your specific layout.
FAQ
Which is better for a countertop, 2cm or 3cm?
3cm is generally the better choice for kitchen counters and islands because it spans farther without extra support and handles a wider range of edge profiles. 2cm works well for vanities, backsplashes, and other lighter-duty surfaces where full support underneath is already part of the design.
Is 2cm too thin for a countertop?
2cm isn’t too thin when it’s properly supported, typically with a continuous plywood subtop beneath the stone, according to common fabrication practice described by Stonify. Without that support, 2cm stone is more prone to cracking at seams, cutouts, and unsupported overhangs.
How thick is a 3cm countertop?
A 3cm countertop measures about 1.18 inches, which is often rounded to “1-1/4 inch” in trade conversations, per SlabWise. That added thickness is what allows 3cm slabs to support longer unsupported overhangs and more elaborate edge profiles.
Which granite is better, 2cm or 3cm?
For a kitchen counter or island, 3cm granite is usually the stronger choice since it resists chipping and cracking better under daily use and heavier cookware. 2cm granite remains a solid option for bathroom vanities or other surfaces where the slab sits on continuous support and doesn’t need a long overhang.
What should I check before deciding on thickness?
Confirm the overhang length your layout needs, since that alone can rule out 2cm without added support, and ask your fabricator for a fully itemized quote that separates raw material, subtop, and edge work. Checking the manufacturer’s own technical guidelines for your chosen material is also worth doing before finalizing the design.
Sources
- Natural Stone Institute residential countertop guidance
- SlabWise — How to explain 2cm vs 3cm stone thickness to homeowners
- Stonify — 2cm vs 3cm: thickness, weight, cost and when to use each
- SlabWise — 2cm vs 3cm quartz countertops cost guide