
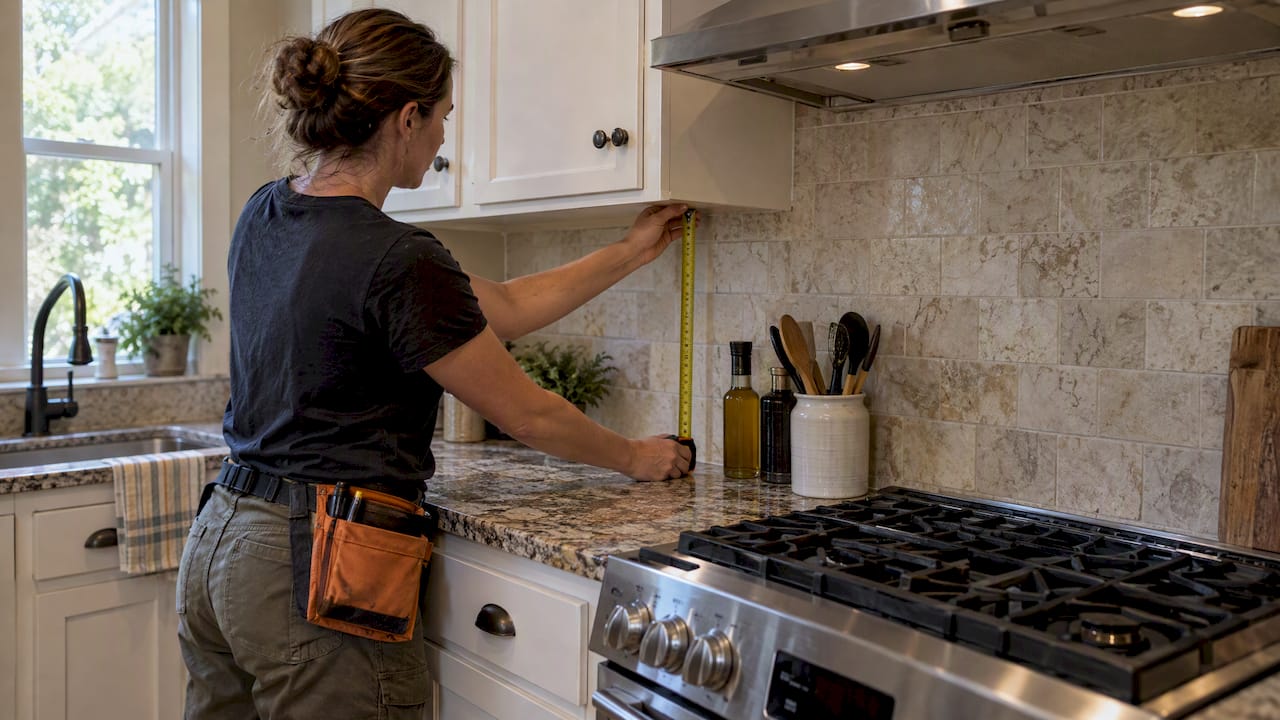
Use a short 4-inch splash for minimal protection, 6 to 8 inches for extra coverage and framing, and full height or 30 to 36 inches behind a range (or to the hood). The rule of thumb: choose height for function in wet and cooking zones, and choose height for visual alignment everywhere else.
TL;DR:
- The optimal backsplash height varies by zone, with 4 to 6 inches sufficing for secondary walls and full height for areas exposed to heat or grease.
- Behind the range, a 30 to 36-inch backsplash or full coverage is recommended to accommodate heat, grease, and hood clearance.
- Material choice influences upkeep; tile requires grout maintenance, while slabs reduce seams but come at a higher fabrication cost.
- Precise measurements of wall endpoints, outlet locations, and appliance clearances are essential before ordering materials for a cohesive look.
- Coordinating design and construction ensures proper height, outlet placement, and material use, preventing costly errors and optimizing protection.
Table of Contents
- What Do 4, 6, 8-Inch, and Full-Height Backsplashes Actually Do?
- How Should Backsplash Height Change by Zone?
- Weighing the Pros and Cons of Each Height
- How Do Materials Affect Height and Upkeep?
- What Should You Measure Before Ordering Materials?
- How Do You Make Backsplash Height Look Intentional?
- What Installation Details Affect Height Decisions?
- How Do Professional Remodelers Plan a Backsplash?
- Our Take: Measure Twice, Decide Once
- Let Us Handle Your Backsplash Measurements and Installation
- FAQ
- Sources
What Do 4, 6, 8-Inch, and Full-Height Backsplashes Actually Do?
A 4-inch backsplash is the historical default. It typically matches the countertop material, catches drips at the surface, and leaves most of the wall open for paint or wallpaper. According to long-standing tile-installation guidance, a short backsplash is usually 4 to 6 inches above the countertop, with 4 inches often fabricated from the same slab as the counter.
Six inches gives a bit more splash protection without committing to a full tile field, a common middle choice for secondary walls. Eight inches starts to read as a design statement, often used to clear an outlet row or align with a window sill. Full height, running counter to cabinet bottom or counter to ceiling, maximizes protection and becomes the focal wall of the room.
- 4 inches: matches countertop material, lowest cost, minimal visual impact.
- 6 inches: modest upgrade in coverage, works well behind secondary counters.
- 8 inches: frames outlets or windows, reads as intentional design.
- Full height: the highest protection and impact, highest material and labor cost.
How Should Backsplash Height Change by Zone?
Not every wall needs the same treatment. Cooking zones, sink walls, and vanities each carry different splash, grease, and heat exposure.
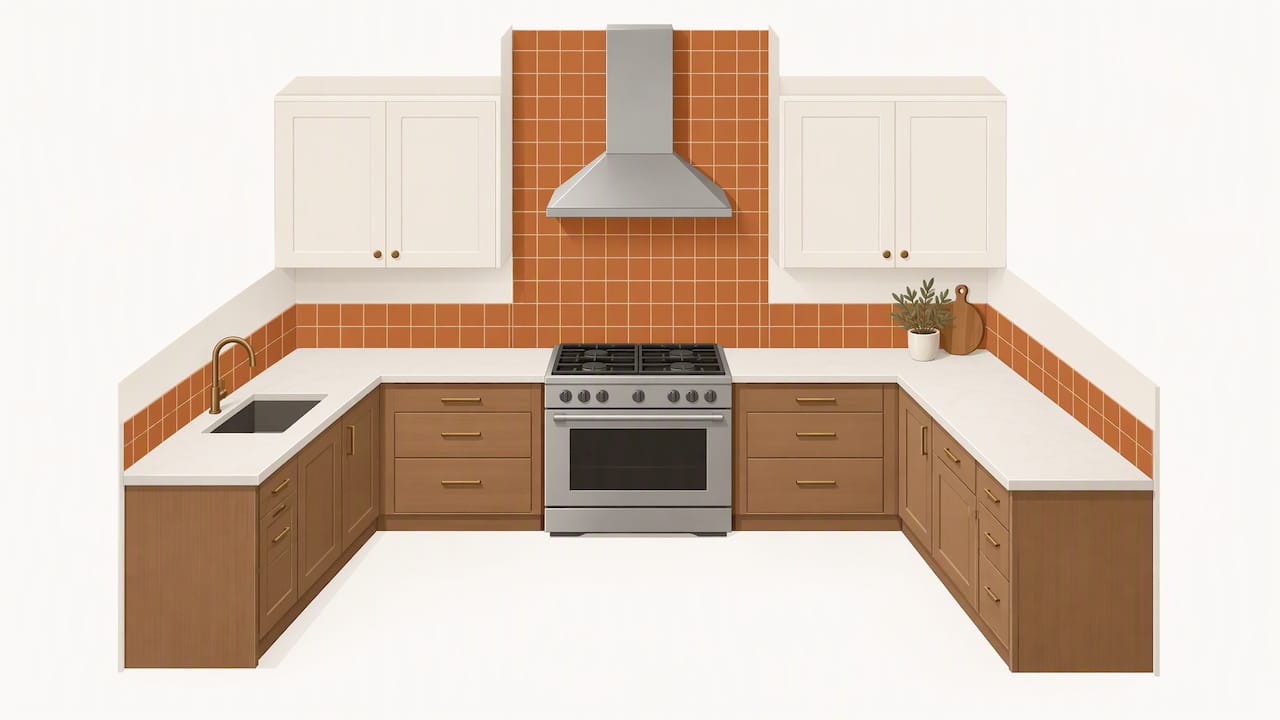
- Range or cooktop wall: a taller treatment, often 30 to 36 inches or full coverage, is more practical here because grease and heat reach higher than at a sink. Always confirm the final height against the hood manufacturer’s clearance specs before ordering material.
- Sink wall: 6 to 8 inches covers most splash patterns from a standard faucet, though a deep apron sink or a sprayer head can justify extending to the underside of the upper cabinets.
- Bathroom vanity: 4 inches is common for a simple ledge, but a vessel sink or a wide mirror often looks better with the tile running higher to meet the mirror’s bottom edge.
When in doubt, a feature panel behind the range or sink gives a middle path: full height on just that wall, with shorter runs elsewhere, keeps cost down while still protecting the zone that takes the most abuse.
Weighing the Pros and Cons of Each Height
A shorter backsplash is cheaper and faster to install, but it leaves painted or papered wall exposed to steam and grease over time. A full-height installation protects more wall and often looks more finished, at the cost of more material, more cutting around outlets, and a longer install day.
- Cleaning: grout lines in tile need periodic resealing, while a painted wall above a short splash can stain or peel near heat sources.
- Installation: taller runs mean more outlet cutouts and more cut tile at the top edge, which adds labor time.
- Cost: full height typically uses two to three times the material of a 4-inch splash, plus added trim.
A taller backsplash earns its cost in heavy-use kitchens, large families, or anywhere splashing and grease are a daily reality rather than an occasional mess.
Pro Tip: If budget is tight, run full height only behind the range and keep the rest of the kitchen at 4 to 6 inches.
How Do Materials Affect Height and Upkeep?
Material choice and height decision are linked. Tile demands grout maintenance and, per Schluter’s DILEX-BWS profile documentation, a movement joint between tile and adjoining surfaces, with a recommended tile-to-profile gap of about 1/16 to 1/8 inch.
Slab materials (quartz, porcelain slab) reduce grout lines dramatically but cost more to fabricate and handle, especially at full height where a single seamless panel behind a range becomes a feature wall. Laminate and wood are poor choices behind sinks or ranges because sustained moisture and heat degrade both over time; they work only in low-splash zones with sealed edges.
- Epoxy grout resists stains better than standard grout but is harder to install.
- Porous natural stone tiles usually need sealing in food-prep areas.
- Slab backsplashes reduce seams but increase fabrication and handling costs.
A tile-to-profile movement joint of about 1/16 to 1/8 inch is the standard gap recommended for edge-protection profiles, and skipping it risks cracked tiles as the wall expands and contracts.
What Should You Measure Before Ordering Materials?
A finish plan turns a vague height idea into something an installer can execute without guesswork. NKBA’s finish-plan guidance recommends documenting the extent of wall finishes, manufacturer and product information, grout, trims, and any special installation notes before work starts.
- Record exact start and stop points on each wall, including where the backsplash meets a window, cabinet, or corner.
- Note cabinet bottom heights and hood-to-counter clearance for cooking zones.
- Mark outlet locations and cross-check them against tile size to avoid thin cut pieces.
- Flag any stepped or multi-level counters where backsplash height needs to shift.
- List manufacturer, product ID, quantity, grout color, and trim profile for every material.
| Finish-plan item | Why it matters |
|---|---|
| Start/stop points | Prevents awkward terminations mid-wall |
| Outlet locations | Avoids small, fragile cut tiles near boxes |
| Hood clearance | Confirms cooktop-zone height meets manufacturer specs |
| Material and grout ID | Lets installers reorder matching product if needed |
Our kitchen backsplash planning guide walks through these same measurements with photos of common layouts.
How Do You Make Backsplash Height Look Intentional?
An arbitrary inch measurement rarely looks as good as a height tied to something already in the room. NKBA’s kitchen planning guidelines treat backsplash height as part of the room’s full vertical composition, coordinating cabinet gap, hood, windows, and countertop thickness rather than picking a number in isolation.
- Terminate at the cabinet bottom, a shelf, or a window sill rather than stopping mid-wall.
- Use a darker grout or a contrasting trim line to make a shorter splash look deliberate rather than incomplete.
- Reserve full height for one accent wall, usually behind the range or a statement sink, so it reads as a focal point rather than default coverage.
A splashback gallery from Sorted Home Solutions shows how the same tile reads differently at 6 inches versus full height, depending on what it aligns with.
What Installation Details Affect Height Decisions?
Taller backsplashes need more attention to movement joints, edge profiles, and sequencing. Schluter’s movement-profile guidance calls for a dedicated expansion zone, roughly 3/16 inch, with a tile-to-profile joint of about 1/16 to 1/8 inch, especially important once a wall of tile runs floor-to-cabinet or counter-to-ceiling.
- Plan outlet box placement around tile grid lines before the electrician roughs in, not after.
- Choose an edge profile (metal, bullnose, or caulked edge) before ordering tile, since it affects final cutting dimensions.
- Confirm whether backsplash installs before or after upper cabinets, since sequencing affects measurement accuracy and schedule.
Pro Tip: Ask your installer to mock up the outlet row with sample tile before cutting the full run, it catches spacing problems early.
How Do Professional Remodelers Plan a Backsplash?
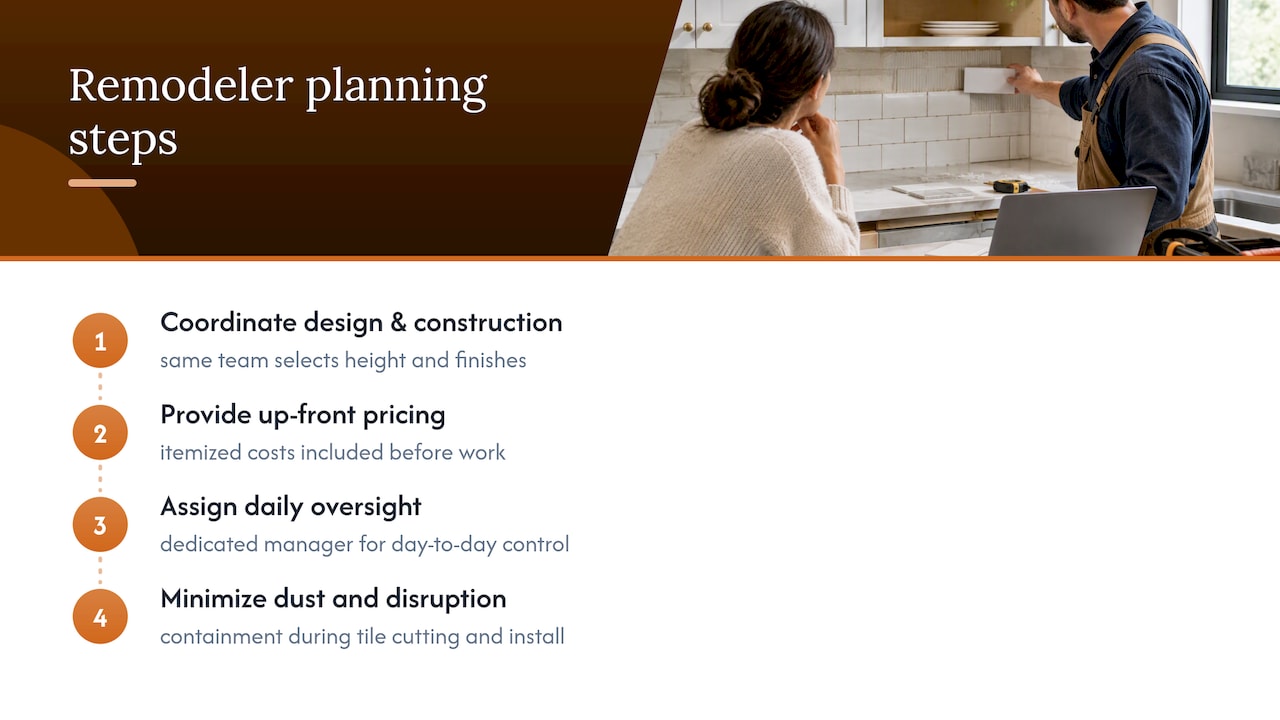
Getting a tall or full-height backsplash right takes coordination between design and construction that many homeowners do not expect to manage alone. Design and construction are coordinated to ensure the same team that selects tile height also builds the finish plan that installers follow, reducing back-and-forth and mismatched measurements.
Projects include up-front pricing with itemized costs and have dedicated oversight for daily management. Dust and disruption are minimized during tile cutting and installation, especially for full-height runs that generate more cut material than a short splash.
Our Take: Measure Twice, Decide Once
The single most useful step is documenting wall endpoints and hood or appliance clearances before choosing a height, not after. A complex full-height wall, tricky outlet layout, or a stepped counter is worth handing to a professional; a simple 4-inch run behind a secondary counter is reasonable to tackle yourself. Either way, match height to function in wet and cooking zones, and to alignment everywhere else.
— MediaBeast
Let Us Handle Your Backsplash Measurements and Installation
Getting backsplash height right means coordinating cabinet lines, hood clearances, outlet layouts, and material choices long before tile ever gets cut, and that coordination is where most DIY plans run into trouble. We handle design and construction together, so the measurements in your finish plan are the same ones our carpenters build from.
- Up-front, itemized pricing provides visibility into backsplash material and labor costs before work starts.
- Dedicated daily oversight helps ensure finish-plan details are maintained between design and installation.
- Dust containment practices keep the work area clean during tile cutting and trim work.
If you are weighing height options for a kitchen remodel, our kitchen remodel cost guide breaks down pricing by layout, and our bathroom remodel cost guide does the same for vanity and shower walls. Reach out to schedule an on-site measurement and finish-plan consult.
FAQ
How high up should a backsplash go?
A backsplash typically runs 4 to 6 inches above the counter for basic protection, though full height to the cabinet bottom or ceiling is common for a design statement. Behind a range, many installers go 30 to 36 inches or to the hood, always checked against the hood manufacturer’s clearance specs.
Is a 4 inch backsplash outdated?
A 4-inch backsplash is still a standard, budget-friendly option and is far from outdated; it commonly matches the countertop material for a clean, simple look. It works best on secondary walls or when the budget favors paint over tile for the rest of the wall.
Is a 3 inch backsplash okay?
A 3-inch backsplash is on the short end but acceptable for minimal splash protection, particularly in bathrooms or secondary counters with low water exposure. For a kitchen sink or range wall, most guidance favors at least 4 to 6 inches for adequate coverage.
What is considered a full height backsplash?
A full-height backsplash runs from the countertop all the way to the underside of the upper cabinets, or in some designs all the way to the ceiling. It maximizes wall protection and often becomes a focal point behind a range or a feature sink wall.
Sources
- Kitchen & Bath: Choosing a Backsplash (JLC, Nov 1994)
- Chapter 10: Finish Plan & Finish Schedules (NKBA, 2023)
- Kitchen planning guidelines (NKBA)