
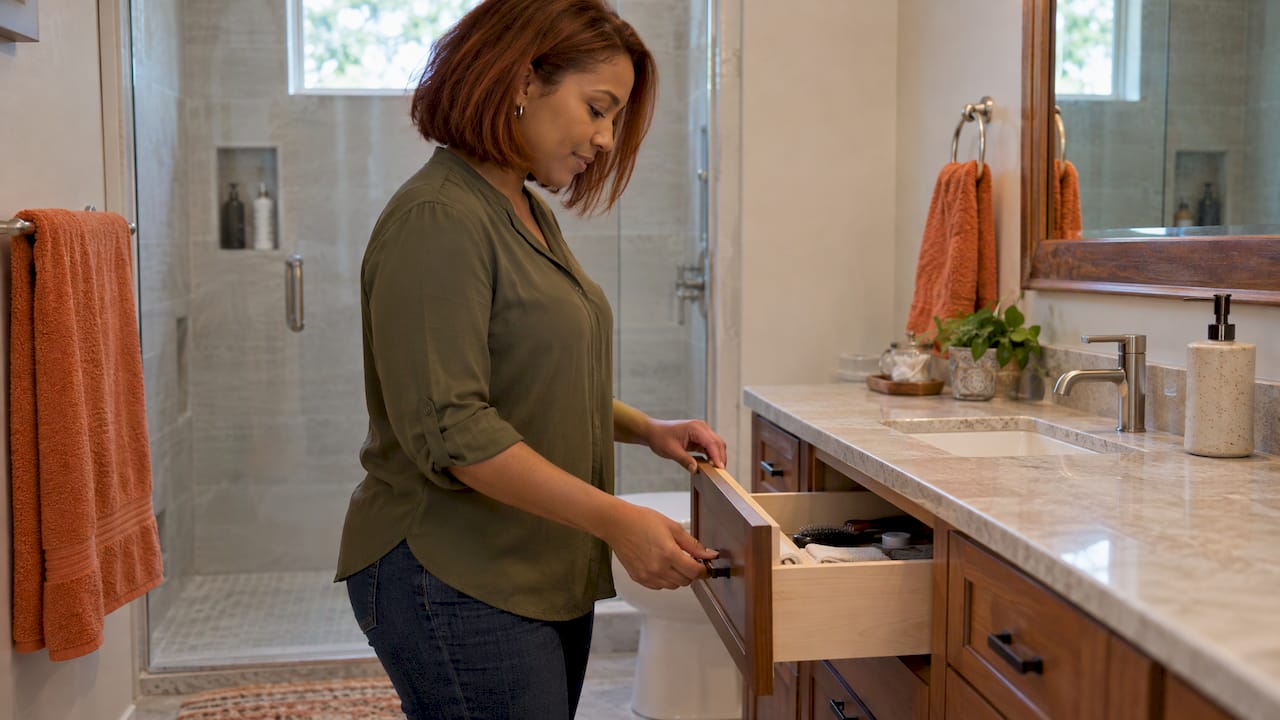
The final walkthrough after a remodel is the one walk through your finished space where you, the contractor and the contract all stand in the same room. Do it with a plan: test every fixture, compare each finish to the contract, write down every open item with a photo, and collect your paperwork before you make the last payment. This checklist shows you how, room by room.
A note on terms: if you searched this because you are buying a house, the pre-closing walk-through is a different event, with a different purpose (confirming the seller kept the property in the agreed condition). This guide is for homeowners finishing a kitchen, bathroom or similar remodel.
TL;DR
- Start your punch list when the job is about 80 percent complete, so the final walkthrough confirms work instead of discovering it.
- Walk one room at a time in a fixed order, check each item against the contract spec, and photograph every defect with a location note.
- Run water, power, exhaust fans and safety devices. Looking is not testing.
- Agree in writing on who fixes what and when, and schedule the re-walk before the crew leaves.
- Hold final payment until the punch list is done and your warranties, manuals, permit records and lien paperwork are in your hands.
Table of Contents
- Before the Walkthrough: Get Ready
- How to Walk the Space
- Kitchen Final Walkthrough Checklist
- Bathroom Final Walkthrough Checklist
- Test the Systems, Don’t Just Look at Them
- Building the Punch List
- What If You Find Problems?
- Paperwork, Permits and Final Payment
- Our Perspective: Why the Walkthrough Should Hold No Surprises
- Planning a Remodel in Tampa?
- FAQ
- Sources
Before the Walkthrough: Get Ready
A good walkthrough is mostly preparation. Three things make the difference.
Have the contract in hand. The standard you are judging against is the signed scope, the product selections and any change orders, not whether something “looks fine.” Printed copies, or a tablet with the files open, work equally well. The EstimationPro punch list guide recommends checking every item against the contract spec for exactly this reason.
Start the list early. Pro Remodeler advises beginning the punch list at about 80 percent completion. Typical entries include paint and floor touch-ups, cleaning, working appliances, windows and hardware, and final inspections and certificates. Items found early get fixed while the trades are still on site.
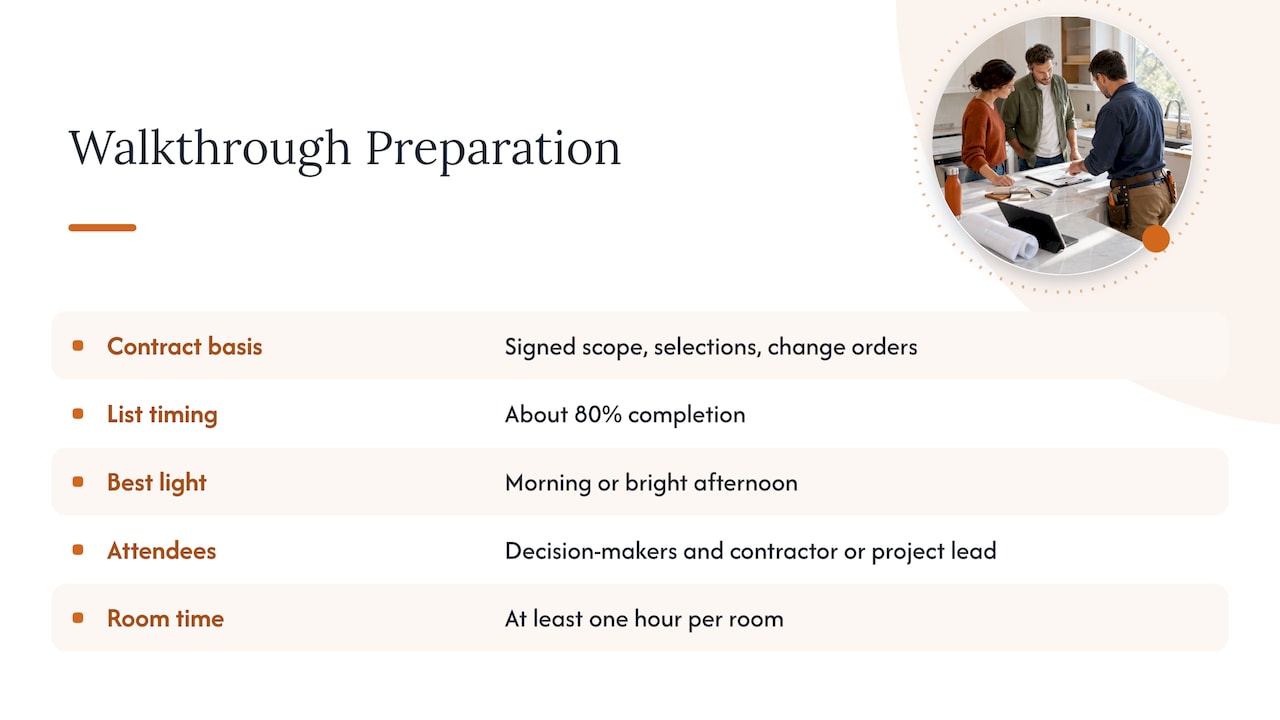
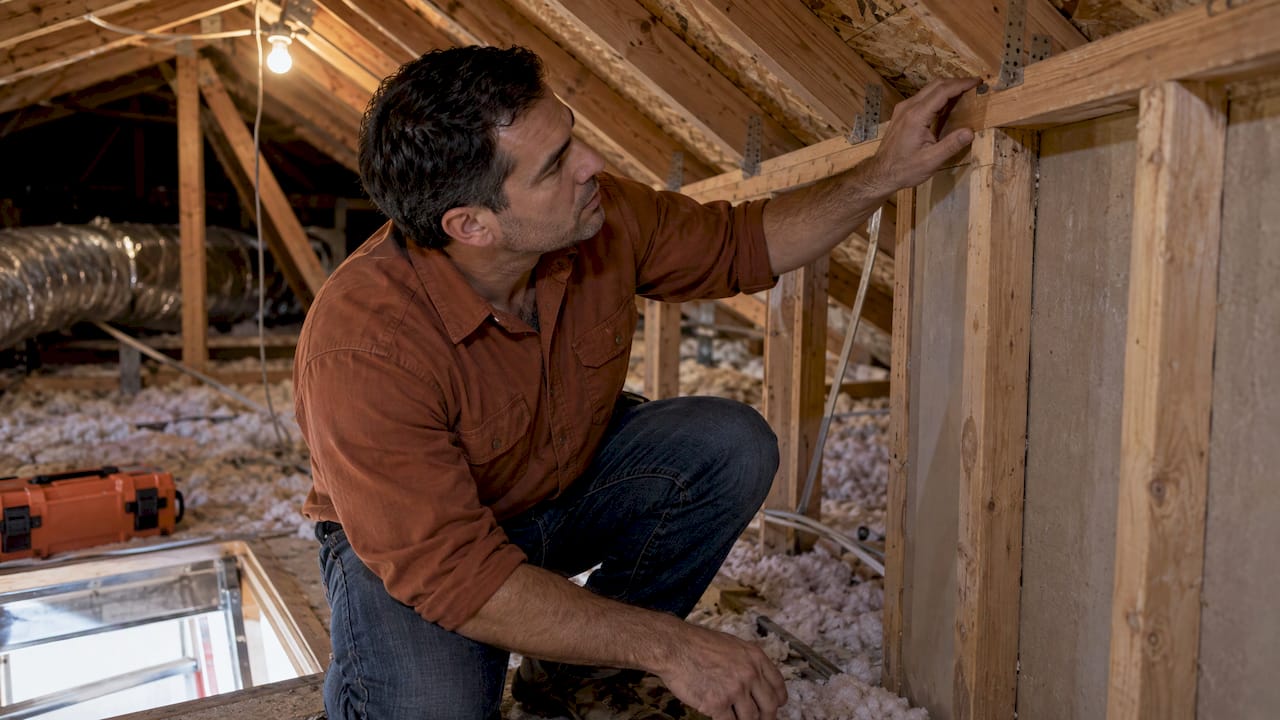
Pick the right time and the right people. Choose a morning or a bright afternoon. Natural light shows paint flaws, scratches and uneven grout much better than a work light. Everyone who makes decisions about the space should attend, and the contractor or project lead should be there to take notes and answer questions. Give yourself at least an hour per room for a kitchen or a full bath, and don’t rush it because the crew is waiting.
What to bring
- The signed contract, change orders and selection sheets
- A phone or camera, plus a notepad or a punch list form
- Painter’s tape or sticky dots to mark defects (check with the contractor that the tape you use is safe for the finish)
- A flashlight
- A cheap outlet tester and, if you own one, a GFCI tester
- A level and a tape measure
- A glass of water for the drain test, and a towel
How to Walk the Space
The order matters because it stops you from skipping things. The Snagwalk snagging checklist suggests working one room at a time in a fixed sequence: start at the door, work clockwise, go floor to walls to ceiling, then windows, then fittings, then services. EstimationPro also recommends walking each room clockwise from one corner.
Record each defect in the moment. Snagwalk’s advice is to note a location, a short description and one photo, rather than trusting memory afterward. A usable entry looks like this:
Kitchen, north wall, left of range: 4-inch scratch on the lower cabinet door. Photo 14.
“Paint bad” is not an entry. “Hall bath, ceiling above shower, two roller marks, photo 22” is.
Kitchen Final Walkthrough Checklist
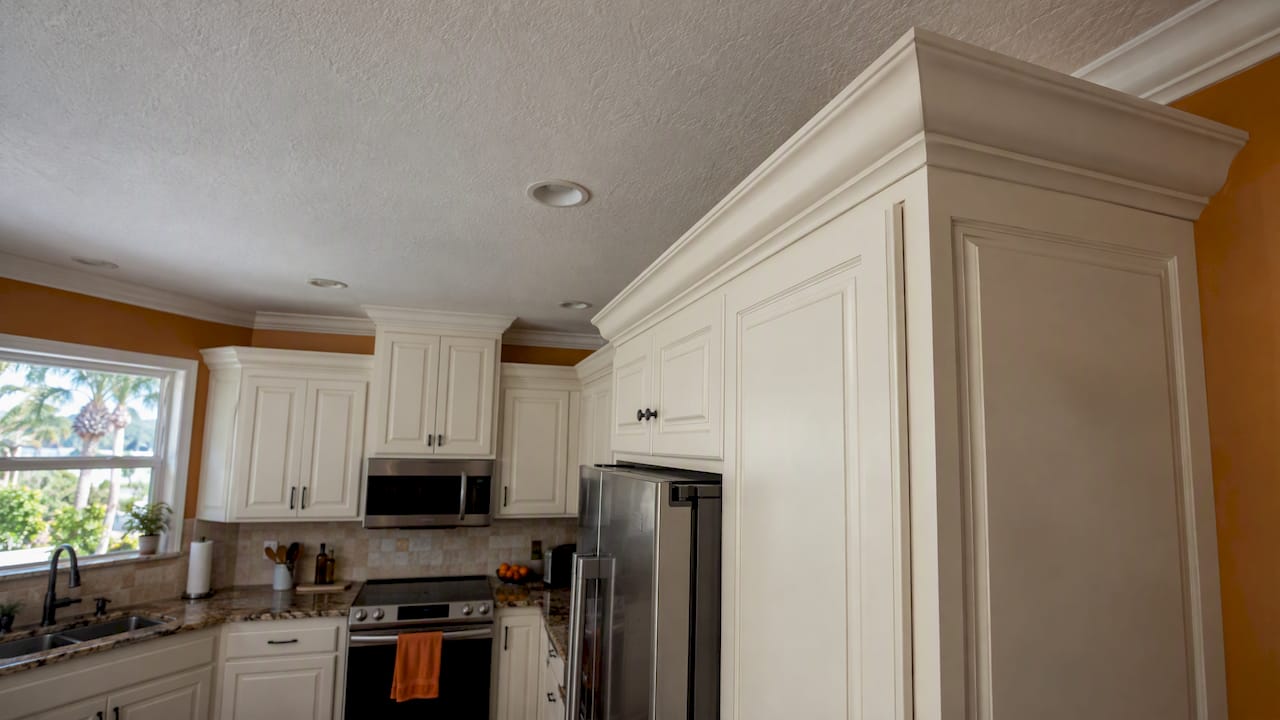
The EstimationPro template lists these kitchen checks: cabinet doors and hardware, countertop seams, backsplash grout, appliance installation, plumbing under the sink, and paint. Here is how to put them into practice.
Cabinets
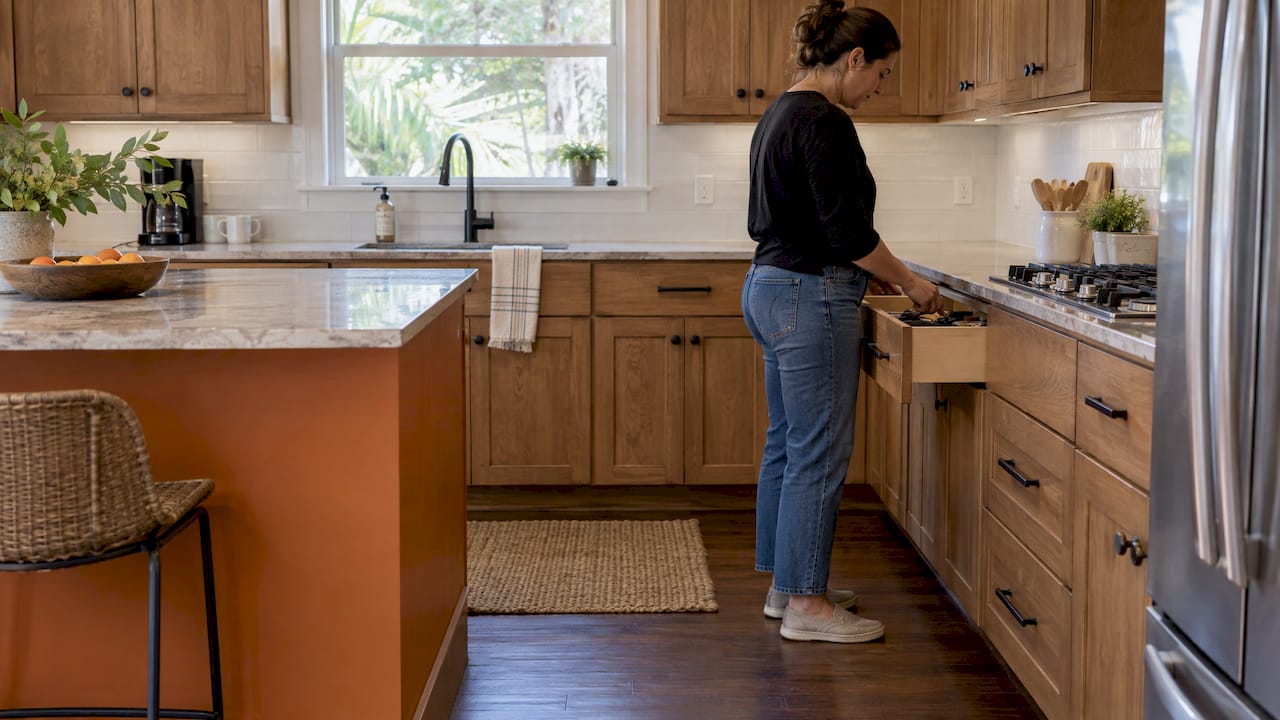
- Open and close every door and drawer. Doors should hang evenly with consistent gaps, and drawers should glide fully without rubbing.
- Check that soft-close hardware works if you ordered it.
- Look at finish: scratches, chips, mismatched stain or paint, gaps at the crown or toe kick.
- Confirm the pulls and knobs are the ones you selected, tight and aligned.
Countertops and backsplash
- Check the color and pattern against your approved sample, in daylight.
- Look at seams: they should be tight, level and well finished. Run a fingertip across them.
- Check edges and corners for chips, and cutouts around the sink and cooktop.
- Inspect backsplash grout for even color, full coverage and no haze. Look at the caulk line where the backsplash meets the counter.
Sink, faucet and plumbing
- Run hot and cold water. Check the sprayer, the pull-down and the disposal.
- Open the sink cabinet with a flashlight and look for drips at supply lines and drain connections while the water runs. Wipe a dry paper towel along the joints.
- Fill the sink partway and drain it to see that it empties without gurgling.
Appliances
- Turn on every appliance as installed: range burners and oven, hood fan and light, dishwasher cycle, refrigerator water line and ice maker, microwave.
- Check that the appliances sit level and flush with the cabinets, and that model numbers match your order.
Electrical and lighting
- Test under-cabinet and overhead lights, dimmers and every switch.
- Plug the tester into each receptacle, especially at the counter, and press the test and reset buttons on any GFCI outlets.
Walls, floors and trim
- Look for paint touch-ups, nail pops, gaps at trim and scuffs on the floor. Check transitions where flooring meets another surface.
Bathroom Final Walkthrough Checklist
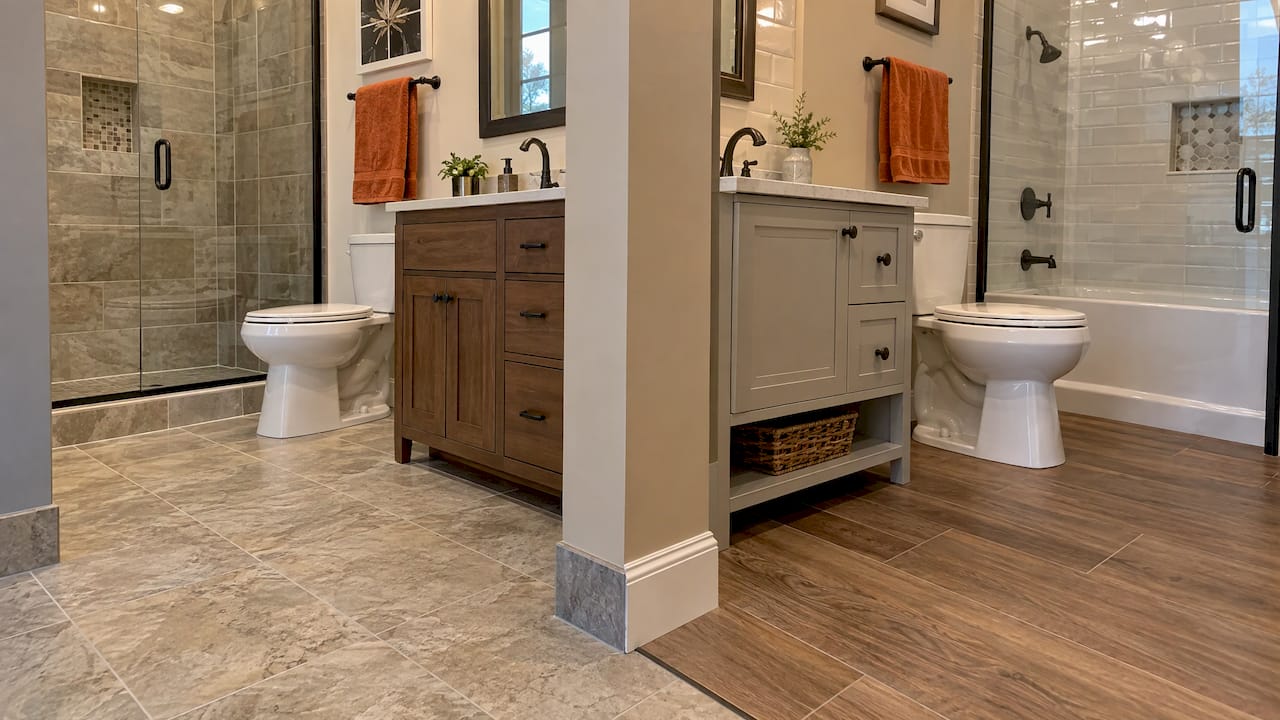
The same template covers bathrooms: tile and grout, caulk lines, fixtures, the exhaust fan, vanity, mirror and paint touch-up. In practice, water does most of the revealing.
Shower and tub
- Run the shower for several minutes at full flow and watch the drain. Water should leave steadily, not pool.
- Test the valve through its full range from cold to hot, and confirm the diverter, handheld and any body sprays work.
- Tap on tile to listen for hollow sounds, and check for cracked, chipped or uneven tiles and lippage (tile edges sitting at different heights).
- Look at grout lines for consistent width and color, and at every caulk joint: tub to wall, corners, around the valve trim and at the floor. Caulk should be continuous with no gaps.
- Check the glass door or curtain rod for secure mounting and smooth operation. Seals should close cleanly.
Toilet and vanity
- Flush the toilet several times. It should fill, refill and shut off without running on. Rock it gently: it should not move.
- Run the vanity faucet and check the pop-up drain, then check under the sink for leaks.
- Open every vanity door and drawer, and check the top for chips and sealed edges.
Ventilation and lighting
- Turn on the exhaust fan. Hold a square of tissue near the grille: it should cling. The fan should run without rattling and without a loud hum.
- Check lights, GFCI receptacles and the mirror mounting.
Details
- Towel bars, hooks and the paper holder should be solid when you tug them. Paint should be even, especially near the ceiling and around trim.
Test the Systems, Don’t Just Look at Them
Professional home inspectors work from a standard sequence you can borrow. The InterNACHI standards of practice describe running water at all fixtures and faucets, flushing toilets, and testing sinks, tubs and showers for functional drainage. They also cover operating heating and cooling with normal controls, inspecting the exhaust systems in kitchens, bathrooms and laundry areas, and testing a representative number of switches, lights and receptacles. That includes AFCIs with their test buttons and GFCIs with a GFCI tester where possible. Inspectors also check for smoke and carbon monoxide alarms.
For your walkthrough, that translates into a short routine:
- Run every faucet and shower, then flush every toilet in the work area.
- Check drains for speed and for any sound from the pipes.
- Turn on every exhaust fan and range hood.
- Test every switch and outlet, and press the test and reset buttons on GFCI outlets.
- Confirm smoke and carbon monoxide alarms are in place and working. If the remodel touched their locations, ask the contractor to confirm they meet current requirements.
- Run the HVAC through its normal controls if ducts or vents were moved.
If something trips a breaker, shows a reversed-polarity reading on your tester, or leaks, stop and write it down as a priority item. Electrical and plumbing defects should be diagnosed by the licensed trade that did the work or another licensed professional, not by you.
Building the Punch List
The punch list is the agreement about what remains. It earns its value from specifics.
Each entry needs:
- Location (room, wall, fixture)
- Description of the problem
- A photo
- A responsible party, whether a trade or a person
- A target date
EstimationPro recommends assigning each item to a responsible party and scheduling the re-walk before you leave the first walkthrough. Do that. A list with no dates tends to drift.
Sort entries into three groups so everyone understands the weight of each:
| Priority | Examples | What to do |
|---|---|---|
| Function or safety | Leak, dead outlet, fan not working, door that won’t close | Fix first, re-test before final payment |
| Contract mismatch | Wrong finish, wrong hardware, missing item | Correct or replace per the contract |
| Cosmetic | Paint touch-up, caulk gap, scuff | Schedule and verify at the re-walk |
We cover the money side of this in more depth in our punch list playbook for remodels, including why holding back a portion of the final payment until completion keeps everyone motivated.
What If You Find Problems?
Finding items is the walkthrough working, not a sign of failure. A few ground rules keep it productive.
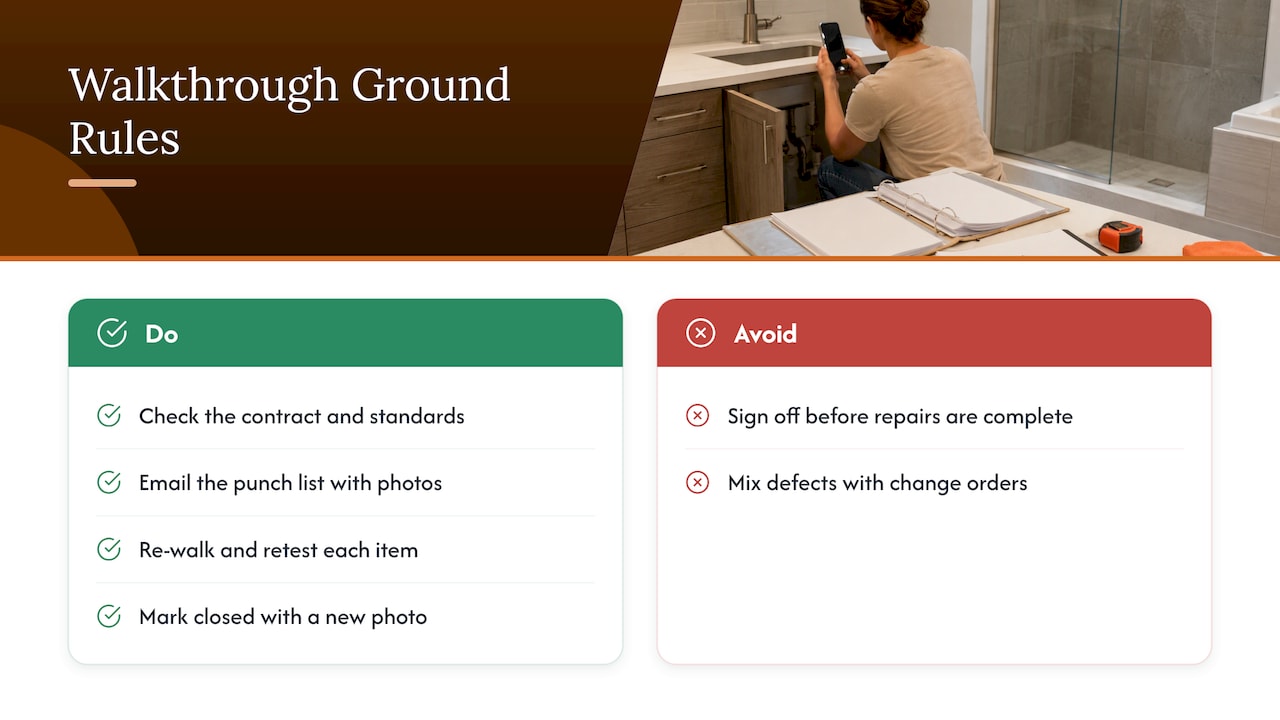
Judge against the contract and recognized standards. The National Association of Home Builders’ sample contract language says the test for whether a condition is a deficiency is the performance guideline in the current edition of Residential Construction Performance Guidelines. It also states that the contractor corrects, at his own expense, workmanship and materials that do not conform to contract specifications. Your own contract may use different wording, so read the warranty and completion clauses before the walkthrough.
Put it in writing. Send the punch list by email the same day, with photos. That gives you a dated record, and it’s the same habit the New South Wales Building Commission recommends: keep records, inspect finished work and notify the builder in writing. That guidance comes from Australia, but the principle travels well.
Don’t sign off early. NAHB’s sample language has the owner deliver a signed Certificate of Acceptance once the punch list work is complete. Sign it after the re-walk, not at the first visit.
Separate defects from changes. If you spot something you now want done differently, that is a change order, not a punch list item. Keeping the two apart avoids friction.
Keep the re-walk short and focused. Return to the list item by item, test again, and mark each as closed with a new photo.
Paperwork, Permits and Final Payment
A remodel isn’t finished until the paper matches the work.
Documents to collect
Renoversity’s closeout guidance says to gather the signed contract and executed change orders, manufacturer and contractor workmanship warranties, lien waivers, product specifications, appliance manuals and model numbers, and permit sign-offs and inspection records, and to keep digital backups. Scan everything and store it in one folder. Add the names, phone numbers and dates for the installers, plus paint colors and tile or countertop product names for future repairs.
Permits and inspections
Code rules vary by city and county, so ask your contractor which permits your project required and for the final inspection record. In Florida, a certificate of completion is the document used to close out certain permitted work that does not need a certificate of occupancy, and remodels are common examples. It generally follows passed inspections and the building department’s final approval. Your local building department’s website lists current requirements. We also explain when a bathroom project needs one in our guide to bathroom remodeling permits.
Lien waivers and final payment
Mechanics’ lien rules differ by state. In Florida, section 713.06 of the Florida Statutes governs how contractors serve notices and what contractors certify about payments to those who supplied labor and materials on a job, and it includes a form of affidavit. Ask your contractor to explain which lien waivers and final payment affidavits apply to your job and to provide them before you release the last payment. If you have questions about your rights, a Florida construction attorney is the right person to ask. Outside Florida, check your own state’s statute.
Our Perspective: Why the Walkthrough Should Hold No Surprises
We design and build every kitchen and bathroom ourselves, so the final walkthrough is the last step of a process we’ve been in conversation with you about from day one, not a handoff between strangers.
Three parts of how we work are designed to make that day calm. Up-front pricing with detailed item lists means you can check what was installed against what was written. Your dedicated Lead Carpenter knows every cabinet, seam and fixture in your project and walks it with you. And our Work Clean System is designed to minimize dust and disruption, so you’re evaluating a finished room instead of a construction site.
Our advice is to treat the punch list as part of the schedule, not an afterthought. Start it before the last trade leaves, agree on a re-walk date at the first walkthrough, and keep your final payment tied to completion. Homeowners who do this tend to close out remodels with fewer delays and clear communication, which is what we aim for on every project.
MediaBeast
Planning a Remodel in Tampa?
If you’re still choosing a contractor, a smooth walkthrough starts with a clear scope and clear numbers. We publish ranges for typical projects, for example $22,100 to $30,000 for a Small 3-Fixture Bath with Shower and $48,500 to $60,200 for a Small U-Shaped Kitchen. Project scope and materials determine the final cost. See the details on our bathroom remodel cost page and kitchen remodel costs page.
When you’re ready to talk through your own project, start with our Tampa kitchen remodeling or bathroom remodeling services, or visit Bath & Kitchen Gallery to visit our local showroom and pick materials.
FAQ
How long should a final walkthrough take?
Plan on at least an hour per kitchen or bathroom, plus time to test fixtures and agree on the punch list. A whole-home project can take a half day or more. Rushing is the usual reason defects are discovered weeks later.
Who should attend the final walkthrough?
Everyone who lives in and makes decisions about the space, along with the contractor or project lead who can answer questions and assign work. Bring the contract and selection sheets so the conversation stays tied to what was agreed.
Should I make the final payment before or after the walkthrough?
Pay the final balance after the punch list is complete and verified, and after you have your warranties, manuals, permit records and lien paperwork. Check your contract for the payment schedule, since terms differ from job to job.
What if I find a problem after the walkthrough?
Notify your contractor in writing right away, with photos and the date you noticed it. Then refer to the workmanship warranty in your contract. Keeping your closeout documents in one place makes this much faster.
Sources
- Tips for Final Walk-Through Success, Pro Remodeler
- Construction Punch List Template, EstimationPro
- The room-by-room snagging checklist, Snagwalk
- InterNACHI basic checklist
- How to Close Out a Renovation Project, Renoversity
- How to make sure your new building work remains trouble-free, NSW Government
- How to Get a Certificate of Completion in Florida
- Florida Statutes section 713.06