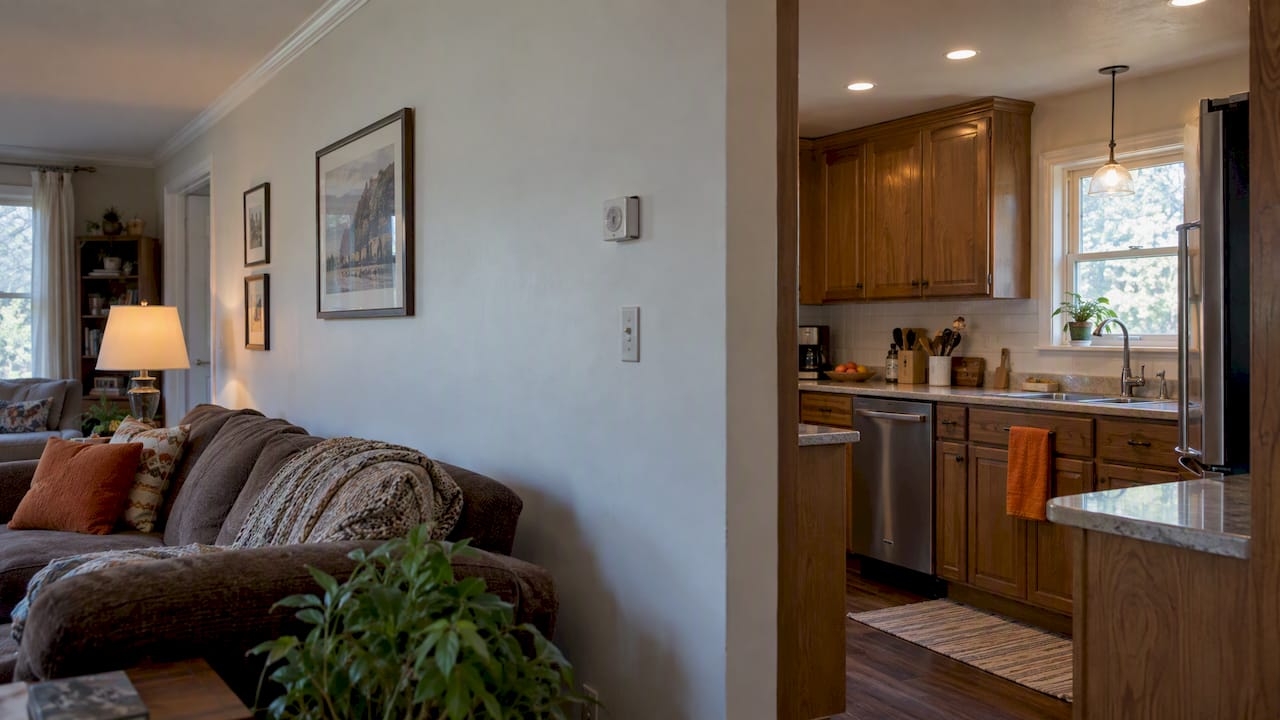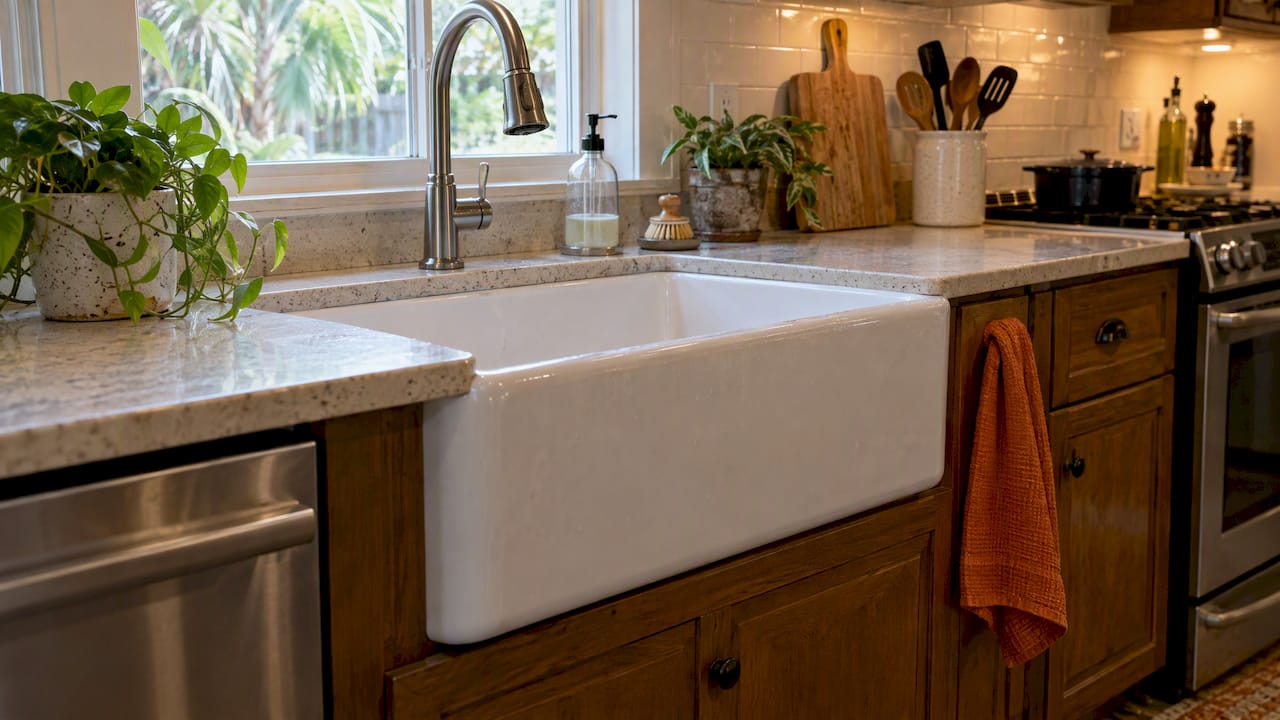

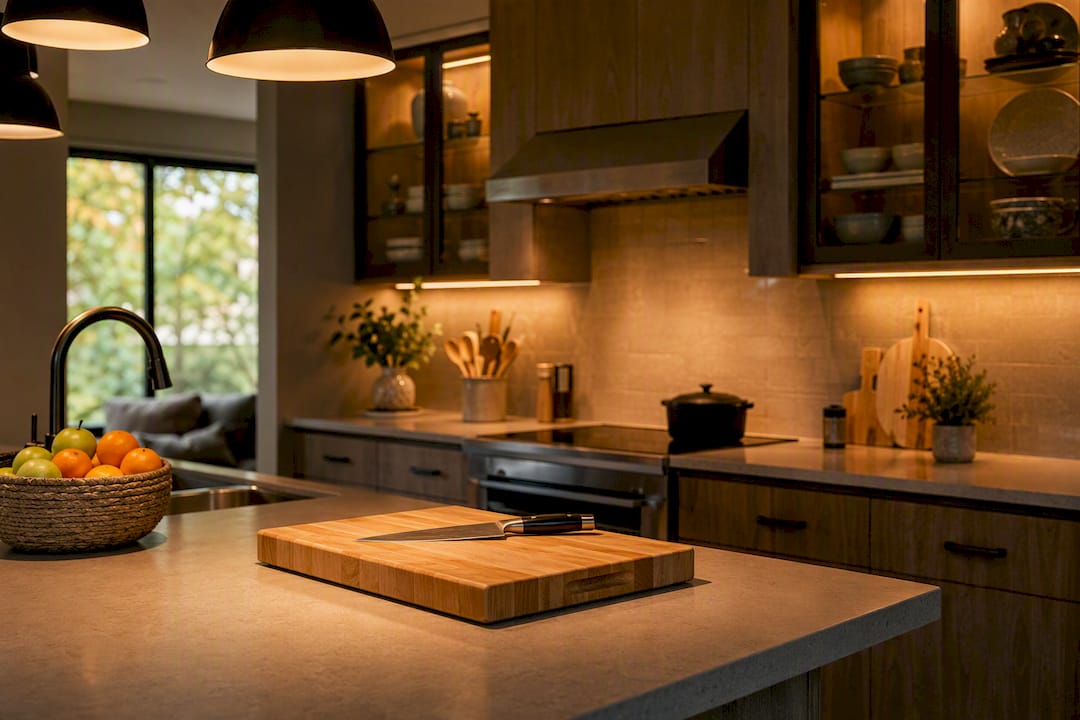
A correct kitchen lighting plan is a zone map combined with three lighting layers, ambient, task, and accent, each carrying its own lumen target, fixture type, and control. Skip the zone map and you get a kitchen with one bright ceiling fixture and dark countertops. Skip the layers and you get glare where you cook and shadows where you actually need light.
Here’s the quick version you can act on today or hand straight to a contractor:
- Map your zones first. Island, sink, stove, counters, and any dining nook each need their own lighting decision, not a shared overhead fixture.
- Set lumen targets before you shop. A typical kitchen needs roughly 3,000 to 4,000 lumens for general ambient light, with work surfaces needing noticeably more task lighting.
- Choose fixtures by function, not looks alone. Pendants over the island, recessed cans for ambient coverage, LED strips under cabinets for task light.
- Plan your switches and dimmers before rough-in. Each layer deserves its own switch or zone.
- Schedule installation around your remodel timeline, not as an afterthought once the cabinets are already hung.
Before you call an electrician, write down room dimensions, ceiling height, cabinet overhang, where the sink and range sit, your preferred color temperature, and the lumen target for each zone. That single page saves back-and-forth once wiring starts. ENERGY STAR-rated LEDs, a lumens-per-square-foot guideline, and a pendant-height rule from working lighting designers form the backbone of everything below.
Key Takeaways
A working kitchen lighting plan pairs a zone map with three layers, ambient, task, and accent, each set to a lumen target, fixture type, and dedicated control.
| Point | Details |
|---|---|
| Map zones before shopping | Island, counters, sink, stove, and seating each need their own lighting decision. |
| Hit lumen targets | Aim for 3,000–4,000 lumens ambient, with more concentrated light over work surfaces. |
| Space fixtures correctly | Recessed cans go roughly half the ceiling height apart; island pendants hang 30 to 36 inches above the counter. |
| Zone your switches | Separate dimmers or circuits per layer prevent over-lighting and cut wasted electricity. |
| Hire it out with one team | Tampakitchenandbath coordinates design, wiring, and installation under one Lead Carpenter with up-front pricing. |
Table of Contents
- Why a Real Lighting Plan Changes How Your Kitchen Works
- The Three Layers: Ambient, Task, and Accent Lighting
- Placing Light by Zone: Island, Counters, Sink, Stove, and Beyond
- Matching Fixtures to Each Zone
- Getting Color Temperature and CRI Right
- Wiring for Dimmers, Zones, and Smart Controls
- Kitchen Lighting Mistakes That Are Easy to Fix
- Your Step-by-Step Kitchen Lighting Plan Checklist
- What Designers Actually See on the Job
- Let Tampakitchenandbath Handle the Wiring While You Handle the Wish List
- Frequently Asked Questions
- Sources
Why a Real Lighting Plan Changes How Your Kitchen Works
Most kitchens fail at lighting for one reason: the ceiling fixture was chosen first, and everything else got improvised around it. That order is backward. Lighting placement determines how well you see a knife edge on a cutting board, whether your countertop actually looks the color you picked, and whether the room feels like a workspace or someplace you want to linger after dinner.
Layered light with fixtures positioned over actual work surfaces eliminates the shadow a single overhead light throws across your own hands while you chop. Color rendering matters just as much as brightness. A cabinet finish or quartz countertop can look muddy under a cheap bulb and vivid under one with a high CRI rating, even at the same wattage.
Safety details matter near water and heat: fixtures close to a sink need a damp rating, and anything mounted near a range needs to tolerate rising heat without degrading early.
Pro Tip: More fixtures isn’t the fix for a dim kitchen. A designer’s rule of thumb is to add light where the work happens, not just more light overhead, since over-lighting creates a harsh, clinical feel instead of a warmer one.
Efficient LED fixtures also cut your operating cost over time, a detail Energy.gov flags as one of the higher-impact, lower-effort upgrades a homeowner can make to a home’s electric bill.
The Three Layers: Ambient, Task, and Accent Lighting
Every well-lit kitchen runs on three distinct layers, and treating them as one job is the most common planning mistake. Ambient light fills the room generally. Task light targets a specific work surface. Accent light adds depth, mood, or drama to a feature like open shelving or a backsplash.
Ambient lighting usually comes from recessed ceiling cans, a flush-mount fixture, or occasionally a small chandelier in an open-plan kitchen. The Belzany lighting layer planner recommends diagnosing which layer is actually missing in your kitchen before buying anything, since most kitchens already have ambient covered and are missing task or accent instead.
Task lighting covers counters, the stove, the sink, and the island, anywhere you’re actually working with a knife, a hot pan, or fine print on a recipe card. This layer needs the most lumens and the most precise placement.
Accent lighting is the layer people notice last and skip first. Under-shelf strips, toe-kick lighting, or a glow inside a glass cabinet turn a functional kitchen into one that photographs well and feels finished at night.
Lumen targets by layer
Recessed can spacing follows a simple formula: space fixtures roughly half the ceiling height apart for even coverage, so an 8-foot ceiling calls for cans spaced about 4 feet apart. Pendant spacing over an island depends on the island’s length, with two or three pendants commonly used depending on size, spaced evenly along the centerline.
A small galley kitchen usually emphasizes task lighting as space for accent lighting is limited. A large open-plan kitchen needs all three layers working together, plus a clear plan for how the kitchen’s ambient light transitions into the adjoining living space without a hard visual line.
Placing Light by Zone: Island, Counters, Sink, Stove, and Beyond
Once your layers are set, the real work is placing fixtures zone by zone. Generic ceiling coverage doesn’t solve a dark countertop problem. Deliberate placement does.
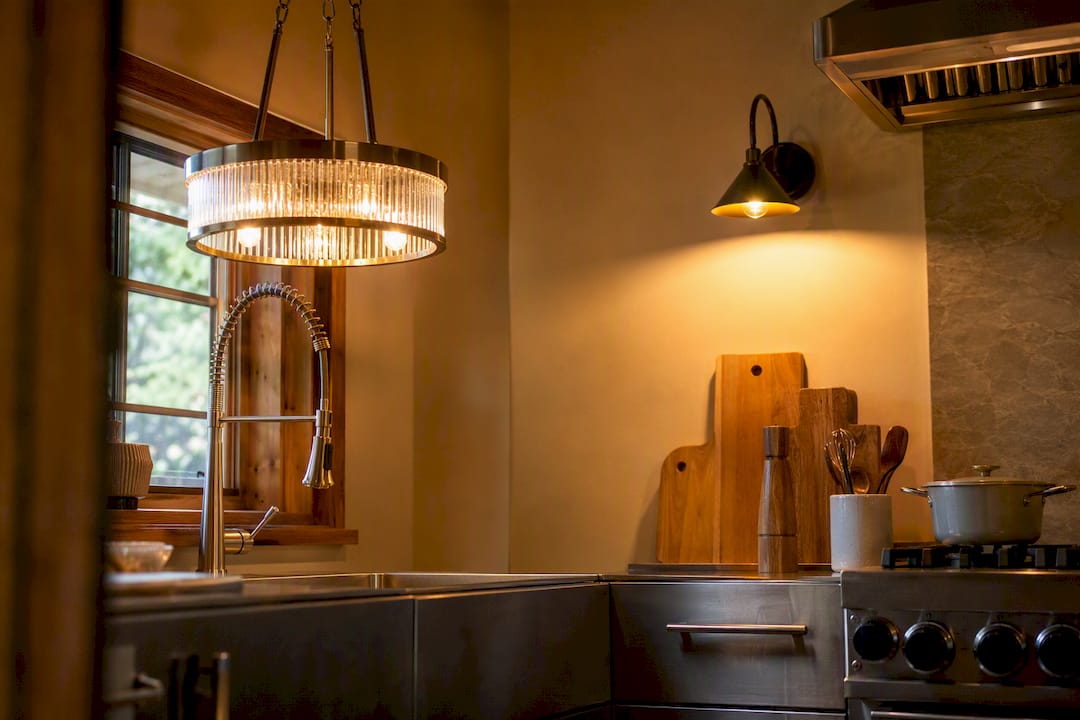
Island: Center pendants over the island’s length, not over the room’s center. For a standard island, two pendants sit roughly 24 to 30 inches apart, and the bottom of each fixture typically hangs 30 to 36 inches above the countertop to clear sightlines while still lighting the work surface below.
Counters and prep zones: Recessed lights belong toward the front edge of the cabinets, not centered over the counter, so your own body doesn’t cast a shadow while you work. Under-cabinet LED strips or puck lights close that remaining gap and are one of the most effective upgrades for eliminating shadow entirely.
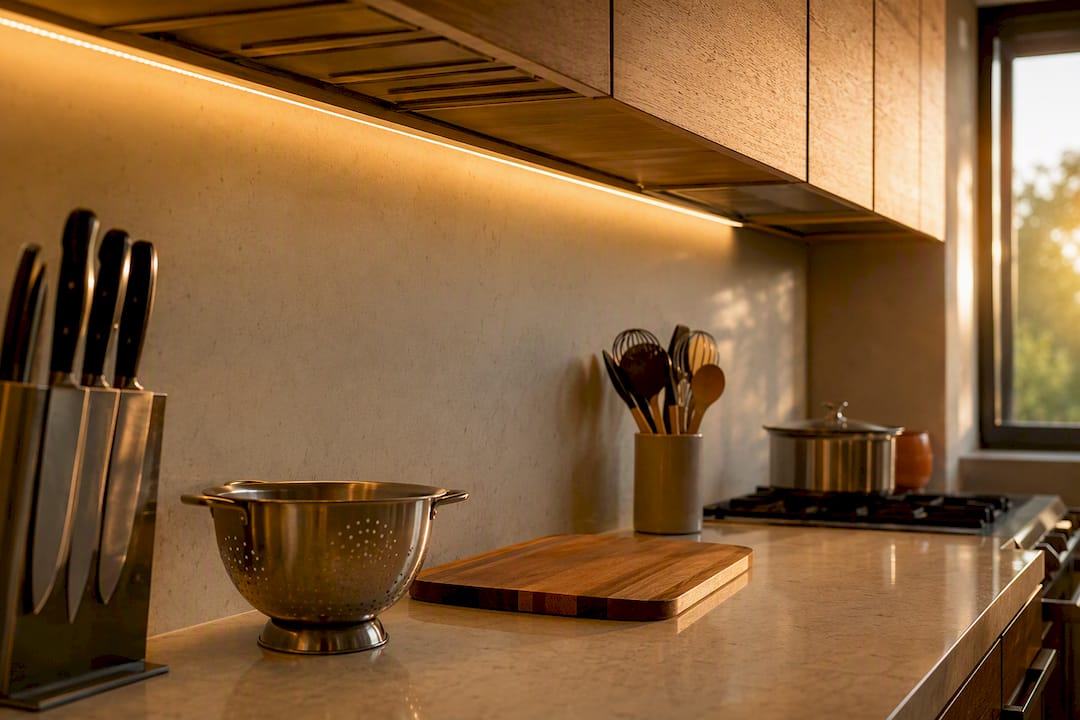
Sink and stove: Both need dedicated task fixtures rated for the environment. Anything near a sink should carry a damp rating; anything close to a range needs heat tolerance, since standard fixtures can degrade faster than expected that close to a cooktop.
Dining nook: Softer, dimmable ambient or a single pendant works better here than bright task light. This is the zone where dimming behavior matters most for evening use.
Pantry and walkways: A single switch near the entry, or a motion sensor for infrequent trips, keeps you from fumbling for a light while carrying groceries.
Pro Tip: Don’t let symmetry win over function. A pendant that looks perfectly centered on the ceiling plan but sits off from where you actually chop vegetables is a design failure dressed up as a design choice.
Small kitchens can often get by with a tight grid of 4 to 6 recessed cans plus one under-cabinet run. Medium kitchens typically need 6 to 8 cans, two to three island pendants, and full under-cabinet coverage. Larger, open-plan kitchens need all of the above plus a distinct ambient plan for any adjoining living or dining space, which is a detail worth reviewing in family-focused kitchen renovation planning if your household cooks and gathers in the same space.
Matching Fixtures to Each Zone
Fixture choice should follow function first, style second. Get the pairing wrong and even an expensive fixture underperforms.
- Pendants belong over islands and peninsulas, mounted 30 to 36 inches above the counter, grouped in twos or threes based on island length.
- Recessed cans form the ambient base layer and double as directional task light when positioned over counters instead of room center.
- Linear LED strips or tape lights handle under-cabinet task lighting and toe-kick accent lighting, and they’re the easiest retrofit for an existing kitchen that’s under-lit.
- Track lighting works well in kitchens needing flexible accent or task light aimed at open shelving or artwork, since heads can be repositioned later.
When selecting recessed fixtures, look for dimmable drivers, selectable color temperature, and a CRI around 90 or higher, plus the correct IC rating for insulated ceilings and a damp rating anywhere moisture is a factor. Confirm whether you need new-construction or remodel housing; retrofitting an existing ceiling almost always calls for remodel cans, which install through a smaller ceiling cutout.
Beam angle matters more than most homeowners realize. A narrow beam creates a tight pool of light good for a single task surface; a wider beam spreads more evenly but loses intensity at the edges. For maintenance, favor fixtures with accessible, replaceable LED modules or standard bulb bases over sealed units that require a full fixture swap when they eventually fail.
Getting Color Temperature and CRI Right
Color temperature and CRI decide whether your kitchen looks warm and inviting or flat and clinical, and whether your countertop actually reads as the color you picked in the showroom.
For most kitchens, 2700K to 3000K reads as warm and comfortable, and 3000K is the most common compromise between warmth and clarity. High-contrast task zones, like a prep counter under a window, sometimes benefit from 3500K to 4000K for sharper visual clarity while chopping or reading labels.
Aim for a CRI of 90 or above anywhere food color or finish color matters, meaning nearly everywhere in a kitchen. Very warm bulbs below 2700K can wash finishes yellow; very cool bulbs above 4000K can make a kitchen feel sterile.
| Use case | Kelvin range | CRI target |
|---|---|---|
| Food prep / task | 3000K–4000K | 90+ |
| General mood / ambient | 2700K–3000K | 90+ |
| Accent / feature | 2700K–3000K | 90 or above |
Pro Tip: If your budget allows, tunable white or selectable-CCT fixtures let you shift from crisp task light while cooking to warm ambiance at dinner, using the same fixture.
Wiring for Dimmers, Zones, and Smart Controls
Separate switches or zones for each layer let you use exactly the light you need instead of running everything at full brightness all the time. This is where most kitchens lose the plan entirely, wiring everything to one switch.
Confirm dimmer compatibility before ordering fixtures. LED drivers vary, and mismatched dimmers cause flicker or buzzing. Check whether your fixtures need phase-cut, ELV, or 0 to 10V dimming, and buy dimmers rated for that specific driver type.
Smart scenes are worth setting up if you’re already running new wiring: a work scene at full brightness, a prep scene favoring task light, a dine scene dimmed and warm, and a clean-up scene bright again. Occupancy or time-of-day triggers work well for pantries and walkways.
Before ordering a single fixture, decide:
- Which zones get their own switch versus which share a circuit
- Whether you want smart, app-controlled dimmers or standard wall dimmers
- Where switch banks will physically sit relative to entry points
- Whether under-cabinet strips need a separate low-voltage transformer and where it will hide
Kitchen Lighting Mistakes That Are Easy to Fix
Most bad kitchen lighting traces back to a handful of repeat mistakes:
- Relying on one ceiling fixture and calling it done, leaving counters in shadow while the ceiling glows.
- Hanging pendants too high, too low, or oversized, blocking sightlines across the island.
- Mixing color temperatures with no plan, so one corner looks blue-white next to a warm amber corner.
- Skipping damp or heat ratings near the sink and range, shortening fixture life.
- Forgetting maintenance access, then discovering a bulb change requires a ladder and a service call.
The fixes are usually cheap: add an under-cabinet strip, nudge recessed cans forward over the counter edge, split one circuit into two switches, or swap in dimmers where none exist.
Your Step-by-Step Kitchen Lighting Plan Checklist
Turning everything above into an actual plan follows a predictable order, whether you’re doing it yourself or handing it to a contractor.
- Measure and map zones: sketch the kitchen with island, counters, sink, stove, and seating marked.
- Record ceiling height and cabinet overhang, since both affect recessed spacing and under-cabinet fixture depth.
- Note appliance and sink locations to flag where damp or heat-rated fixtures are required.
- Set lumen and Kelvin targets by zone, using the ambient, task, and accent guidance above.
- Choose fixture types for each zone: pendants, recessed, strips, or track.
- Plan circuits and switch locations before rough-in wiring begins.
- Create a fixture schedule listing every fixture, its lumen output, Kelvin, CRI, and mounting height.
- Set a budget and timeline for procurement and installation.
- Hire an electrician or remodeling contractor to execute rough-in and finish work.
- Commission the system: test every dimmer, scene, and zone before calling the job done.
A rough timeline: expect a week or two for the audit and design phase, a few weeks for fixture procurement depending on lead times, a day or two for rough-in wiring during a remodel, and a final day for fixture installation and commissioning.
Hand your contractor a packet with a measured sketch, your fixture schedule, a switch wiring diagram, and your preferred dimmer models. That single document is often the difference between a smooth remodel timeline and weeks of change orders once walls are already open. During a design consultation, expect to finalize fixture finishes, exact pendant count, and switch placement, since those decisions affect both the electrical rough-in and the final invoice.
What Designers Actually See on the Job
Most callbacks trace back to the same root cause: a homeowner picked fixtures first and figured out placement later. The kitchens that work best start with the zone map, not the fixture catalog. Homeowners also underestimate how much a $15 dimmer switch changes the feel of a room compared to another $200 pendant.
The trade-off worth accepting is spending less on statement fixtures and more on getting the layers and placement right first.
Let Tampakitchenandbath Handle the Wiring While You Handle the Wish List
Tampakitchenandbath turns a lighting plan like this from a sketch into a wired, working kitchen without you having to coordinate an electrician, a cabinet installer, and a general contractor separately. Because design and construction run under one roof, your fixture schedule, your dimmer choices, and your circuit zoning get reviewed together before a single wire gets pulled
Every project gets a dedicated Lead Carpenter and up-front pricing, so there’s no guessing what pendant relocation or an extra under-cabinet run will cost mid-project. The Work Clean System keeps dust and disruption contained while your electrical rough-in and cabinet work happen in the same timeline instead of two separate visits weeks apart. Tampakitchenandbath’s team handles fixture procurement, circuit zoning, and final dimmer commissioning as part of the build, not as an afterthought bolted on at the end.
If you want to see how lighting decisions play out in a finished space before committing to your own layout, browse a kitchen remodeling project gallery or schedule a design consultation to walk through your zone map with a Lead Carpenter.
Frequently Asked Questions
How many lumens do I need for a kitchen lighting plan?
Plan for roughly 3,000 to 4,000 lumens for general ambient coverage, with work surfaces like counters and the stove needing considerably more concentrated task light on top of that base.
What color temperature is best for kitchen lighting?
Most kitchens work well between 2700K and 3000K for a warm, comfortable feel, with 3000K as the most common compromise. Task-heavy prep areas sometimes benefit from 3500K to 4000K for added contrast and clarity.
How high should pendant lights hang over a kitchen island?
The bottom of the pendant typically hangs 30 to 36 inches above the countertop, high enough to preserve sightlines across the island but low enough to actually light the surface below.
How far apart should recessed lights be in a kitchen?
A common rule is to space recessed cans roughly half the ceiling height apart, so an 8-foot ceiling calls for spacing around 4 feet, adjusted based on where counters and work zones actually sit.
Do I need a CRI rating for kitchen light fixtures?
Yes. Aim for a CRI of 90 or higher anywhere food or finish color matters, which covers nearly every fixture in a kitchen, since lower CRI bulbs can make countertops and produce look dull or off-color.