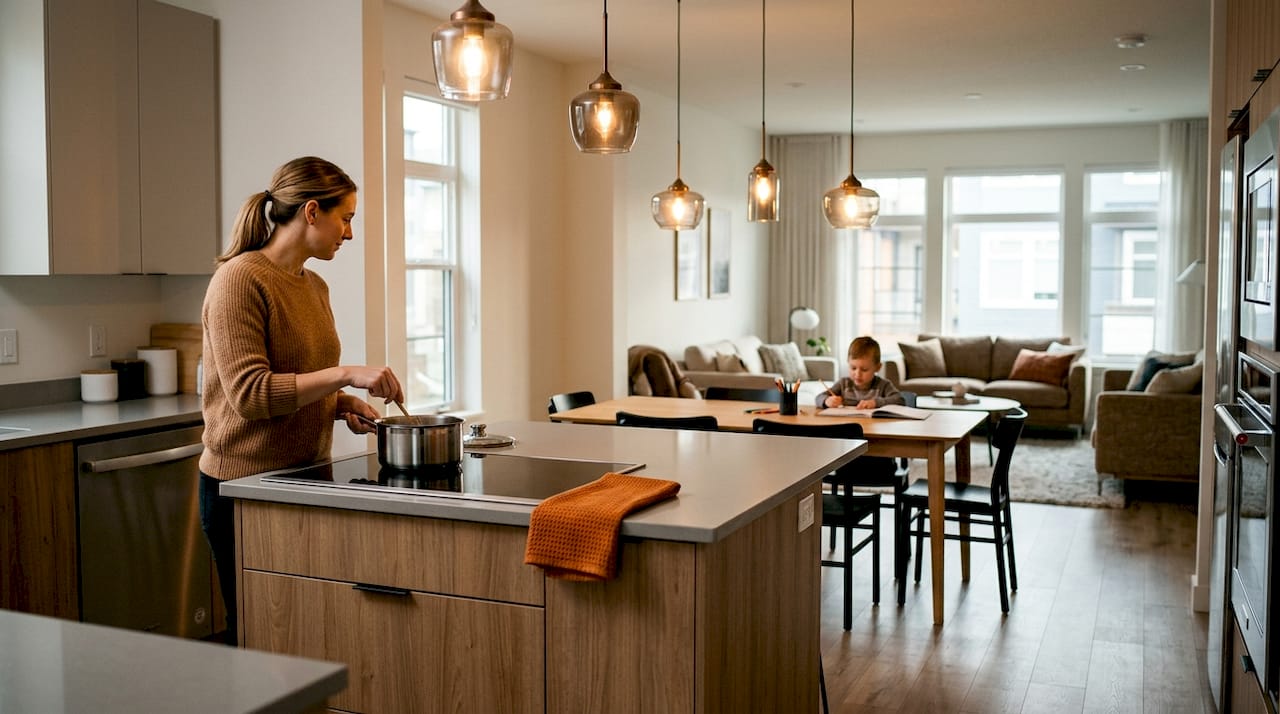


Set up your temporary kitchen in a spot with real water access and outlets close by, away from the work zone. Three things make or break it: a mini-fridge or cooler for cold storage, a stable prep surface (a folding table or rolling cart works fine), and at least one reliable cooking appliance like a toaster oven or induction burner. Rent bulkier gear like a portable dishwasher only if your project runs past eight weeks; otherwise, buy cheap and keep it simple.
TL;DR:
- A temporary kitchen should be set up in a spot with reliable water access and at least two separate electrical circuits to prevent breaker trips.
- Essential appliances include a microwave, toaster oven or hot plate, mini-fridge or cooler, and a sturdy, portable prep surface, with extra dish-towels and disposable tableware for convenience.
- Choose a setup location like a basement or dining room based on water proximity and dust containment, and protect flooring with rosin paper or rugs.
- Use a combination of collapsible basins, a small utility sink, or bathroom sink for dishwashing, and prioritize trash separation to prevent pest issues in dusty work environments.
- Keeping appliances clean, distributing high-wattage devices across circuits, and covering equipment at night extend their lifespan during months of remodeling.
Table of Contents
- Temporary Kitchen Essentials Checklist for a Remodel
- Where Should You Set Up a Temporary Kitchen?
- Which Portable Cooking Appliances Actually Work?
- How Do You Wash Dishes Without a Kitchen Sink?
- Keeping Food Safe and Storage Organized in a Dusty House
- Meal Planning That Reduces Cleanup During a Remodel
- Protecting Appliances and Staying Safe During Construction
- How Long Will You Need a Temporary Kitchen?
- What Do Real Temporary Kitchen Setups Look Like?
- Setting Up a Temporary Kitchen for Large Families or Special Diets
- How Do You Handle Cleanup and Waste in a Temporary Kitchen?
- Keeping Appliances Running Smoothly During a Remodel
- What Homeowners Actually Experience During a Remodel
- How Tampakitchenandbath Shortens Your Time Without a Kitchen
- Sources
- FAQ
Temporary Kitchen Essentials Checklist for a Remodel
Most homeowners overbuy gear and underbuy outlets. Before you order anything, count how many outlets are near your chosen spot and whether they’re on separate circuits. That number decides your appliance list more than any shopping guide will.
For appliances, BobVila recommends a microwave, a toaster oven or hot plate, a mini-fridge, and a coffee maker as the baseline combo. If you cook more than you microwave, swap the hot plate for an induction burner. Families who grill often can skip the toaster oven and lean on an outdoor grill instead.
Prep surfaces matter more than people expect. A folding table covers basic needs, but a stainless prep table holds up better to knife work and wipes clean fast. Rolling carts are worth the extra $40 to $60 because you can move your whole setup out of a contractor’s way in seconds.
- Microwave, toaster oven or hot plate, and a coffee maker for daily basics
- Mini-fridge (a full-size cooler works too, if space is tight)
- One sturdy prep surface: folding table, stainless cart, or repurposed cabinet base
- Paper plates, disposable cutlery, and a dish rack to cut down on washing
- A dedicated trash can with a lid, plus extra liners
Pro Tip: Buy one extra set of dish towels than you think you will need. Dust settles on everything in a construction zone, and you’ll go through towels twice as fast as usual.
Keep consumables simple. Paper towels, disposable dishware, and a few sponges reduce the daily cleanup grind more than any appliance will.
Where Should You Set Up a Temporary Kitchen?
The dining room, basement, garage, and laundry room each have a case for being your temporary cooking space, but water access should decide the winner more than square footage does. A homeowner-tested temporary kitchen in a basement worked because it had a laundry tub nearby, not because the space was big.
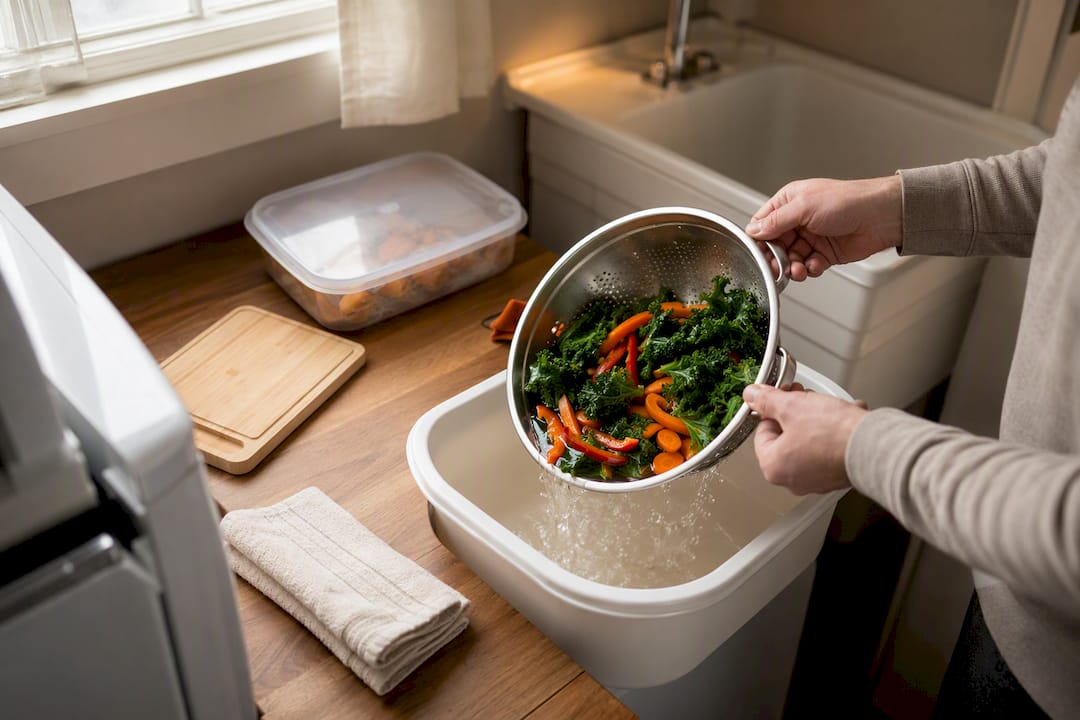
HGTV’s advice echoes this: pick a spot away from the construction zone that still has a sink, even a small one. A dining room next to a powder room beats a garage with no plumbing at all.
Dust containment comes next. Zip walls and heavy plastic sheeting at doorways keep drywall dust out of your food prep area. A portable HEPA air filter running nearby cuts down on the fine dust that settles on every surface overnight.
- Dining room: close to the kitchen, easy outlet access, but exposed to foot traffic from crews
- Basement: quieter and dust-contained, but often lacks a real sink
- Garage: plenty of space, but usually needs extension cords and no water at all
- Laundry room: built-in water access, though counter space is tight
Lay down rosin paper or an old rug to protect flooring, and agree with your contractor on a single traffic path so crew members aren’t cutting through your cooking area all day.
Which Portable Cooking Appliances Actually Work?
Portable appliances vary wildly in what they can actually pull off, and picking the wrong combo means either burned meals or a tripped breaker. An induction burner heats water faster than most stovetops and runs cooler to the touch, but RestoredStyle notes it demands attention to circuit limits since it can pull 1,500 watts on its own.
A toaster oven handles roasting and reheating but struggles with anything requiring real oven space, like a sheet pan of vegetables for a family of five. Slow cookers and Instant Pots are workhorses for hands-off meals, letting you start dinner before the crew even shows up. Portable grills, indoor or outdoor, cover proteins without adding heat or grease to your indoor setup.
Most home circuits are rated for 15 or 20 amps, and stacking a microwave, toaster oven, and induction burner on one outlet will trip a breaker fast. Spread high-draw appliances across separate circuits, use GFCI outlets near any water source, and skip daisy-chained extension cords entirely.
- Minimalist setup: microwave, toaster oven, coffee maker
- Everyday family setup: induction burner, Instant Pot, mini-fridge, toaster oven
- Batch-cooking setup: slow cooker, sous vide, induction burner, chest freezer
A real homeowner setup that combined sous vide, an induction burner, and a microwave proved that three well-chosen appliances beat a countertop cluttered with five mediocre ones.
How Do You Wash Dishes Without a Kitchen Sink?
Losing your kitchen sink is the part most homeowners underestimate, and the fix depends entirely on distance. The Strategist warns that a temporary sink two floors away or across an active work zone becomes functionally useless within days, no matter how good the setup looks on paper.
Here’s a workable sequence for washing dishes without a kitchen sink:
- Scrape food waste into a lined trash can before washing, since garbage disposals aren’t an option.
- Wash in a collapsible basin or laundry tub using dish soap and warm water from a nearby tap.
- Rinse in a second basin or under a bathroom faucet to avoid soap residue.
- Air-dry on a rack placed over a towel, away from dust and foot traffic.
A bathroom sink works in a pinch for smaller loads. For a household of four or more, a portable dishwasher or a small utility sink installed near your temporary setup often pays for itself in saved time.
Pro Tip: Pour wash water outside or into a floor drain instead of a bathroom sink whenever possible. Grease and food particles can clog fixtures that weren’t built for kitchen use.
Keeping Food Safe and Storage Organized in a Dusty House
Construction dust doesn’t just look bad. It settles inside cabinets, on dishes, and into open food packaging within hours of drywall work starting. Lidded plastic bins solve most of this, keeping dry goods, dishes, and small appliances sealed until you need them.
- Stack labeled, lidded bins on temporary shelving or a rolling pantry cart for easy access
- Store dishes in a closed bin, not an open box, even in a “clean” room
- Choose a mini-fridge for light use, a cooler with ice for a few days of overflow, or a basement fridge if you have one available
- Keep raw meat and dairy at or below 40°F, and check temperatures with a simple fridge thermometer
Seal open snack bags and cereal boxes in containers with tight lids to keep out both dust and pests, since construction often disturbs areas where rodents or ants were previously undisturbed.
Meal Planning That Reduces Cleanup During a Remodel
The households that handle a remodel best aren’t the ones with the fanciest appliances. They’re the ones who planned meals around one pot, one pan, and minimal cleanup.
- Batch cook on weekends and freeze portions in labeled containers for easy weeknight reheating.
- Lean on one-pot and one-sheet meals like sheet-pan chicken or slow-cooker chili that need only a single dish to wash.
- Build in no-cook nights with sandwiches, salads, or delivery once or twice a week to give yourself a break.
- Grill outdoors when weather allows, keeping greasy cooking away from your indoor prep area entirely.
Stock your pantry and freezer with staples that support this style: canned beans, frozen vegetables, pasta, and pre-marinated proteins. Time your cooking around contractor schedules, too. If crews start at 8 a.m., prep breakfast the night before so you’re not competing with saw noise for counter space.
Protecting Appliances and Staying Safe During Construction
Dust and stray tools are the two biggest threats to a temporary kitchen setup, and both are preventable with a few habits. Cover appliances with a towel or plastic sheeting when they’re not in use, and unplug anything you’re not actively using to reduce fire risk from a stray spark or dust buildup near vents.
- Store appliances in a closed cabinet or bin overnight, not left out on an open counter
- Use drop cloths under and around cooking equipment to catch drywall dust
- Plug high-draw appliances into GFCI outlets, especially anywhere near a wash basin
- Never daisy-chain extension cords between multiple heat-producing appliances
- Empty trash daily to control food odors and keep pests from finding a new home
Pro Tip: Wipe down every appliance surface before each use, not just at the end of the day. A film of drywall dust on a burner or microwave door builds up fast and is easier to remove before it bakes on.
How Long Will You Need a Temporary Kitchen?
Most kitchen remodels move through predictable phases: demolition, rough-in plumbing and electrical, cabinet and counter installation, then finishing touches. Timber Design + Build notes that most homeowners stay in their homes throughout, and a temporary kitchen setup commonly lasts the full length of construction, often 8 to 16 weeks depending on scope.
Budgeting for this stretch is where the 30% rule comes in. It’s a financial guideline, not a regulation: the idea holds that spending more than roughly 30% of your home’s value on a kitchen remodel rarely pays back in resale value, so it’s used to prioritize where your money goes rather than to cap what you can spend.
Apply that same prioritizing instinct to your temporary kitchen budget:
- Rent bulkier items like a portable dishwasher only for remodels running past two months
- Buy cheap, disposable-style gear for shorter projects under six weeks
- Stage a few original cabinets or countertop sections if your contractor can leave them accessible longer
- Set aside a small buffer for takeout during the messiest week, usually demolition
What Do Real Temporary Kitchen Setups Look Like?
A basement setup with a laundry tub nearby, a folding table, and a mini-fridge tends to stay dust-free longest, since it’s physically separated from the work zone. A dining room setup keeps you close to the action but exposes your food prep to more foot traffic and airborne dust. A garage setup offers the most space but usually means running extension cords and hauling water in jugs, since garages rarely have a sink.
Contractor staging changes this equation more than most homeowners expect. A crew that phases demolition, or leaves a bank of cabinets functional until the new ones arrive, can cut your full-disruption window by weeks. Ask your contractor these questions before work begins:
- Can any existing cabinets or counters stay usable during early phases?
- Will dust containment (zip walls, HEPA filtration) be in place before demolition starts?
- What’s the daily cleanup routine for shared traffic paths?
Setting Up a Temporary Kitchen for Large Families or Special Diets
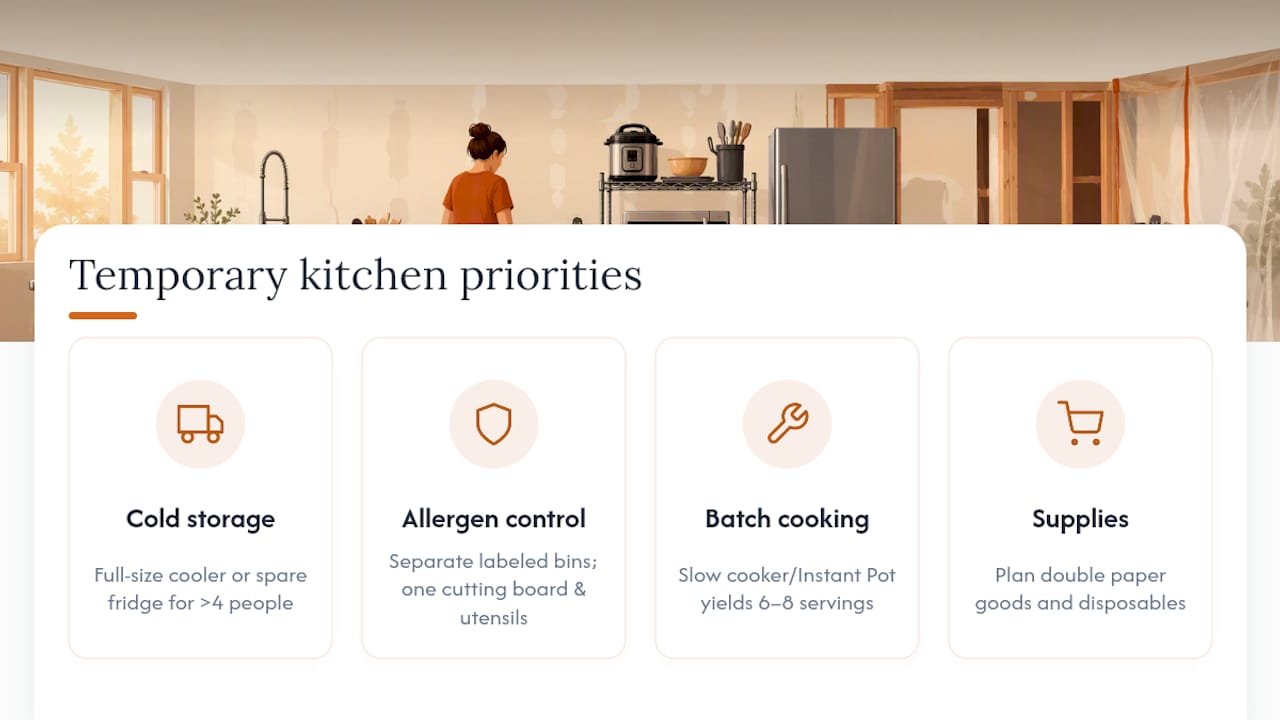
A family of five needs more than the standard mini-fridge and toaster oven combo, and dietary restrictions add another layer of planning most guides skip entirely. If you’re feeding more than four people, prioritize a full-size cooler or a spare fridge over a mini-fridge. A mini-fridge simply can’t hold enough milk, produce, and leftovers for a large household without daily grocery runs.
For gluten-free, dairy-free, or allergy-sensitive households, cross-contamination risk goes up in a shared, cramped temporary space. Keep separate, clearly labeled bins for allergen-free staples and designate one cutting board and one set of utensils exclusively for those needs. Color-coded bins or containers make this easy to enforce even when the rest of the family is helping out.
Batch cooking helps large families more than anyone else, since a slow cooker or Instant Pot can produce six to eight servings in one pass without monopolizing your single burner all evening. If someone in the house needs texture-modified foods, a blender or immersion blender earns a permanent spot on your appliance shortlist, even though it doesn’t show up on most standard checklists.
Plan for double the paper goods and disposable containers you’d normally estimate. Large families generate dishes faster than a temporary washing station can keep up, and running out of clean plates mid-week is a common, avoidable frustration.
How Do You Handle Cleanup and Waste in a Temporary Kitchen?
Trash builds up faster during a remodel than most people expect, partly from food waste and partly from packaging as you rely more on disposable dishware. Set up two separate bins from day one: one for regular household trash and one for recycling, if your area sorts it.
Empty the food-waste bin daily, not every few days. Without a garbage disposal, scraps sitting in a warm kitchen area attract pests and odors fast, especially in warmer climates. Line bins with heavy-duty bags to avoid leaks onto flooring that’s already covered in construction dust.
For dishwashing runoff, never pour grease or food particles down a bathroom sink or laundry tub drain. Scrape plates into the trash first, then wash. If you’re using a portable sink or basin setup, empty gray water outside or into a floor drain rather than a fixture not built to handle kitchen waste.
Wipe down prep surfaces with disinfectant after every meal, not just once a day. Dust and food residue combine into a grime that’s harder to remove the longer it sits, especially on stainless prep tables and rolling carts that see heavy daily use.
Keeping Appliances Running Smoothly During a Remodel
Portable appliances weren’t designed for months of daily heavy use, and small maintenance habits extend their life significantly. Wipe down induction burners after each use since spilled food can bake onto the surface and affect heating efficiency over time. Empty mini-fridge drip trays weekly to prevent mold buildup in a small, often poorly ventilated space.
If a breaker keeps tripping, the fix usually isn’t a bigger appliance. It’s redistributing your load across separate circuits, since most temporary kitchens run on outlets never designed for simultaneous heavy draw. Check your circuit panel labeling before you set up, so you know which outlets share a breaker.
Common troubleshooting issues include a slow cooker that won’t hold heat (usually a sign it’s on a shared, overloaded circuit) and a toaster oven that shuts off mid-cook (often overheating from dust clogging its vents). Clean vents on any appliance monthly with a can of compressed air, especially in a construction environment where drywall dust accumulates fast.
If an appliance starts smelling like burning dust on first use after sitting idle, unplug it and let it run empty for a few minutes in a ventilated area before cooking with it again.
What Homeowners Actually Experience During a Remodel
Most people underestimate how much prep space they’ll miss, not how much cooking capability. The surprise isn’t the appliances. It’s realizing you have nowhere to set a cutting board down for thirty seconds without moving three other things first.
Be pragmatic about meals during the toughest weeks. Order takeout without guilt during demolition, and save the batch cooking for calmer phases. If daily friction over shared bathrooms, no counter space, and constant dust starts affecting your family’s routine, that’s a real signal to ask your contractor about staying elsewhere for a few nights or adding more staging to your project.
— MediaBeast
How Tampakitchenandbath Shortens Your Time Without a Kitchen
Every solution above assumes you’re managing a general contractor’s timeline on your own, guessing when demolition ends and installation starts. Some remodeling companies remove that guesswork by handling design and construction under one roof, assigning a dedicated Lead Carpenter to projects and providing up front pricing spelled out before work begins.
Effective dust control systems and phased staging keep your temporary setup usable and your timeline predictable, reducing the duration you need a folding table and mini-fridge. When you’re getting quotes from any remodeler, ask directly how they phase demolition, whether existing cabinets can stay functional longer, and what their daily cleanup routine looks like. Those answers tell you more about your coming weeks than any appliance checklist will.
If you’re ready to see what a kitchen remodel could cost for your space, check current kitchen remodel cost ranges and request a consultation to get a clear, up front price before your temporary kitchen even goes up.
Sources
- How to Set Up a Temporary Kitchen During a Remodel | BobVila
- 7 Things to Buy When Building a Temporary Kitchen Setup | Hipster Homesteaders
- 30 temporary kitchen ideas | Restored Style
- Makeshift kitchen essentials | The Strategist (NYMag)
FAQ
How do you set up a temporary kitchen during a remodel?
Pick a location with nearby water and separate electrical outlets, then add the essential triad: a mini-fridge for cold storage, a stable prep surface, and at least one cooking appliance like a toaster oven or induction burner. Add disposable dishware and a dedicated trash bin to cut down on daily cleanup.
What is the 30% rule in remodeling?
The 30% rule is a budgeting guideline suggesting a kitchen remodel rarely recoups its full cost in resale value once spending passes roughly 30% of a home’s value. It’s not a legal limit, just a heuristic for prioritizing where renovation dollars go.
How do you survive without a kitchen during a renovation?
Set realistic expectations around meal planning, leaning on batch-cooked meals, one-pot dinners, and the occasional takeout night during the messiest phases like demolition. Most temporary kitchen setups last the length of construction, often 8 to 16 weeks, so building routines around that window matters more than any single appliance.
What can you use as a temporary kitchen sink during a renovation?
A bathroom sink, laundry tub, or collapsible basin all work for smaller households, but proximity matters more than the fixture itself: a sink far from your cooking area quickly becomes too inconvenient to use. For larger families, a portable utility sink or small dishwasher near the cooking zone is often worth the added cost.
Does Tampakitchenandbath offer help minimizing temporary kitchen disruption?
Tampakitchenandbath’s kitchen remodeling process includes a dedicated Lead Carpenter and a Work Clean System designed to reduce dust and keep phased staging predictable. Pricing for kitchen projects is listed on the kitchen remodel cost page, with ranges varying by layout and scope.